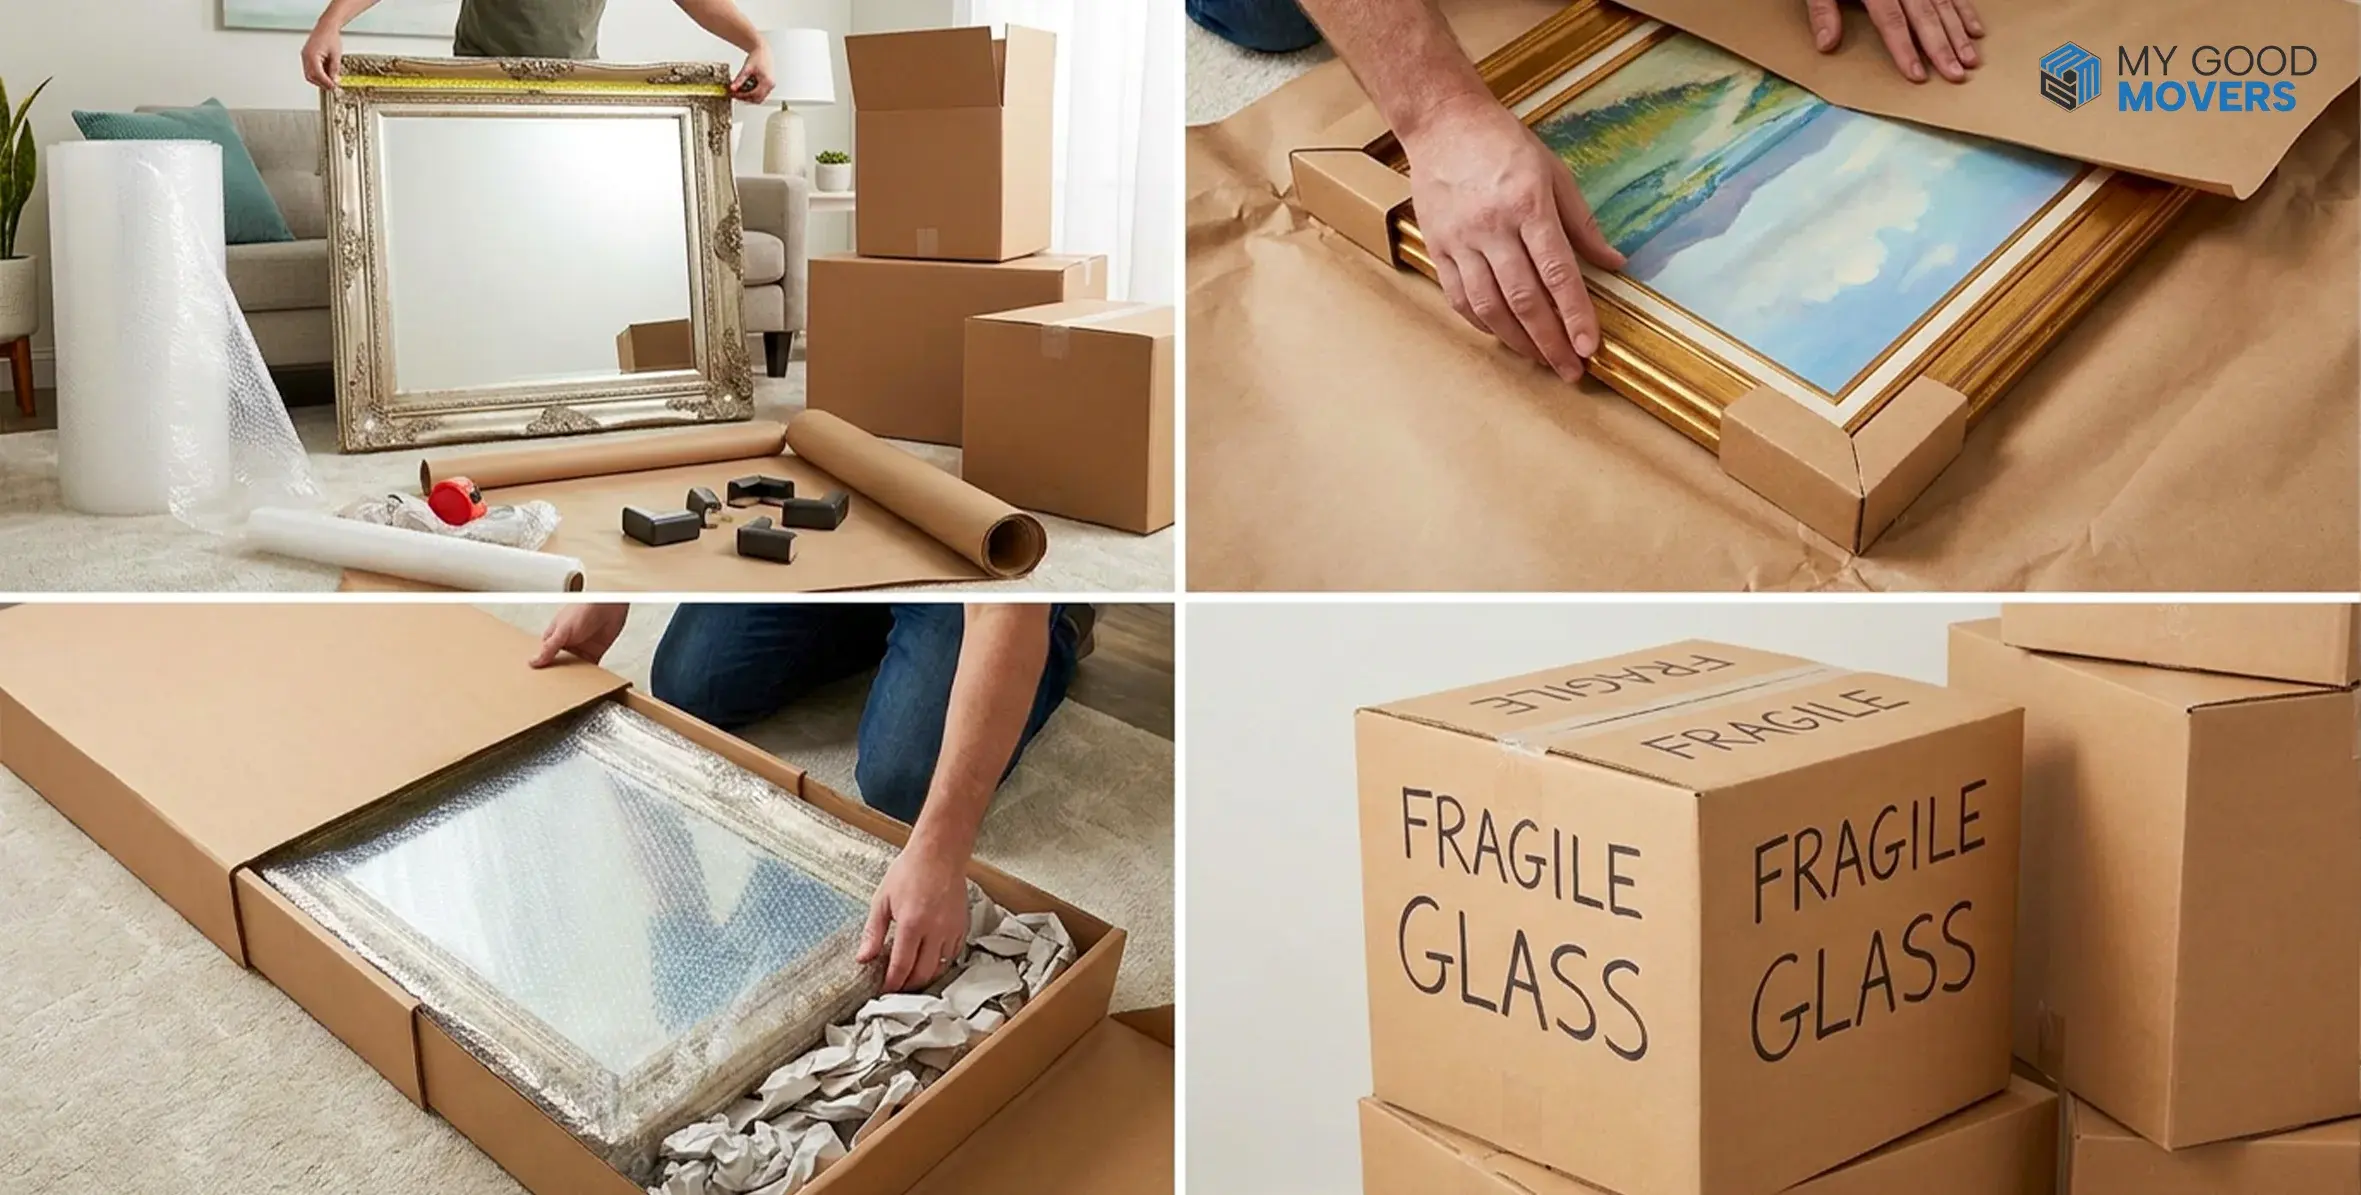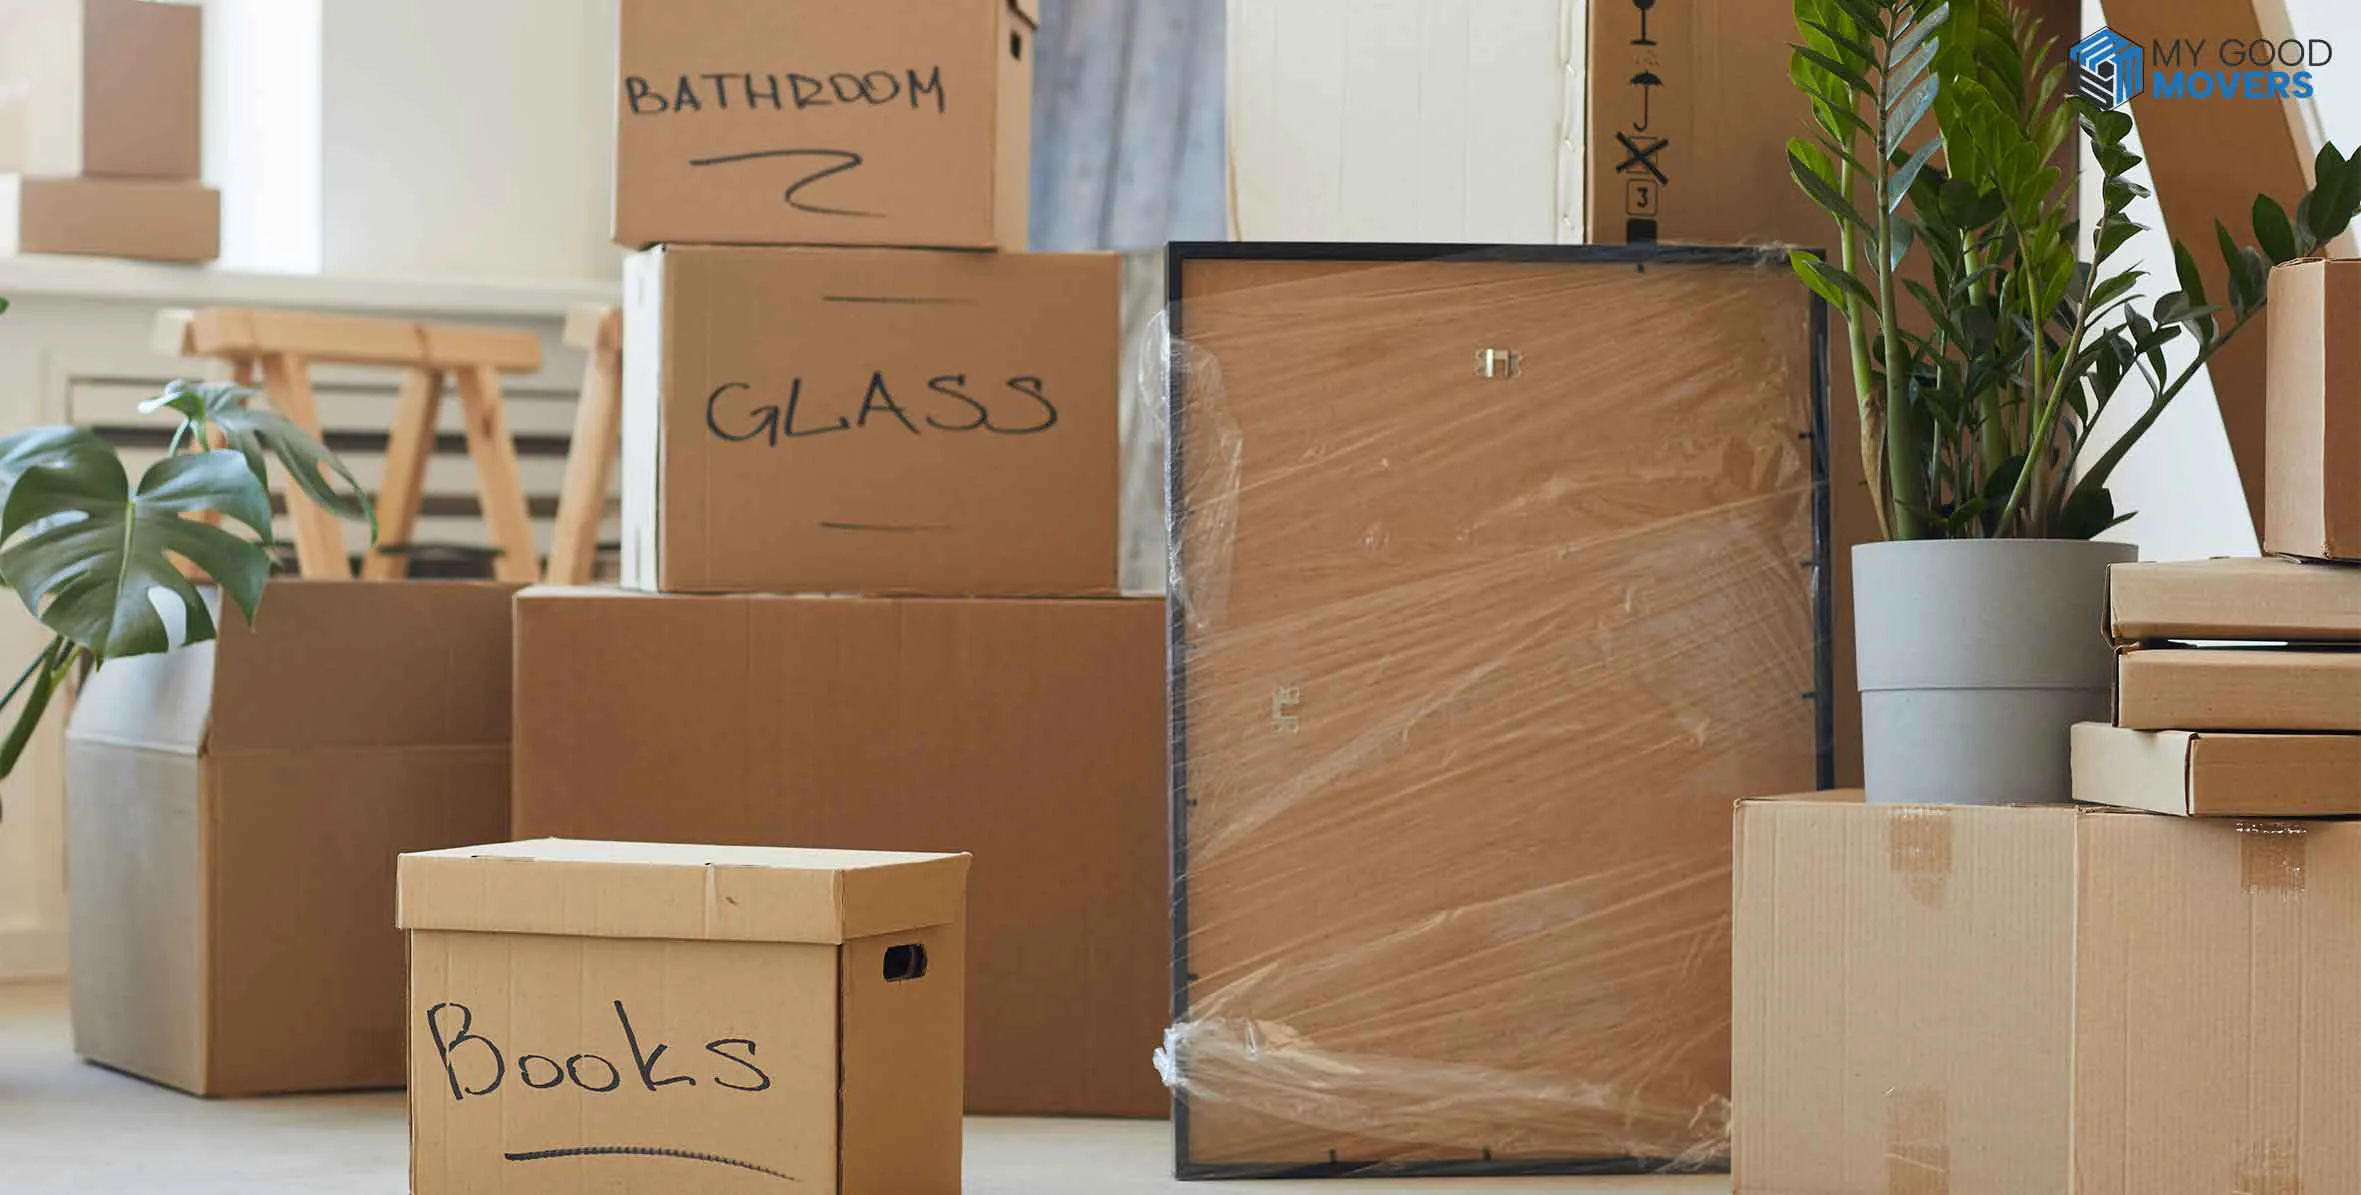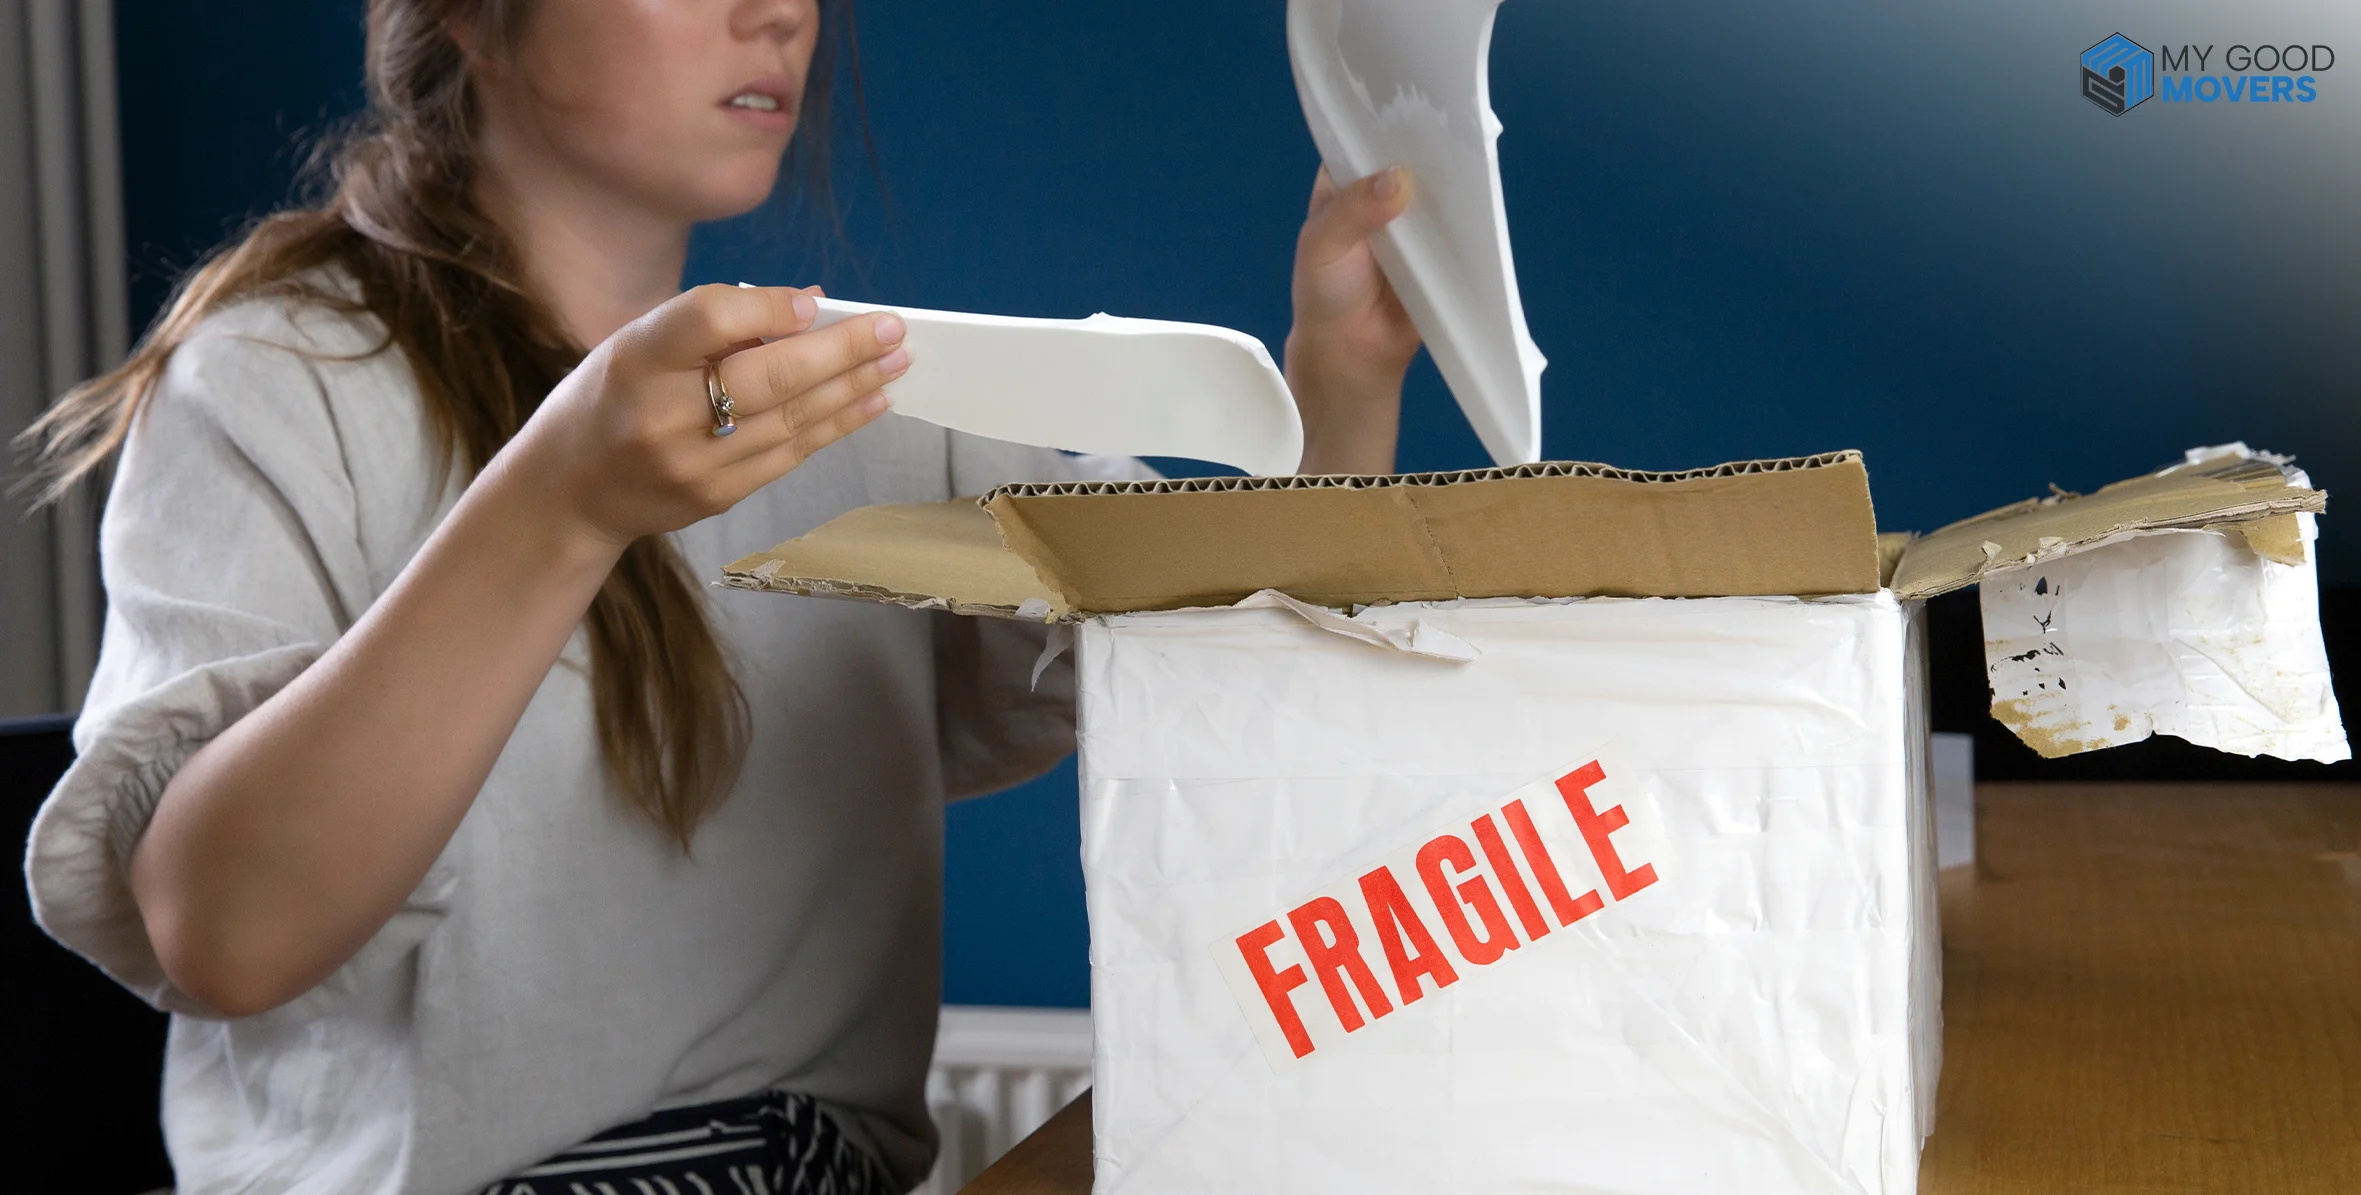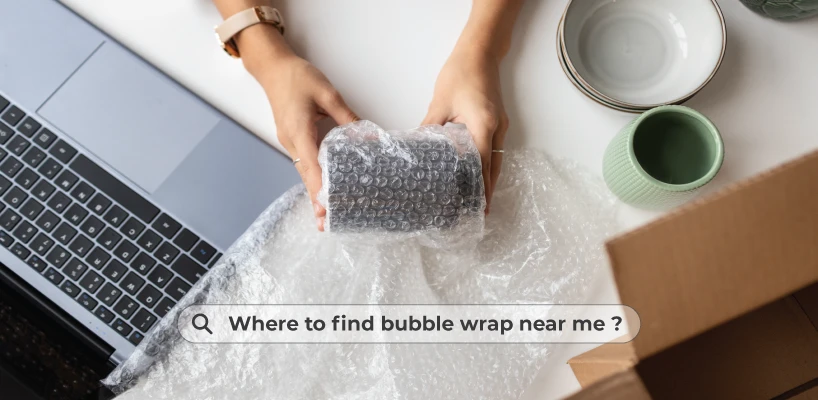



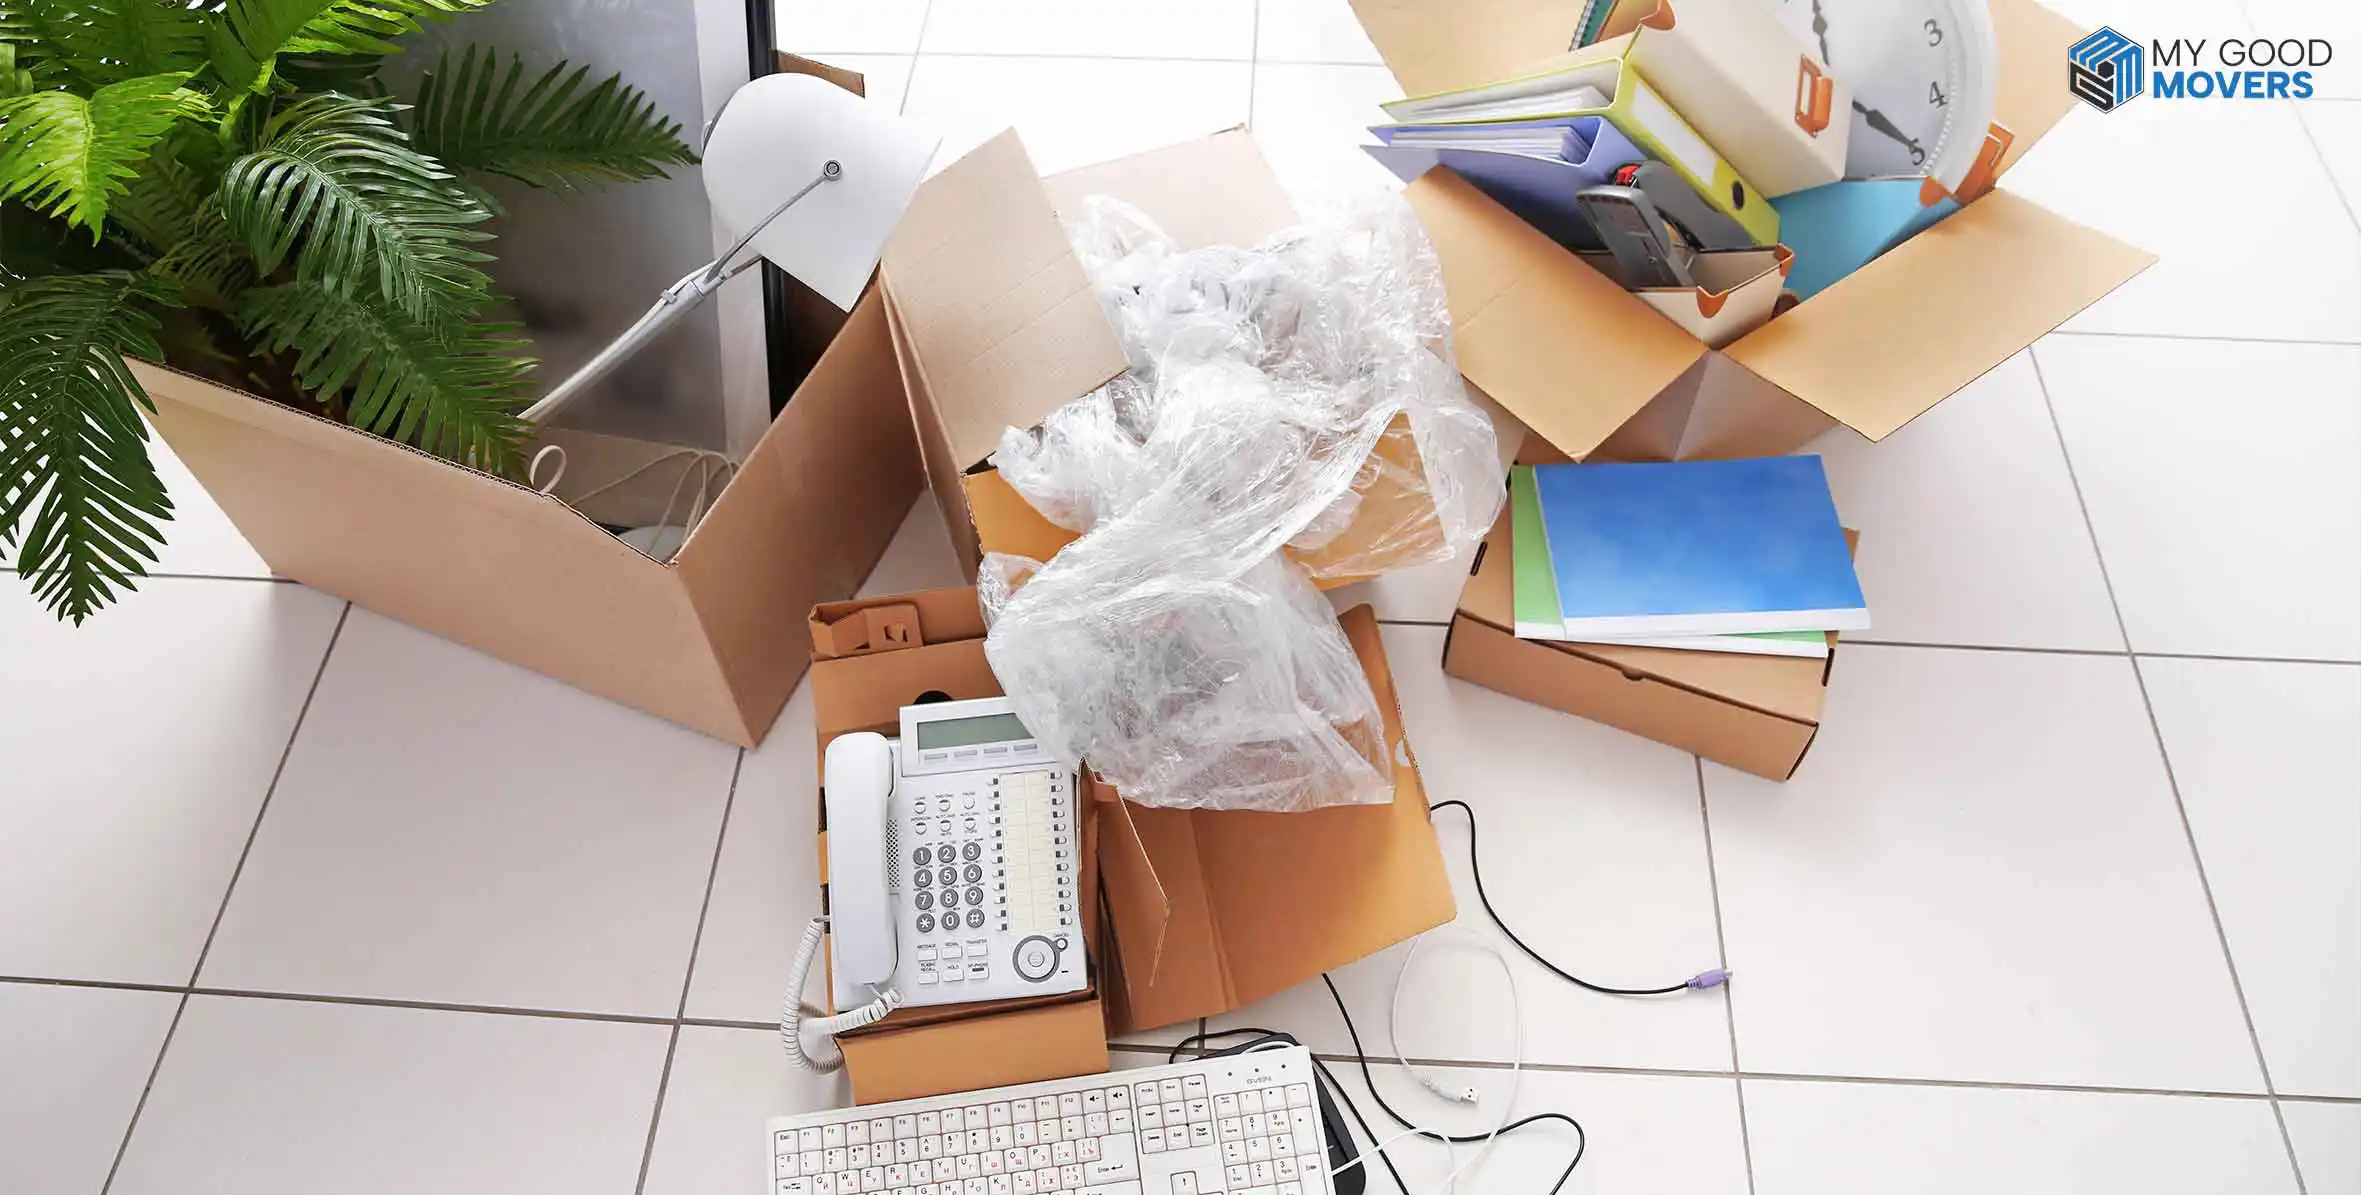
The safest way to pack electronics for moving is to focus on four things:preparation, static protection, proper cushioning, and a box that fits. Photograph every cable connection, remove loose accessories, wrap each device separately, fill all space, and label the box clearly.
You finish a long move, unpack your home office, and lift the monitor out of its box. The screen looks fine at first, but a dark crack appears after you turn it on. The stand was packed against the display and pressed into it every time the truck hit a rough patch.
A box can look perfectly fine on the outside while the device inside has been shifting for hundreds of miles.
That is why safe electronics packing is not simply about adding more bubble wrap. Each device needs room for cushioning, protection from pressure, and a packing method that matches its shape and internal parts.
Key Takeaways
✓ Back up important files before packing computers, laptops, and gaming systems.
✓ Photograph cable connections before unplugging anything.
✓ Use the original box when it is still strong, and all molded inserts are available.
✓ Protect screens with a soft, non-abrasive layer before adding outer cushioning.
✓ Place exposed computer parts in anti-static packaging.
✓ Fill every gap, but do not pack the box so tightly that pressure reaches the device.
✓ Keep TVs and monitors upright during handling and transportation.
✓ Check your mover’s battery, packing, and valuation policies before moving day.
Packing Materials Needed for Electronics
The best packing material for electronics depends on what you are moving.
| Packing Material | How It Is Used |
|---|---|
| Original electronics box | Use it with the original molded foam inserts when the box is dry, sturdy, and undamaged. |
| Double-wall cardboard box | Choose a strong box for heavy desktops, large consoles, receivers, and electronics without original packaging. Avoid reused boxes with soft corners, tears, water marks, or crushed panels. |
| Anti-static bag | Use it for exposed graphics cards, RAM, motherboards, drives, and other static-sensitive parts. |
| Foam sheet | Place a soft foam sheet over screens, glass panels, and polished surfaces before adding thicker cushioning to prevent scratches and direct pressure. |
| Bubble wrap | Use it as impact cushioning after adding a soft surface layer. It should not touch exposed circuit boards or press tightly against a delicate screen. |
| Corner protectors | Fit them around the TV, monitor, framed screen, and tempered-glass corners; corners take the first impact when a box is set down or shifted. |
| Packing paper | Use clean, unprinted paper to wrap accessories and fill small gaps. Avoid pressing tightly crumpled paper against fragile screens. |
| Sealable bags | Store remotes, screws, stands, adapters, and cables by device, kept inside the matching box or a labeled accessories container. |
| Cable labels | Label both ends of each cable before disconnecting it. |
| Packing tape | Reinforce the bottom seams and seal the top. Keep adhesive away from screens, cases, ports, and painted surfaces. |
| Permanent marker | Mark the room, device name, and handling notes without advertising highly valuable contents. |
How to Pack Electronics for Moving (Step by Step)
A safe packing process begins before you touch the bubble wrap.
Step 1: Choose the Correct Box
Start with the original packaging if you still have it. Check the cardboard, foam inserts, corners, and bottom seams before trusting it for another move.
If the original packaging is gone, choose a sturdy box that leaves enough space for cushioning on every side without allowing the device to slide around.
A box that is too small transfers impact directly to the device. An oversized box requires so much filler that the electronics may still shift.
Our moving box calculator helps you estimate how many standard boxes you'll need for the entire move.
Step 2: Reinforce the Bottom of the Box
Turn the empty box over and tape the center seam plus the two edge seams. This creates an H-shaped seal across the bottom.
Add another strip of tape if the device is heavy, but do not assume extra tape can rescue a weak cardboard box. Replace any box that bends, bows, or feels soft at the corners.
WHY IT MATTERS
An H-seal makes the box stronger by securing the middle where the two cardboard flaps meet. This is usually the weakest part of the box. If you only tape the outer edges, the middle can still open when the box is heavy.
Step 3: Back Up Data, Photograph Connections, and Remove Accessories
Protect the information before protecting the machine.
Back up important documents, photos, and work files to a secure external drive, cloud account, or both. Confirm that the backup opens correctly before shutting down the device.
Next, take clear photos of the cable connections behind your electronics. Use extra photos for ports that look alike.
Then:
- Unplug the power cord.
- Remove detachable stands, antennas, remotes, and other loose parts.
- Follow the manufacturer’s directions for the electronics.
- Place screws and small hardware in a labeled bag.
Quick Reference: Packing Rules by Device
The core method stays the same, but each device has its own pressure points.
How to Pack a TV for Moving
When packing a TV for moving, remove the stand and pack it separately, cover the screen with foam before bubble wrap, and keep the carton upright the entire trip.
How to Pack a Computer for Moving
Back up your files first, then use a double-wall box for the tower and slide any exposed cards or drives into anti-static bags.
How to Pack a Monitor for Moving
Detach the base and neck, when possible, cushion the screen with a soft layer, and never let the stand face the display when disconnected.
How to Pack a Gaming PC for Moving
Secure or remove the GPU per the builder's instructions, bag static-sensitive parts, and avoid letting a warm system cool inside a sealed box.
Step 4: Protect Screens and Delicate Surfaces
Start with a clean, dry screen. Dust trapped under wrapping can leave fine scratches.
Place a foam sheet, soft screen cover, or clean microfiber layer over the display. Add fitted corner protectors next. The protective layer should sit smoothly without knobs, plugs, remote controls, or stand parts pressing against it.
WATCH OUT
Never pack the detached stand in front of the screen. Even a padded stand can press a hard edge into the display if the box shifts during loading.
Bubble wrap can be used outside the soft surface layer, but avoid pressing large bubbles directly into a delicate surface.
Step 5: Add Anti-Static Protection
Static electricity is most likely to cause problems when electronic components are removed from their protective cases.
Place the exposed electronics in proper anti-static or static-shielding bags.
WATCH OUT
Ordinary grocery bags, trash bags, and clear plastic sleeves are not replacements for packaging made to protect static-sensitive parts. A charge that's invisible to you can still damage a chip that never shows a mark on the outside.
Step 6: Wrap the Electronic Device
Place the device on a clean, stable surface.
Cover delicate surfaces first. Then wrap the body with foam or bubble cushioning. Secure the wrap to itself, not to the device.
Pay extra attention to:
- Corners
- Glass panels
- Control knobs
- Ports
- Hinges
- Vent covers
- Projecting buttons
WHY IT MATTERS
Tape can damage a device’s paint, coating, or labels when you remove it later. It can also leave sticky residue that is hard to clean, especially around ports and small gaps. To avoid this, tape the wrapping material to itself instead of directly onto the device.
Step 7: Place the Device Inside the Box
Build a firm cushioning layer at the bottom of the box before lowering the device into it.
Center the item so no corner or edge touches the cardboard. Keep screens upright unless the manufacturer provides different handling instructions for that model.
GOOD TO KNOW
Do not place two unprotected devices together. Accessories may share a box only when they are wrapped and physically separated from the main device.
Step 8: Fill All Empty Spaces
Fill the gaps around the device with foam, air-cellular cushioning, or firmly placed packing paper.
The same balance applies when packing fragile items for moving: stop side-to-side and up-and-down movement without putting heavy pressure on delicate surfaces.
WHY IT MATTERS
Make sure there is no empty space above the device inside the box. If there is a gap, the device can move up and down whenever the box goes over a bump or is placed on the truck. These small movements can cause repeated impacts and eventually crack the screen from the inside.
Step 9: Test the Packing Stability
Before sealing the box, close the flaps and move it a few inches across the floor or gently tilt it just enough to detect movement.
Press lightly on the closed flaps. If the top caves in or directly touches the device, add stronger top protection. If the cardboard bulges outward, remove some material or choose a larger box.
Also listen for:
- Rattling
- Sliding
- Loose screws
- Shifting accessories
- Contact with the box wall
Step 10: Seal and Label the Electronics Box
Seal the top with the same H-pattern used on the bottom.
Label at least two sides so the information remains visible when boxes are stacked.
Include:
- Room destination
- General device category
- “Fragile”
- “This Side Up”
- Any special handling instruction
- An inventory number
- The location of accessories
DISCREET LABELING TIP
Instead of writing “$3,000 Gaming Computer” on the box, use a less revealing label such as “Office Equipment 2.” It helps you keep track of your boxes without drawing too much attention
Want a Complete Packing Plan?
Stop guessing what to pack next. Follow a clear packing plan that helps you move room by room without the usual last-minute chaos.
Read How to Pack for a MoveHow to Pack Cables and Cords for Moving
The easiest way to pack cables and cords for moving is to treat each device as its own small kit.
Use this system:
- Photograph the connected ports.
- Label both ends of each cable.
- Coil the cable loosely without sharp bends.
- Secure it with a reusable hook-and-loop strap.
- Place the cables in a sealable bag.
- Write the device and room on the bag.
- Keep the bag with the matching device or in a numbered accessories box.
SAMPLE LABELING FORMAT
TV-1: power cable, HDMI cable, remote.
Office-PC-2: power cable, monitor cable, keyboard receiver.
Router-1: power adapter, Ethernet cable, service details
Common Electronics Packing Mistakes
Most electronic damage begins with a small short circuit. The box may still close, but the device is left exposed to movement, pressure, heat, or static.
| Packing Mistake | Correct Method |
|---|---|
| Packing a device while it is warm | Shut it down, unplug it, and let it cool before wrapping |
| Leaving accessories attached | Remove stands, antennas, USB drives, discs, and loose parts when appropriate |
| Pressing bubble wrap against a screen | Cover the display with a smooth foam sheet or screen protector before the outer cushioning |
| Using a box that is too large | Choose a closer-fitting box with room for controlled cushioning |
| Allowing two devices to touch | Wrap and separate each device so they cannot strike each other |
| Using ordinary plastic for exposed parts | Place static-sensitive components in proper anti-static packaging |
| Applying tape to the device | Tape the wrapping material to itself |
| Placing heavy boxes on an electronics carton | Keep screen boxes upright and free from top-loading pressure |
| Using a damaged cardboard box | Replace it with a sturdy, undamaged box that supports the device’s weight |
| Sealing the box without testing it | Check for movement, rattling, weak flaps, and pressure before final taping |
Should You Pack Electronics Yourself or Hire Professional Packers?
DIY packing can work well for smaller devices and straightforward home setups. Professional help becomes more useful when the device is oversized, unusually valuable, technically complex, or missing suitable packaging.
| Situation | DIY Packing May Work | Professional Packing May Be Better |
|---|---|---|
| Laptop or tablet | You have a padded case and can carry it personally | Several business devices require inventory and coordinated handling |
| Small TV or monitor | The original box and inserts are available | No fitted box is available, or the screen is large and difficult to lift |
| Standard desktop | Internal parts are secure, and you have suitable packaging | The case contains glass panels, liquid cooling, or heavy components |
| Gaming PC | You understand how to secure or remove the GPU safely | You are uncomfortable handling internal components |
| Home theater | Each component can be labeled and packed separately | The setup contains many expensive or professionally installed components |
Ask potential packing and moving companies whether their packing crew handles TVs, computers, gaming PCs, and other high-value electronics.