


A picture is worth a thousand words, but only if it arrives intact.
We often underestimate the value of the items we pack when moving but framed pictures, and artwork carry more than just aesthetic value—they hold memories, moments, and irreplaceable pieces of our lives.
It’s no wonder that 35% of people moving within the United States cite fragile items like picture frames as one of their biggest packing concerns. If you’ve ever tried to move a framed picture, you know how nerve-wracking it can be to ensure that fragile glass doesn’t shatter or that the frame doesn’t chip.
The process of how to pack pictures for moving is more than just wrapping them in paper and hoping for the best. In fact, according to the American Moving & Storage Association, improperly packed framed pictures are twice as likely to suffer damage during a move than other household items. Given that 40 million Americans move every year, that's a lot of memories at risk.
But don’t worry. By the end of this guide, you will feel like a pro at safely packing framed pictures for a move.
How to Pack Pictures for Moving
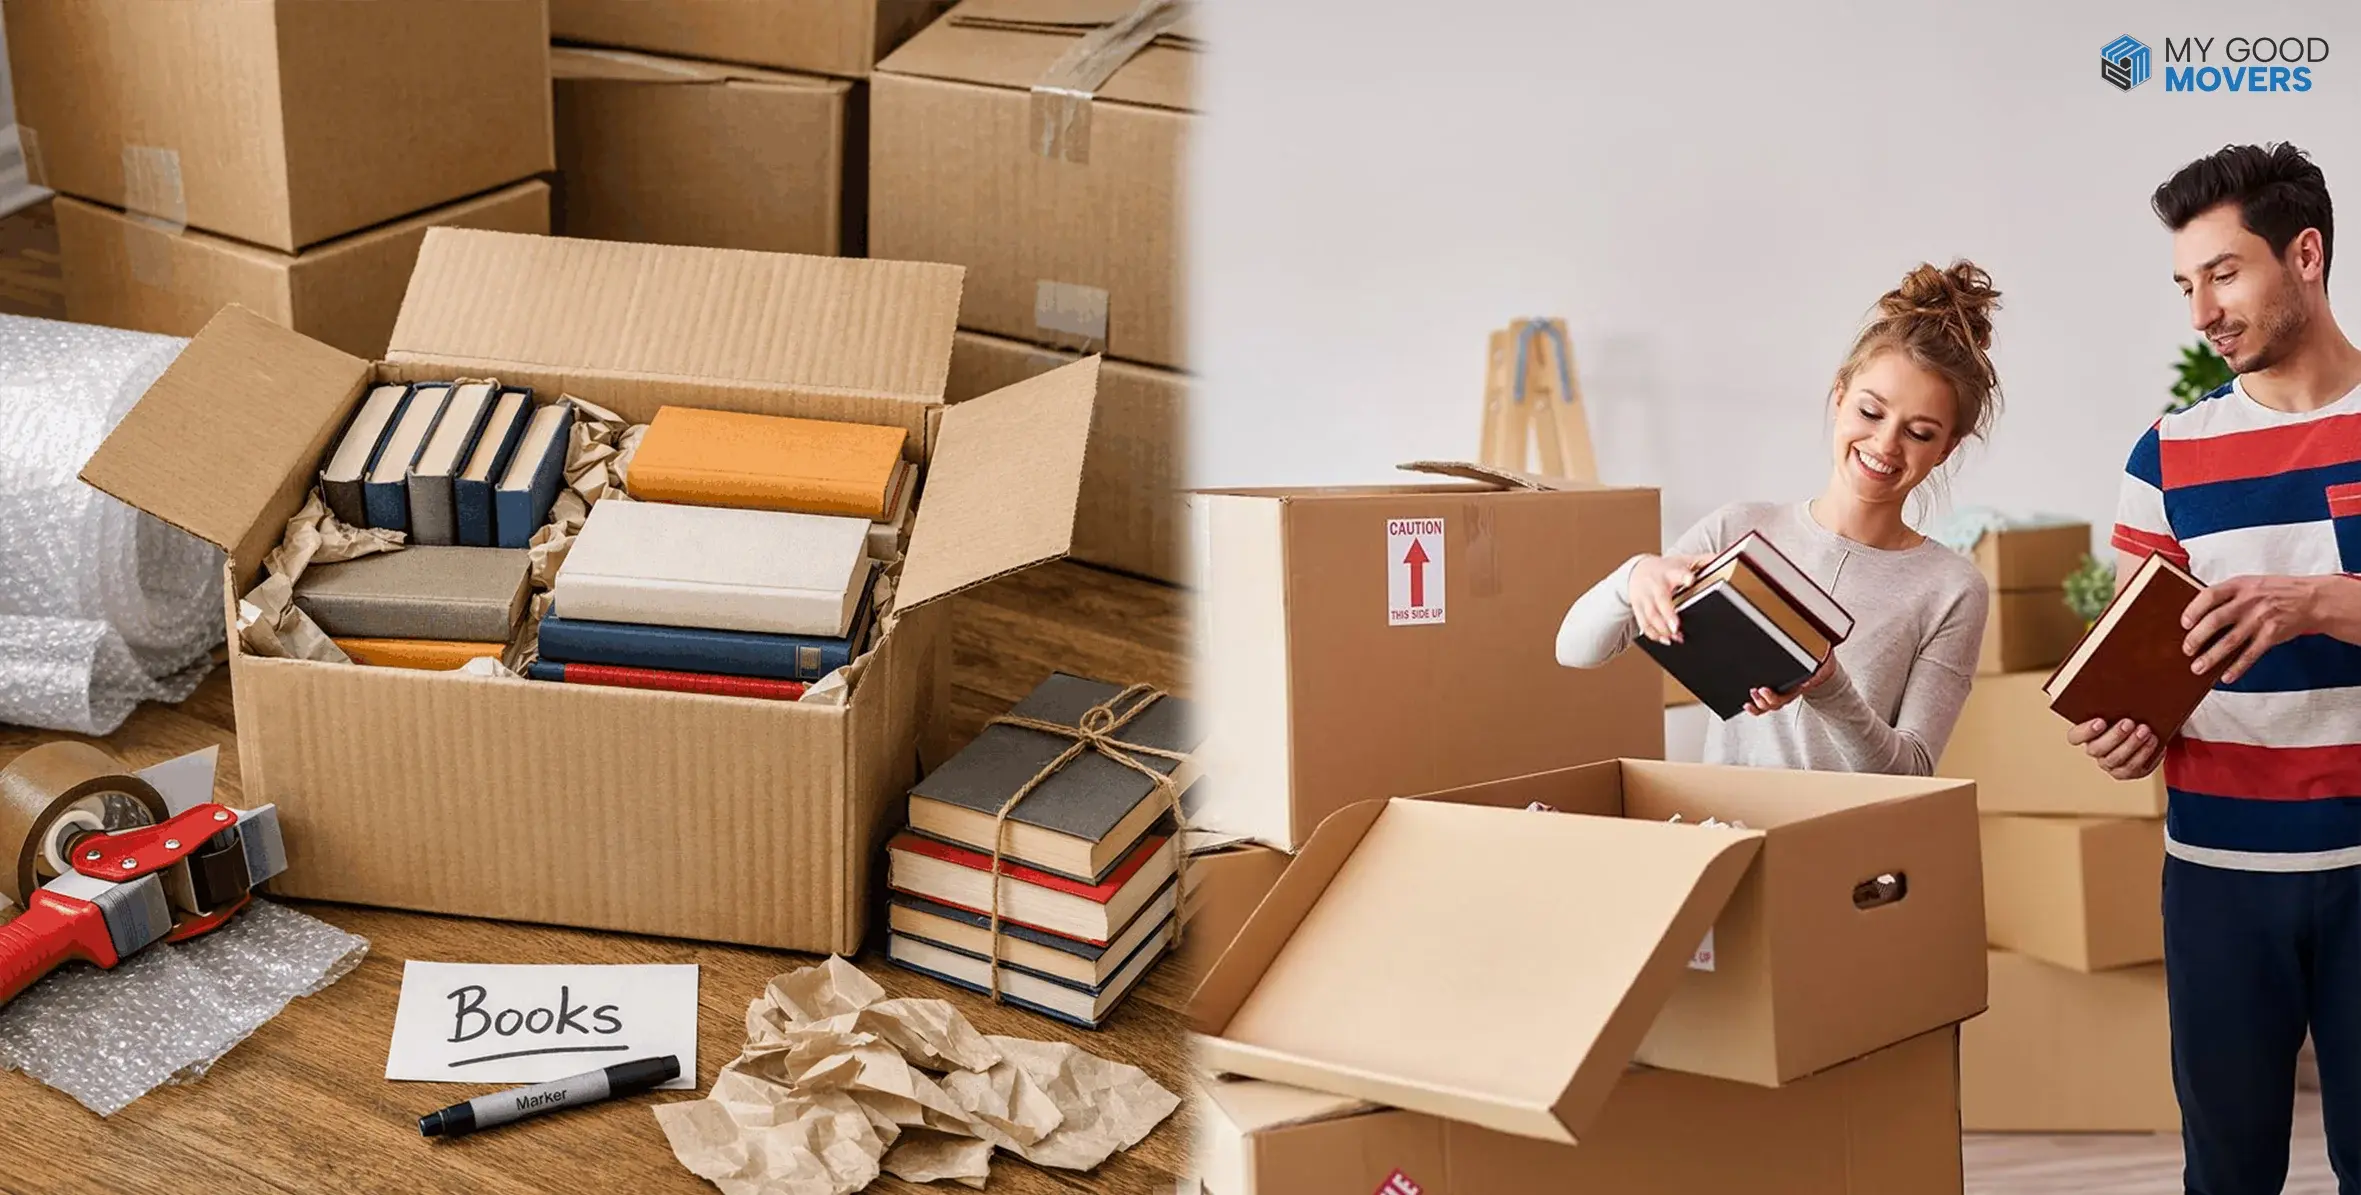
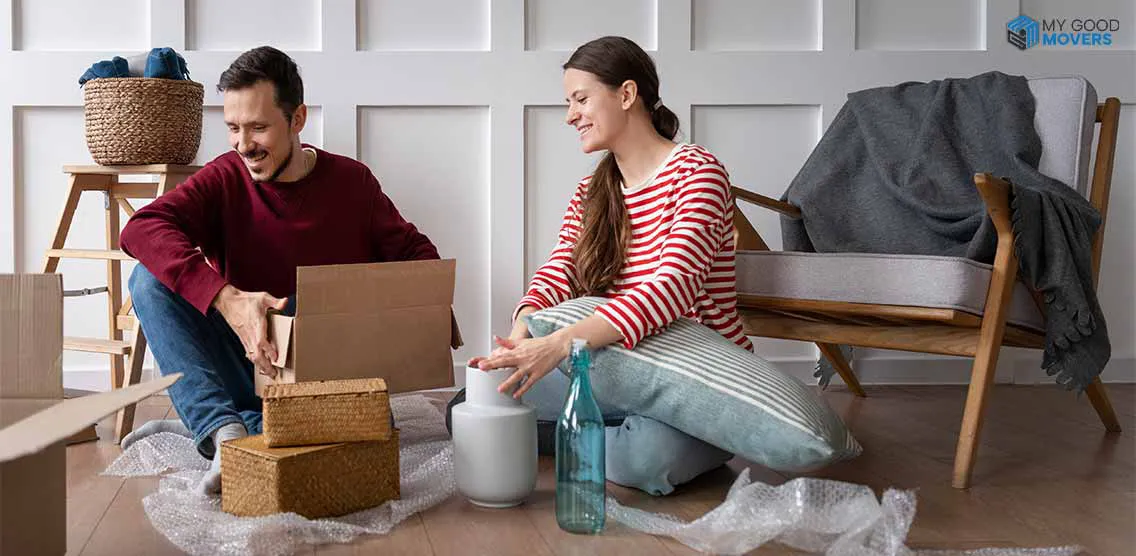
1. Gather the Right Materials
Before you start packing, gather all the supplies you need:
- Packing paper (preferably acid-free)
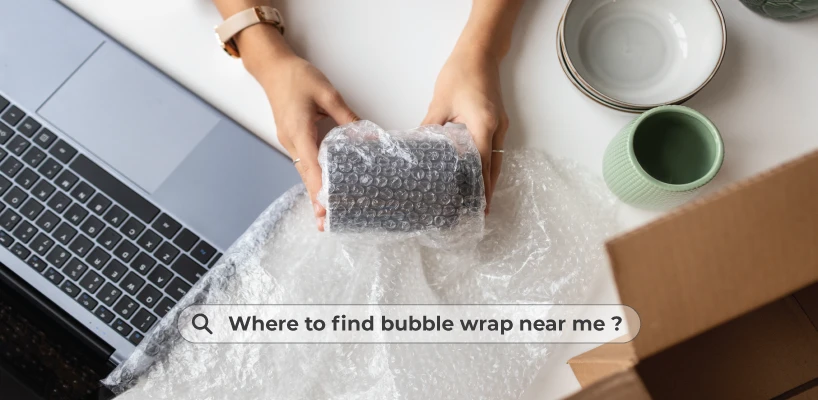
- Bubble wrap
- Packing tape
- Corner protectors (cardboard, foam, or plastic)
- Picture boxes (adjustable for various sizes)
- Cardboard or foam boards
These materials are crucial for safely packing framed pictures for a move and ensuring your frames, particularly the glass, are well-protected from any bumps during the move.
Click to find out how you can get Budget-Friendly Packing Materials for Your Move.
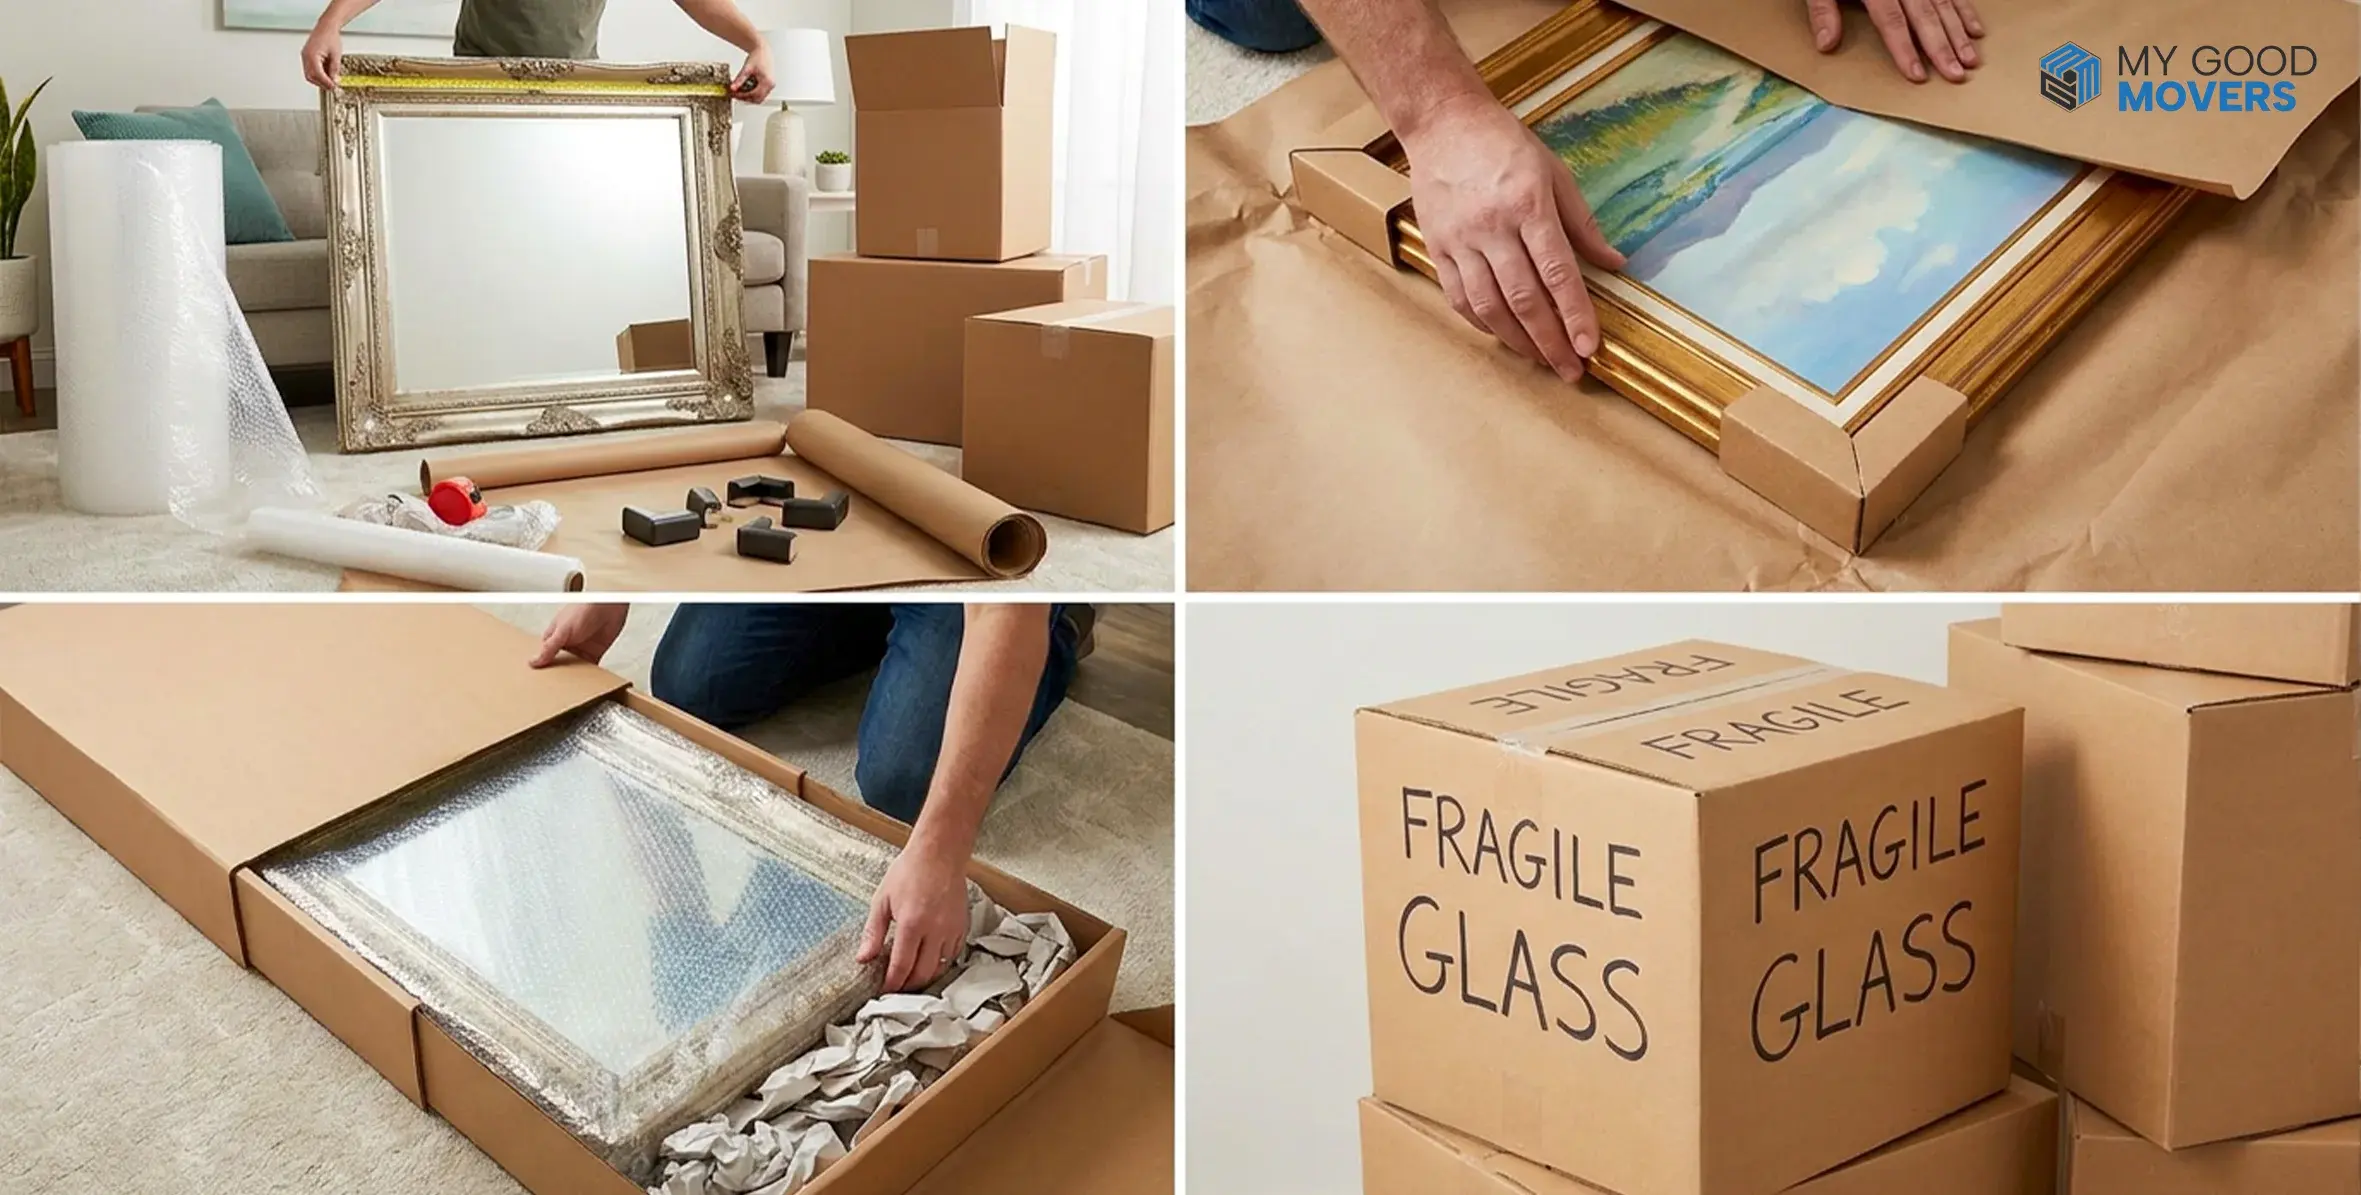
2. Prepare the Frame
Now that you have gathered the supplies start preparing the frame.
- Clean the glass: Dust and smudges can scratch the glass during the move, so clean it thoroughly.
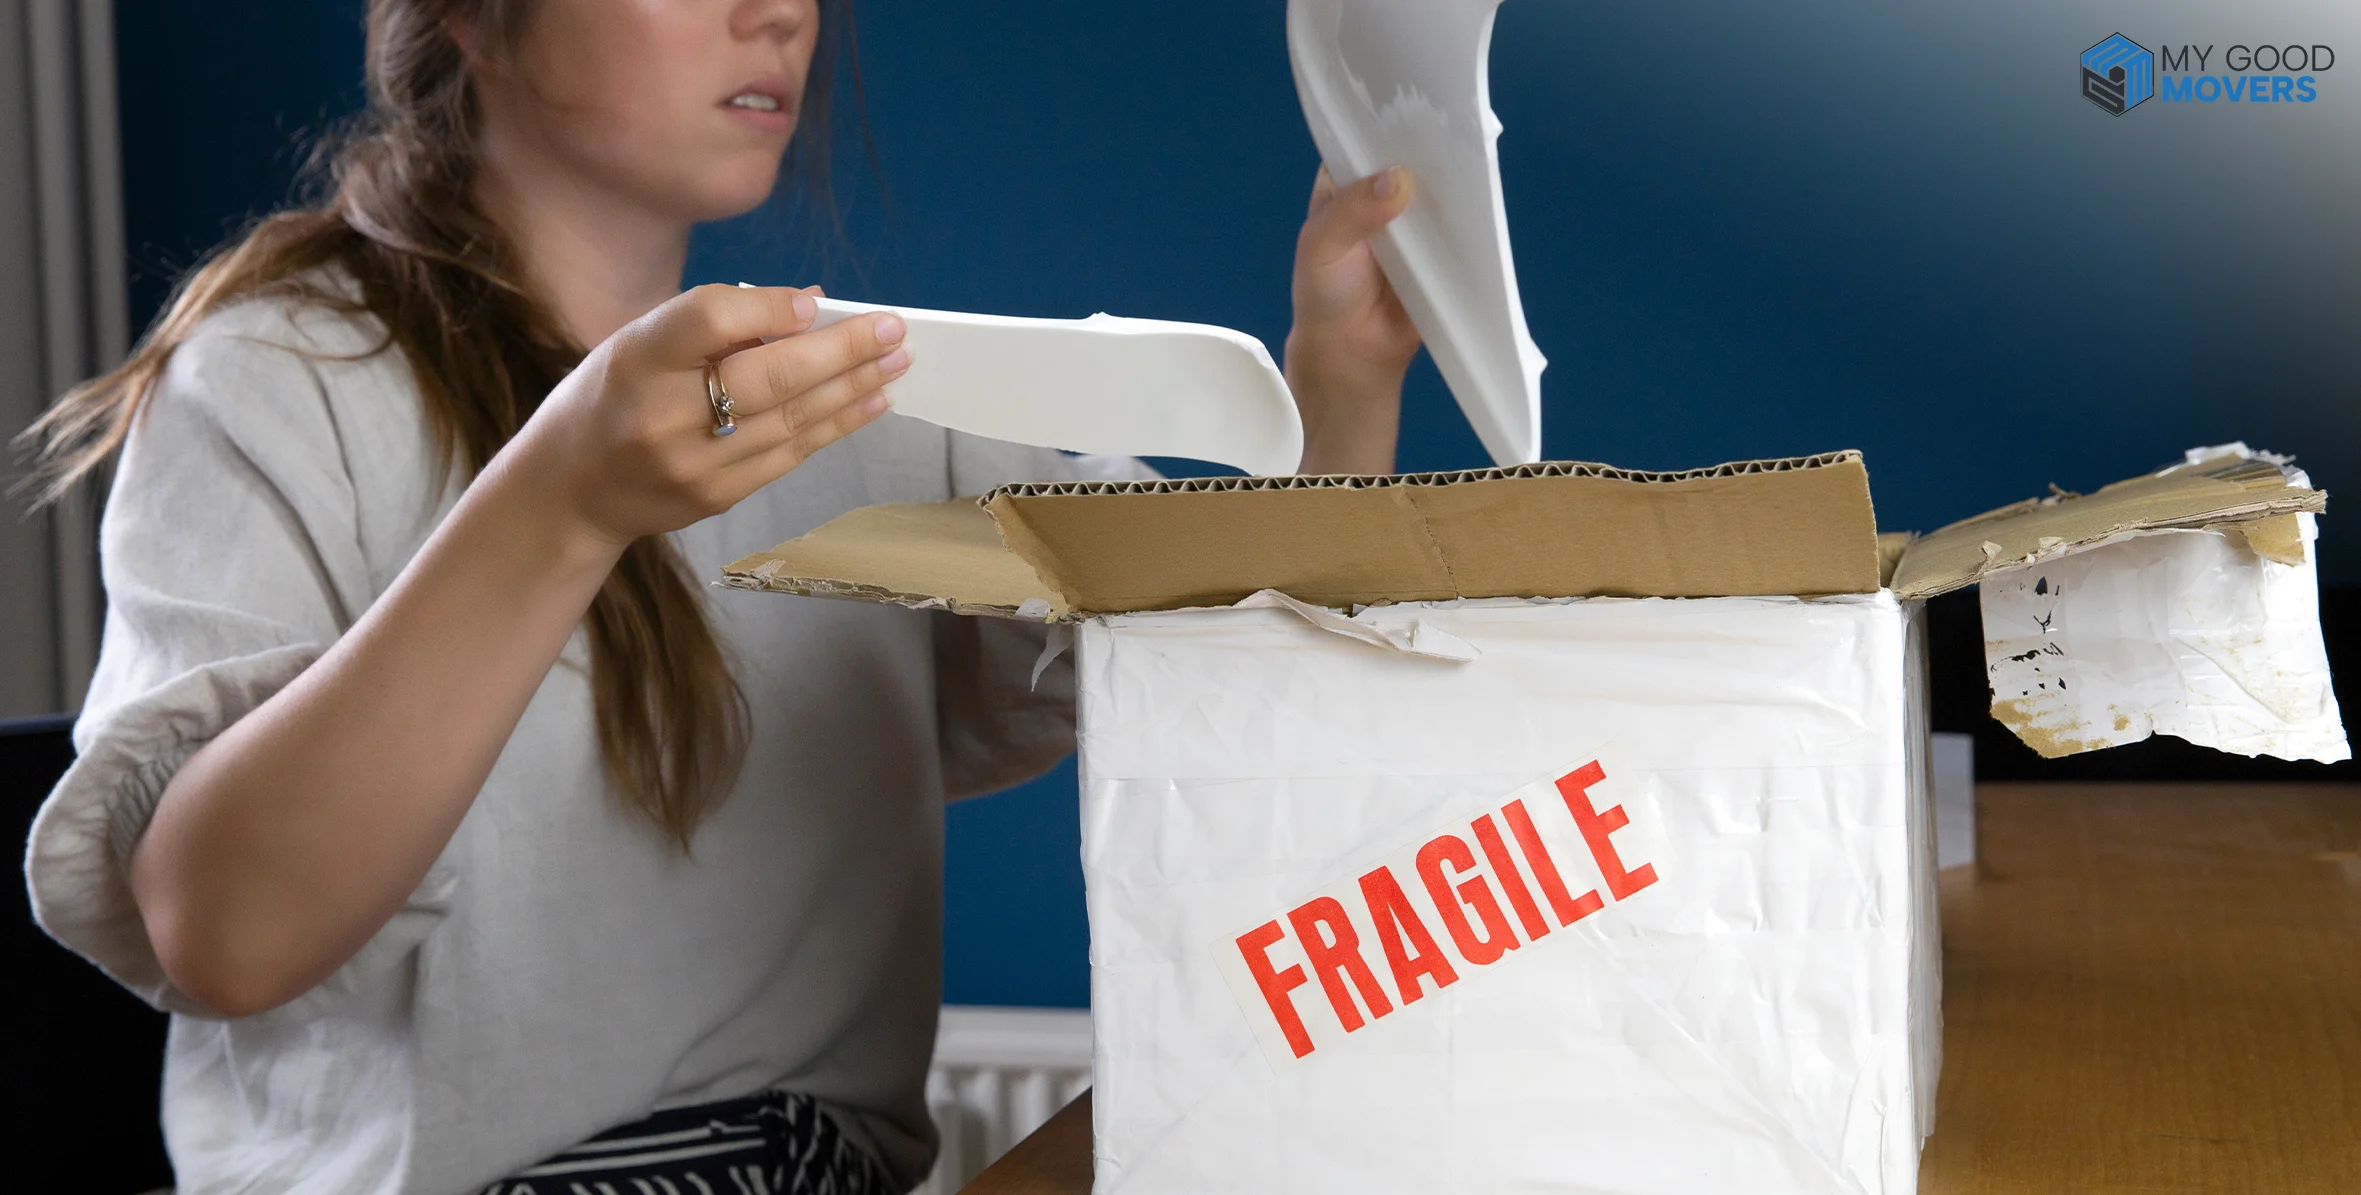
- X-mark the glass: Using masking tape, place an "X" on the glass. This will keep the glass intact even if it cracks during the move.
- Remove loose parts: Take off any hanging wires, hooks, or nails from the back of the frame. Loose parts can cause scratches or poke through the wrapping.
- Add corner protectors: Frame corners are especially vulnerable, so make sure you place foam or cardboard protectors around them to prevent chips and damage.
Corner protection is particularly essential when packing fragile picture frames for transportation to avoid scratches and breakage.
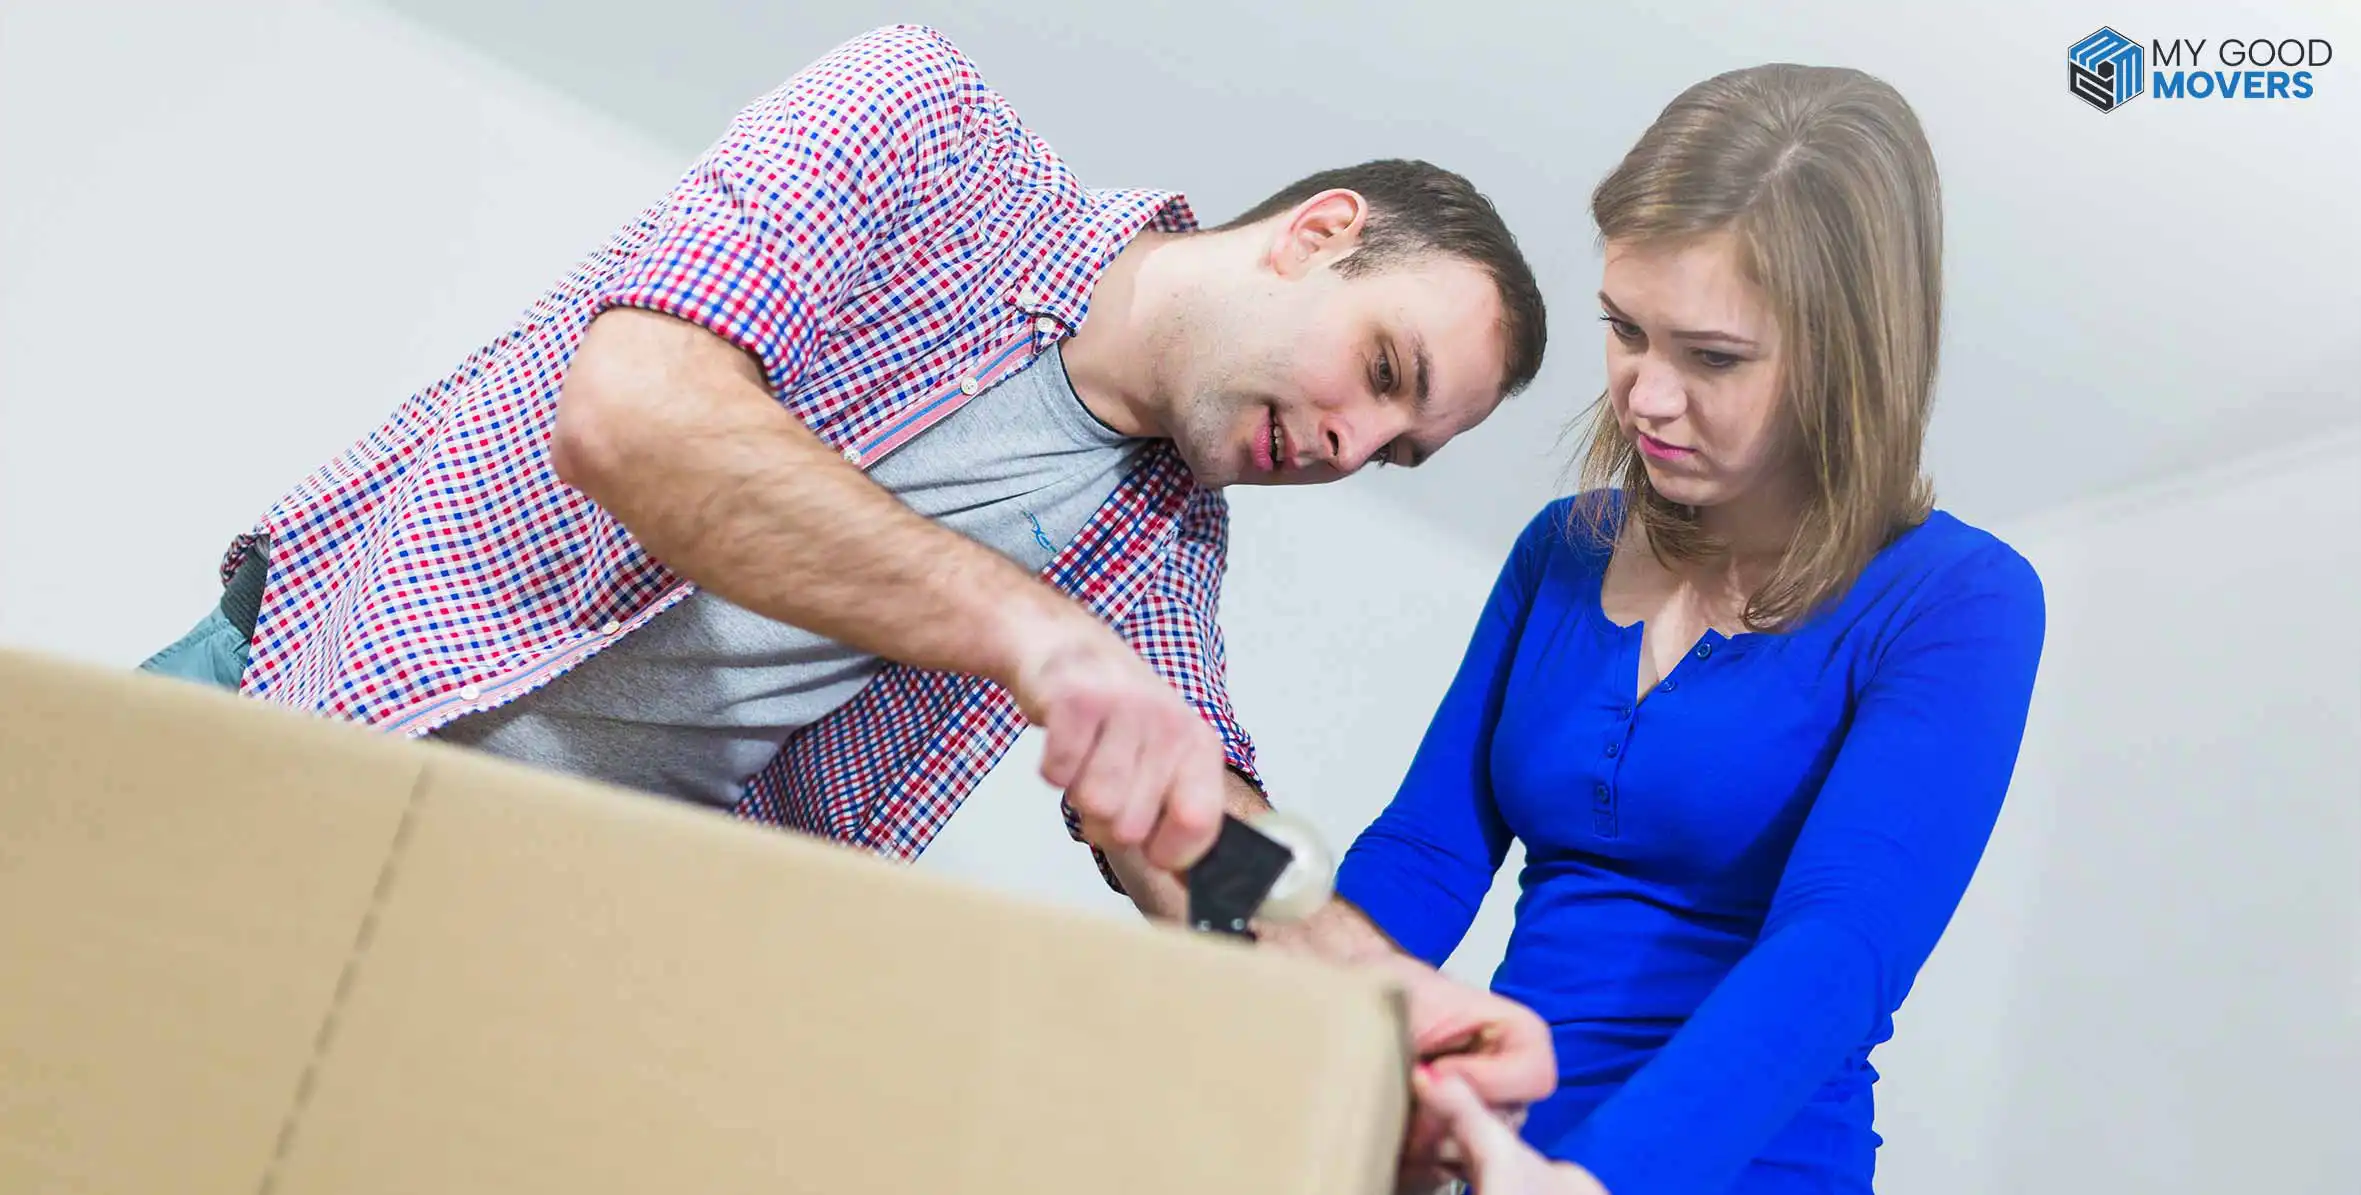
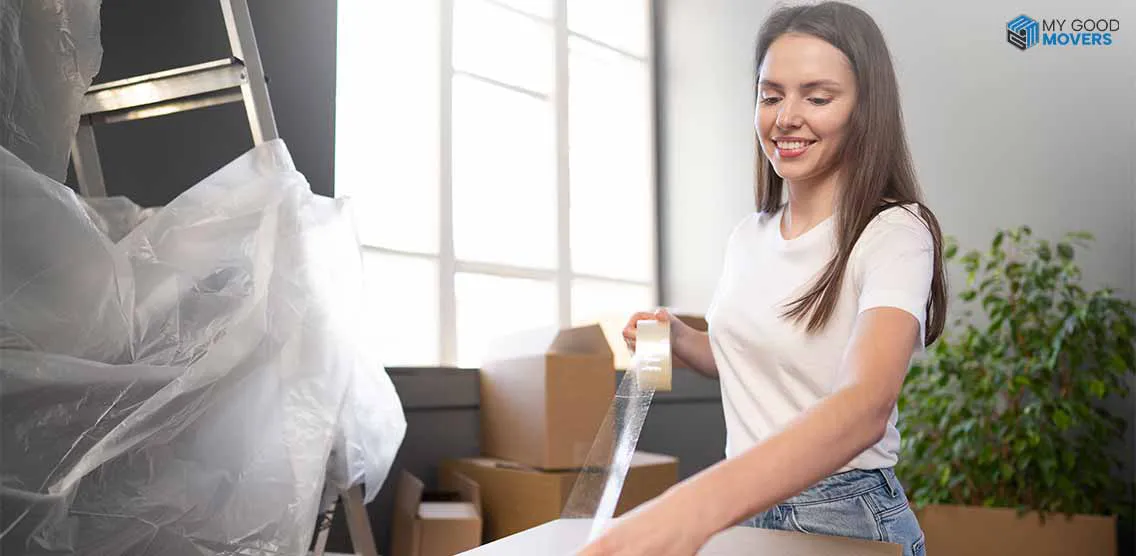
3. Wrap the Frame
When thinking about the best way to wrap pictures for moving, the layering technique is your best friend:
- Start with packing paper: Lay the picture face down on a large sheet of packing paper and wrap it tightly, securing the paper with tape.
- Add bubble wrap: Cover the wrapped picture with a layer of bubble wrap for added cushioning. Make sure the bubbles face inward to better protect the glass or canvas.
- Use cardboard sheets: For additional protection, especially with larger frames, place a sheet of cardboard or foam over the glass before the bubble wrap.
By double-wrapping the frame and glass, you ensure maximum protection. This process is crucial when learning how to pack large picture frames for moving as they are more prone to damage
4. Pack in Specialty Picture Boxes
Picture frames and artwork are not suited for regular moving boxes. Instead, opt for mirrors or picture boxes, which are specifically designed to transport delicate frames. These speciality boxes are adjustable to fit various sizes and provide extra protection.
- Cushion the bottom of the box with packing peanuts or crumpled paper.
- Place the wrapped picture vertically into the box to avoid any weight being placed directly on the glass.
- Add padding around the edges to fill any gaps and ensure the picture doesn’t shift during transit.
For especially large or expensive frames, consider using double-walled boxes, as they provide superior durability during a move. If you are moving to a wet or humid climate, sealing the seams of the box with extra tape can help prevent moisture from seeping in.
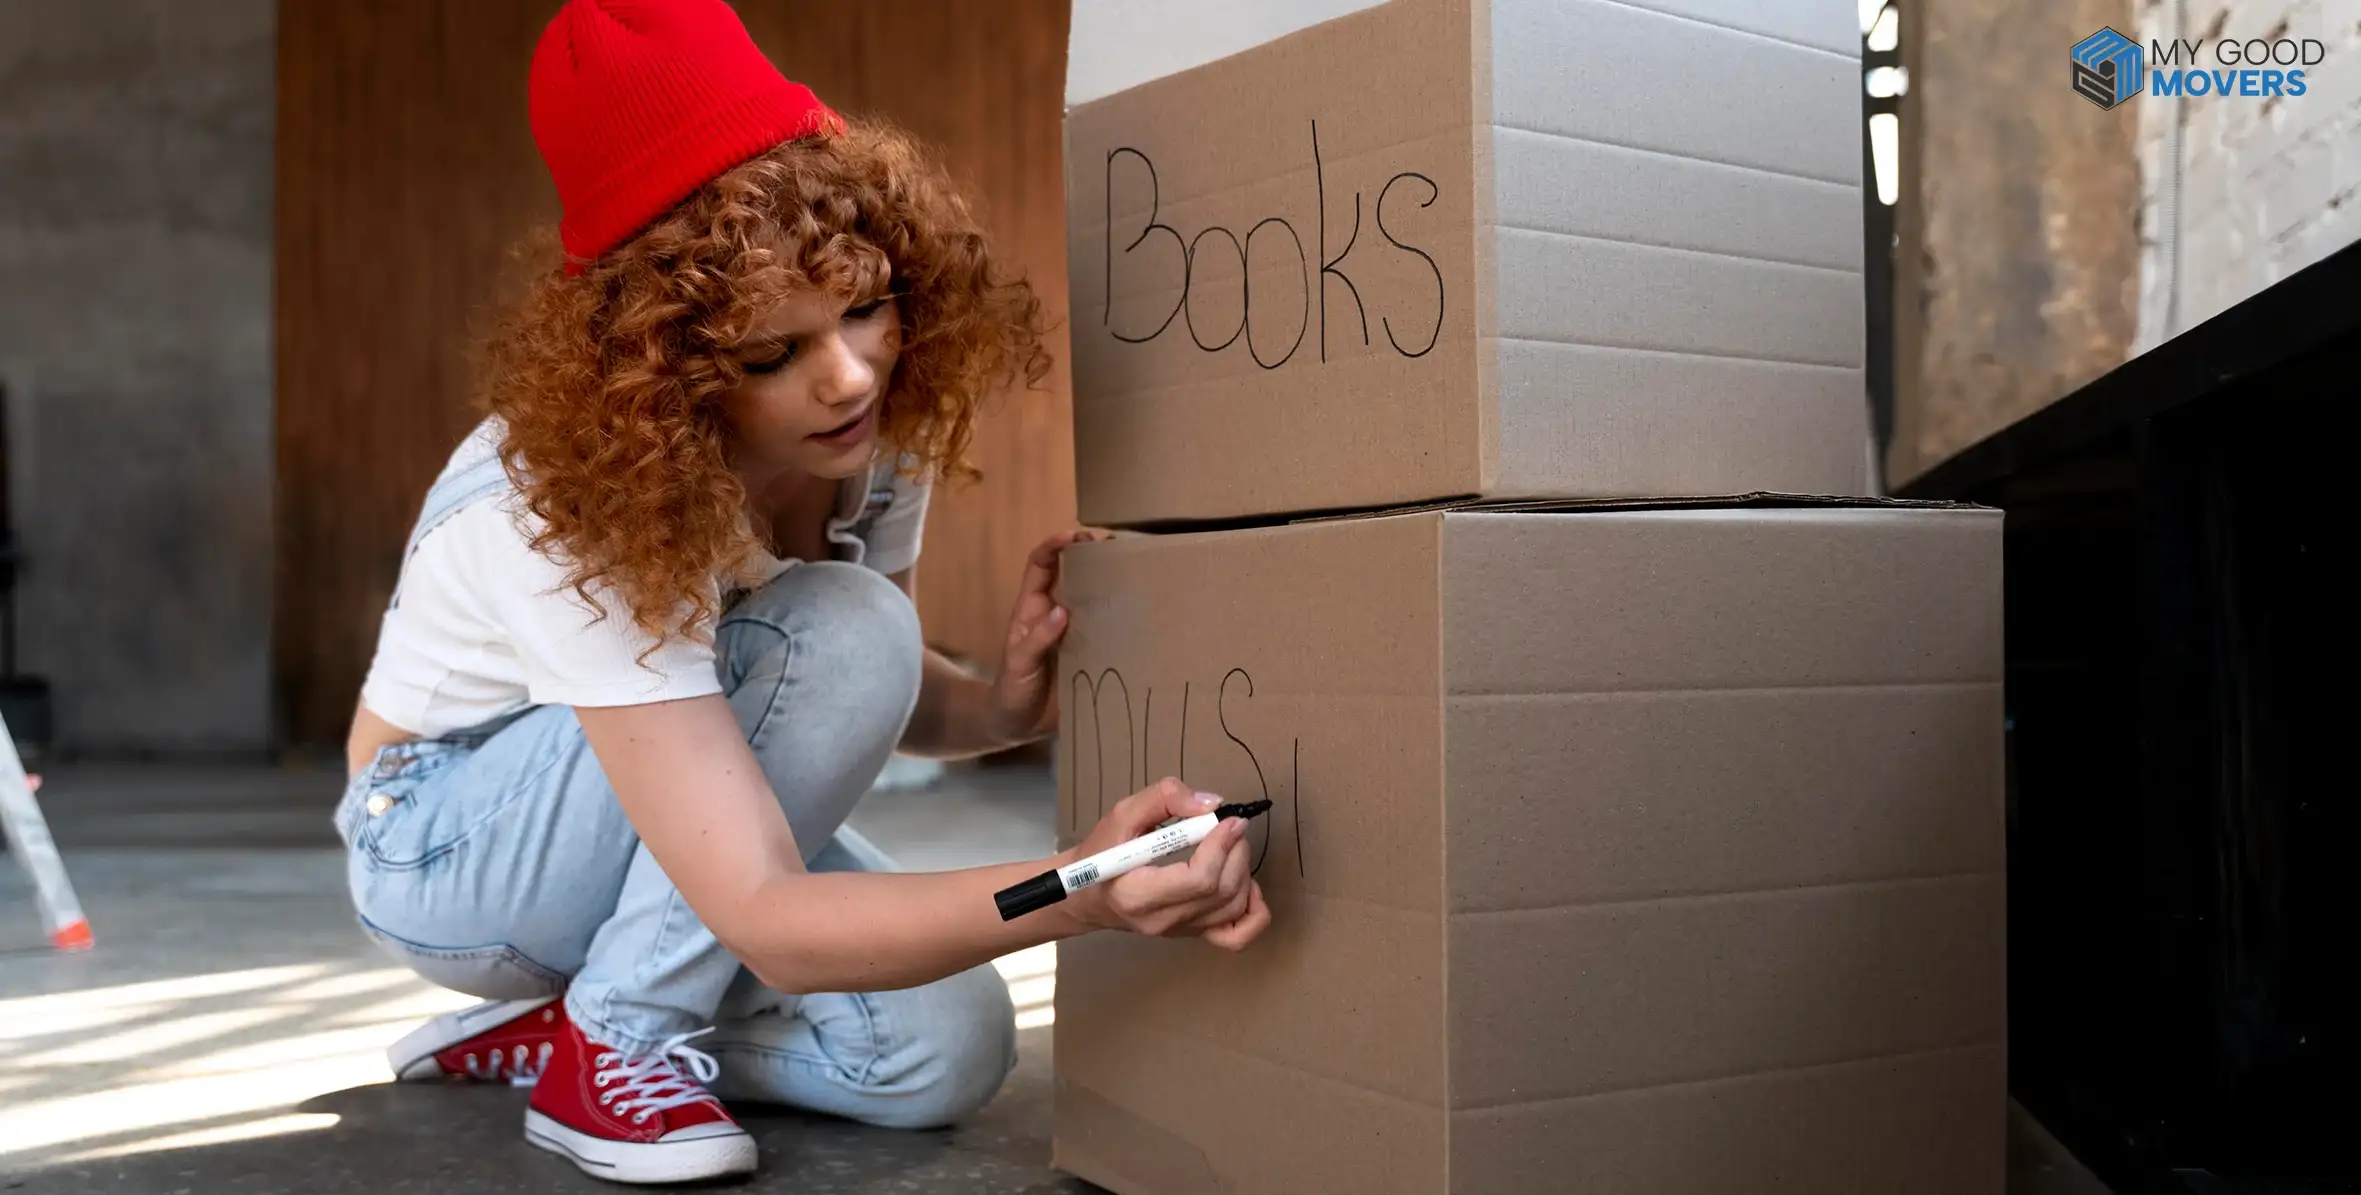
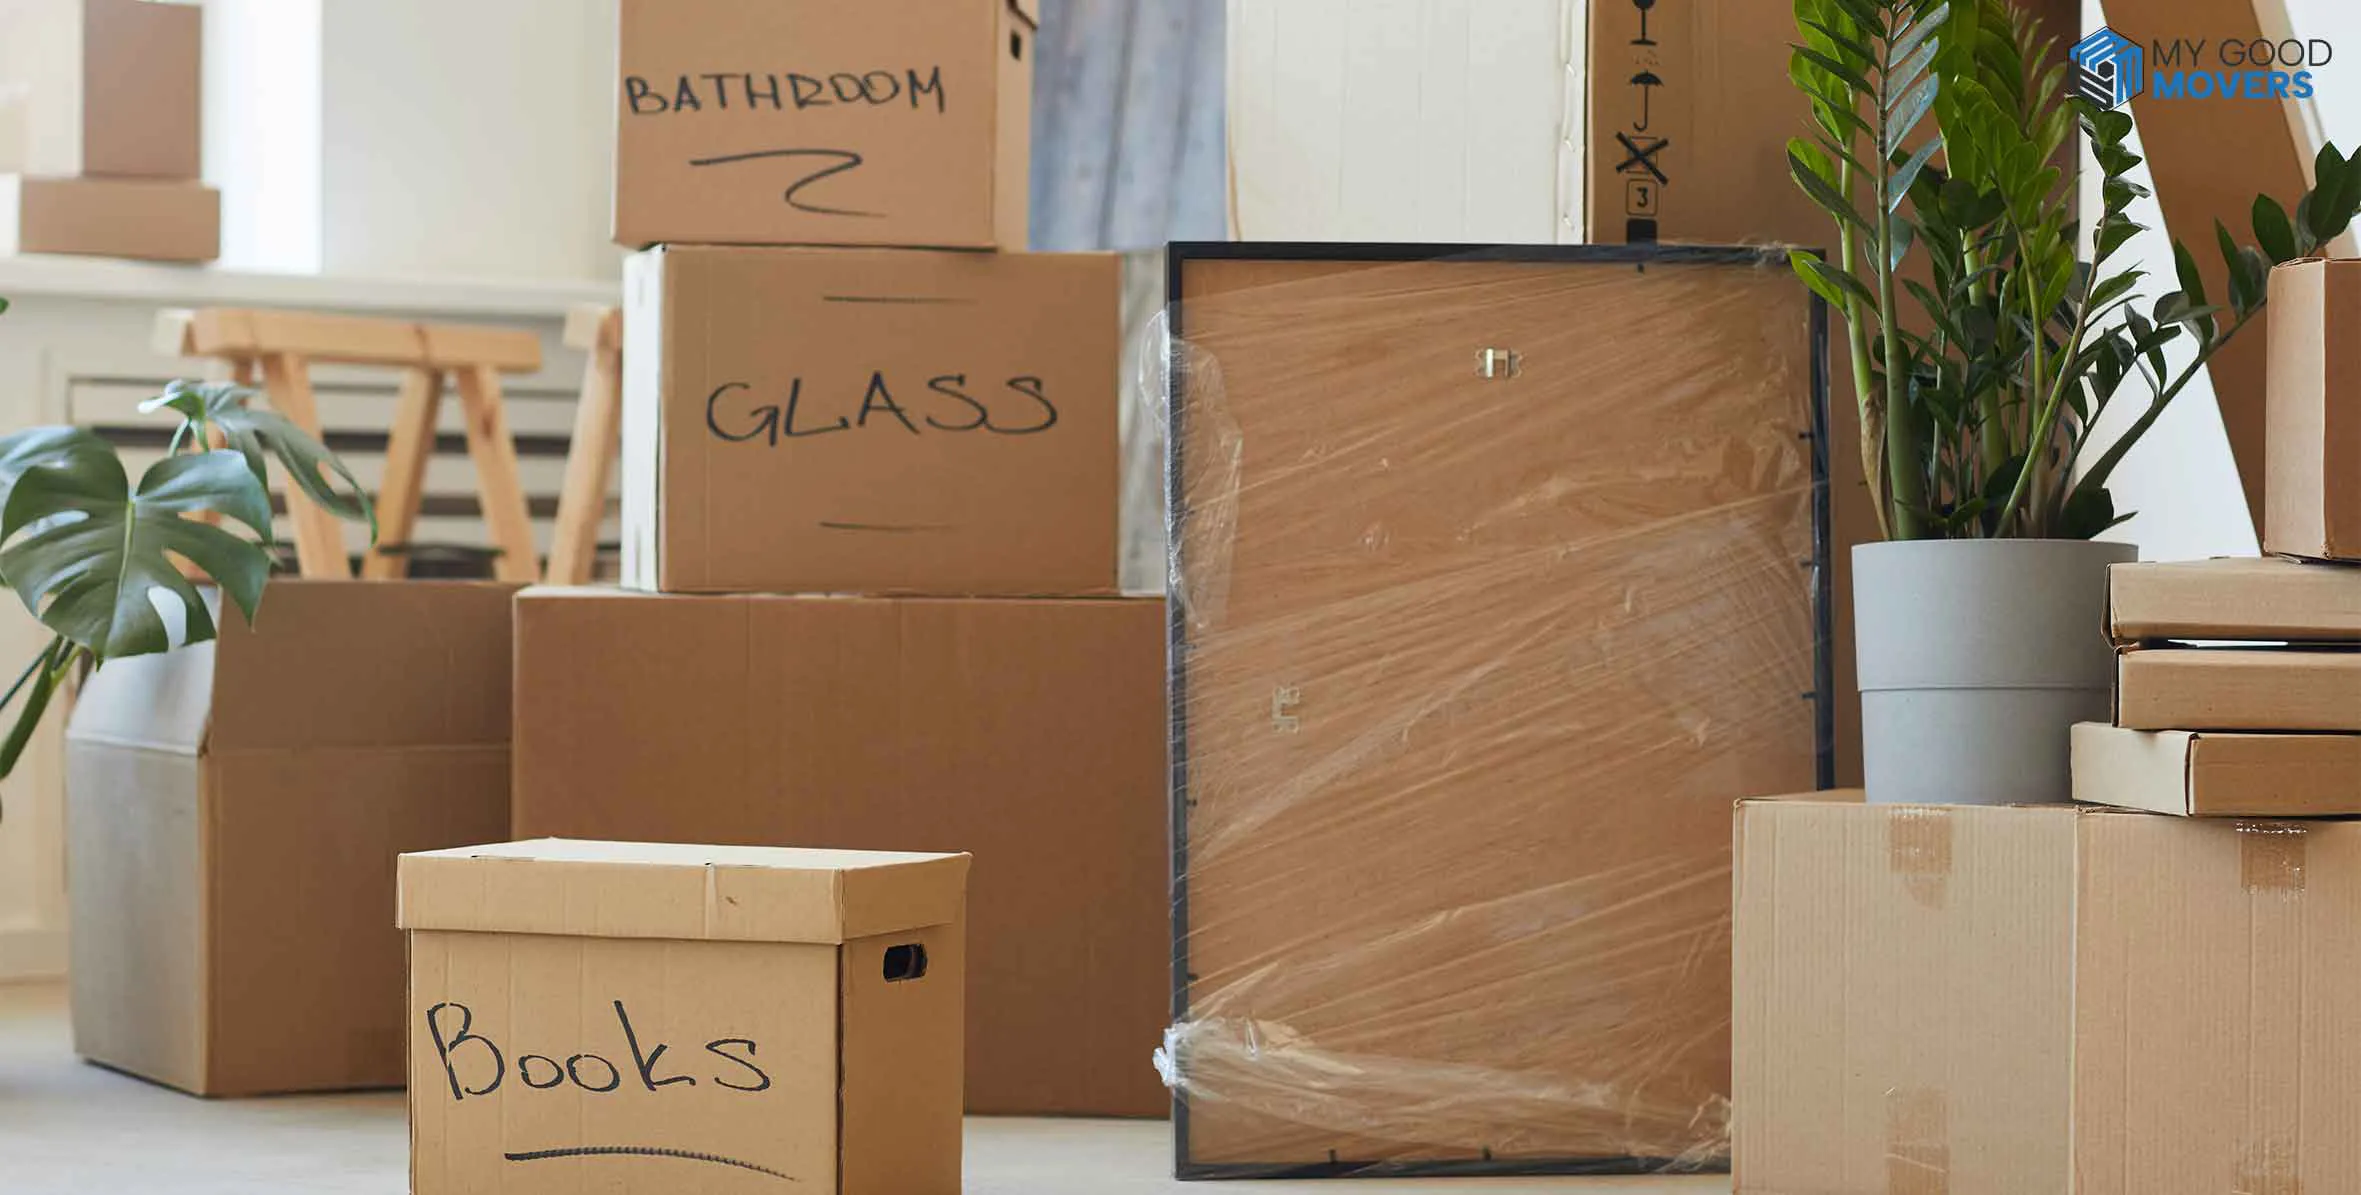
5. Label the Box Clearly
Once the box is sealed, clearly label it with "FRAGILE" on all sides and specify which side contains the glass. This will alert anyone handling the box to treat it with care and ensure it is placed upright when loading and unloading.
According to moving professionals, labelling your boxes helps movers know which items require special handling, particularly in trucks that can reach over 60 mph on highways.
Related article:

Boxes labelled "FRAGILE" are 50% less likely to be mishandled during a move.
6. Load and Transport Safely
The key to transporting framed pictures is to load them correctly in the moving truck:
- Stand pictures upright: Always transport pictures in an upright position. Laying them flat exposes the glass to more pressure, making it more likely to crack.
- Secure the box between sturdy objects: Place the box between large, flat objects like bookshelves or mattresses to prevent it from shifting. Don’t stack anything on top of the picture boxes, as they aren’t designed to bear weight.
For long-distance moves, professionals often recommend avoiding flat placement entirely. By standing the frames upright, the load is distributed more evenly and offers less surface area for potential impact
How to Pack Large Framed Artwork
Packing large framed artwork for a move can be tricky—it requires extra care and the right materials to prevent damage. Here are some steps to pack large framed artwork.
Gather the Right Materials
The first step is always gathering the proper supplies. For large frames, you’ll need materials that provide enough cushion and protection:
- Picture boxes (large or adjustable): These boxes are designed to hold large frames. Depending on the size, they typically cost between $20 and $30 each.
- Bubble wrap: To protect the frame, you'll need a sturdy roll of bubble wrap (150-200 sq. ft.), which can cost around $15 to $20.
- Foam sheets or cardboard inserts: These will go between the glass and the bubble wrap to prevent pressure on the glass surface.
- Corner protectors: Large frames are prone to dings and dents, especially at the corners. Foam or cardboard corner protectors are essential and cost around $5 to $10 per set.
- Packing tape: Always have a strong packing tape handy. You’ll go through more than you think!
Prepare the Artwork
Before you start wrapping, it’s essential to prepare the artwork properly.
- Clean the glass: Dust or debris left on the glass can cause scratches during the move. Take a soft cloth and give the glass a good wipe-down.
- Add an "X" of masking tape on the glass. This might sound odd, but it works! Adding an "X" shape with tape across the glass can help keep it in place if the glass breaks during the move. It won't prevent breakage entirely, but it keeps shattered pieces from damaging the artwork.
Wrap the Frame Properly
Large artwork requires more care than small frames because the larger surface area makes them more susceptible to damage. Here’s how to do it:
- Use packing paper first: Start by placing the artwork face down on a large sheet of packing paper. Wrap the artwork entirely, taping the paper at the back to secure it. This provides the first layer of protection.
- Add foam or cardboard sheets over the glass: The larger the frame, the more pressure there is on the glass. Adding a foam sheet or cardboard over the glass reduces pressure points and protects against cracks.
- Wrap in bubble wrap: Now, it’s time to wrap the entire piece in bubble wrap. The key here is to wrap generously—make sure the bubbles are facing inward for better cushioning.
- Secure with tape: Use plenty of packing tape to secure the bubble wrap around the frame. You don’t want it shifting during the move.

If your frame is larger than 3 feet by 4 feet, use at least two layers of bubble wrap for maximum protection.
4. Protect the Corners
Corners are the most vulnerable parts of large frames. They can easily get scratched, chipped, or bent if they bump into anything during the move. So, after wrapping the frame:
- Apply corner protectors: You can find cardboard or foam corner protectors that fit securely around each corner. These will absorb impact if the artwork bumps into something.
5. Use Specialty Picture Boxes
Once your large framed artwork is wrapped and protected, the next step is to put it in a box. Don't try to fit it into a regular moving box; large frames need mirror/picture boxes.
- Fit the artwork snugly into the box: Place the frame in the speciality box, standing it upright, which reduces the pressure on the glass.
- Fill any empty space: Use crumpled packing paper or foam peanuts to fill any gaps in the box. You don't want the frame to shift inside the box during transit.
- Seal the box: Use plenty of packing tape to seal all the sides and corners of the box.
Bonus Tips for High-Value Artwork
If you’re packing something particularly valuable, consider these extra precautions:
- Custom Crating: If your frame is especially large or valuable, custom wooden crating might be a worthwhile investment. It can cost anywhere between $200 and $1,000, depending on the size, but it offers the highest level of protection.
- Insurance: Many moving companies offer coverage, but for high-value items, consider third-party insurance to cover any potential damages. Full-value protection could cost an additional $100 to $500.
Related articles:
How to Deal with Damaged Goods After a Move
Moving Insurance Policy – How to Choose the Right One
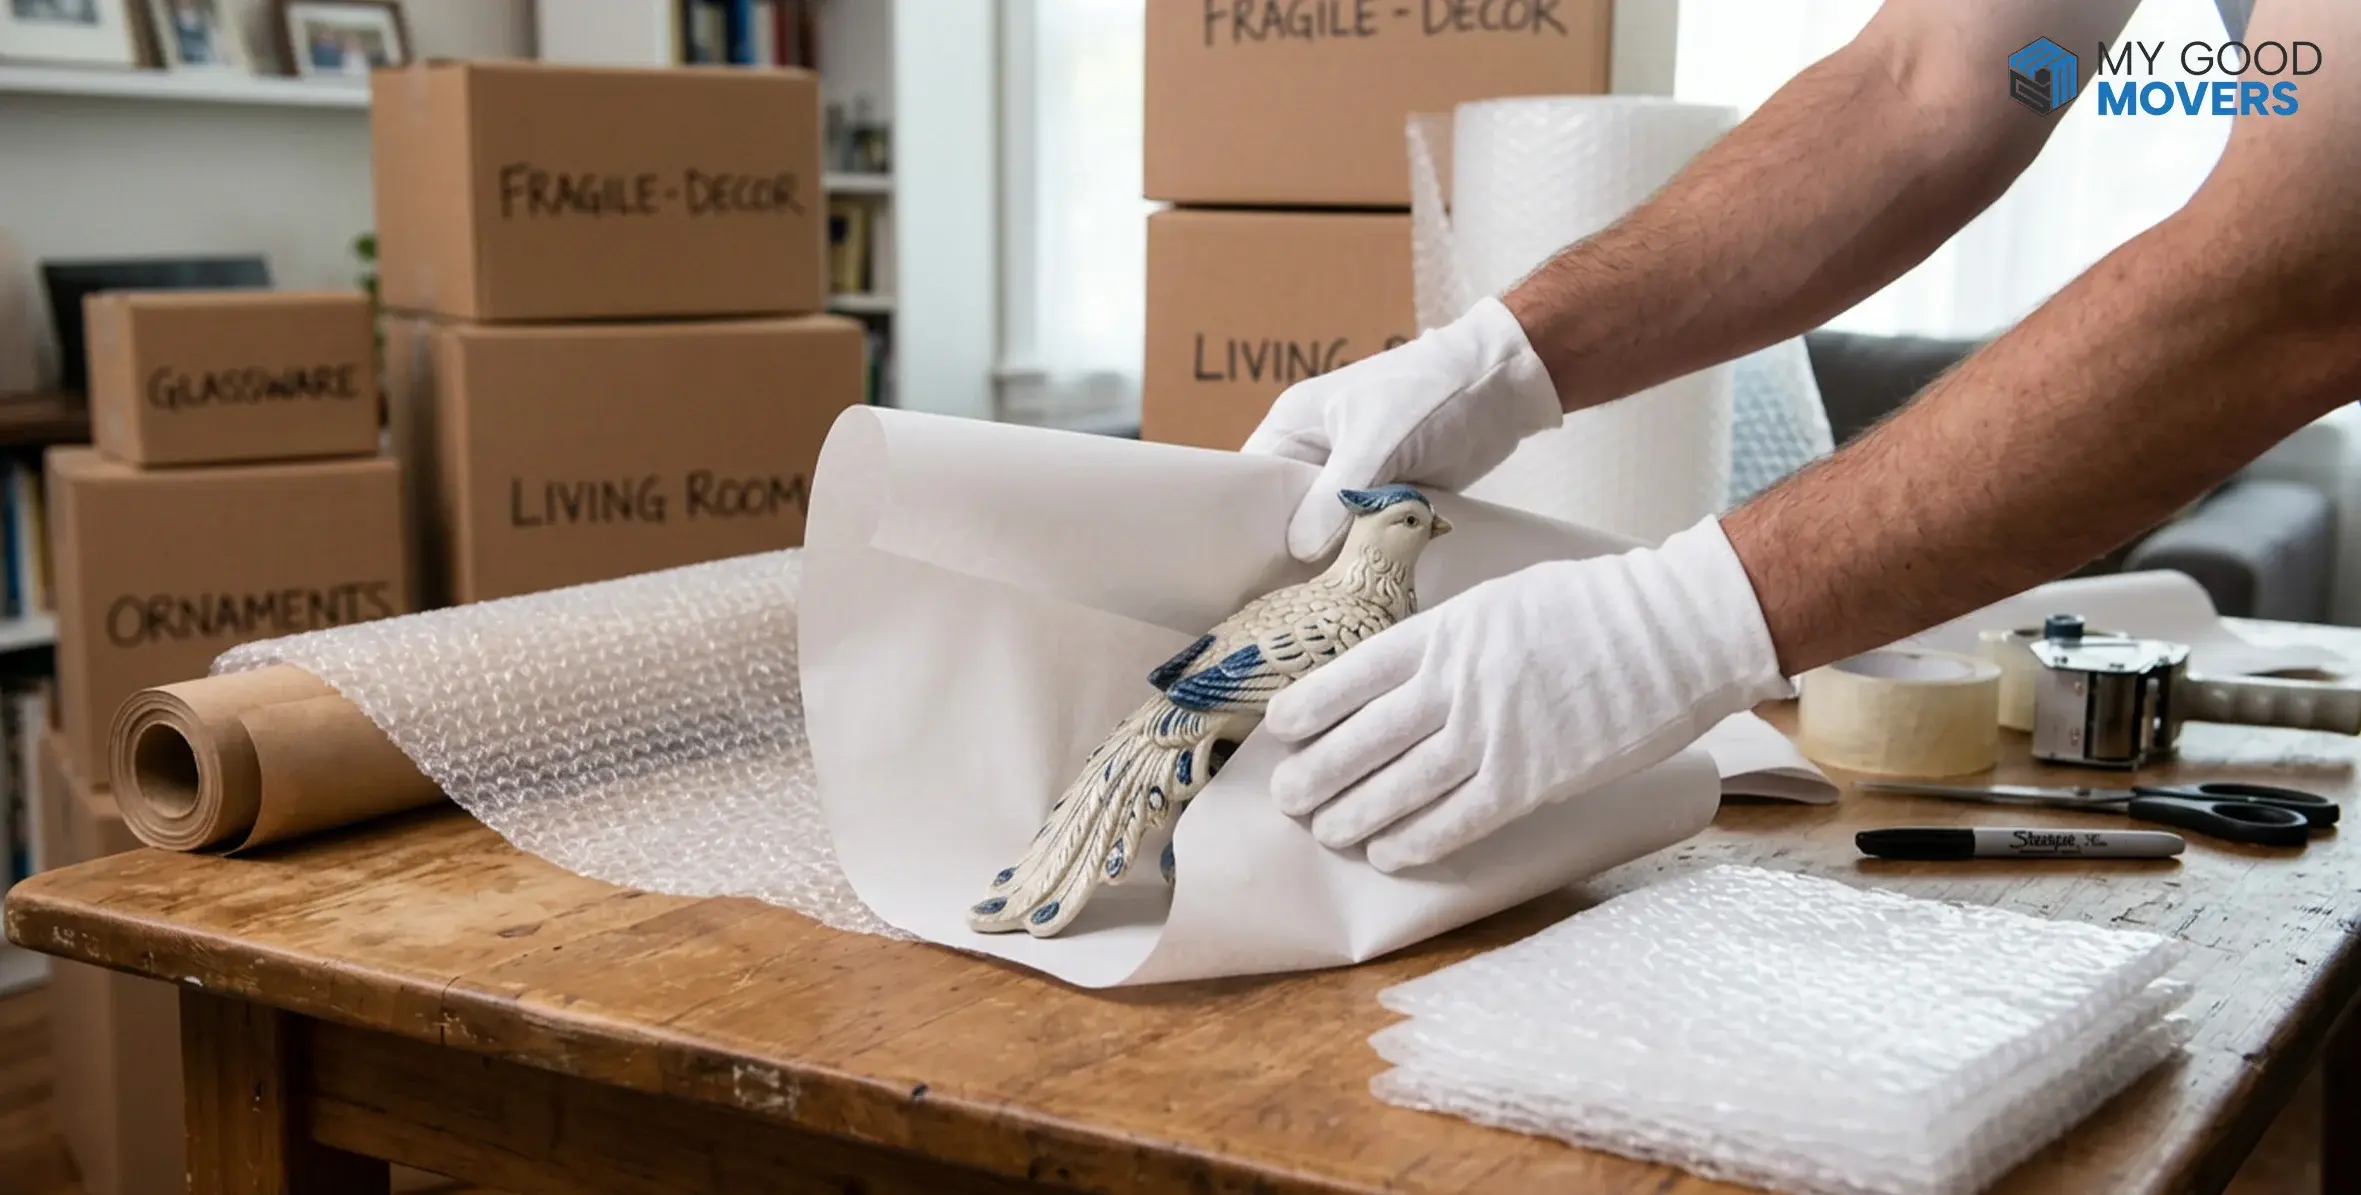
Moving Loose Photos and Artwork
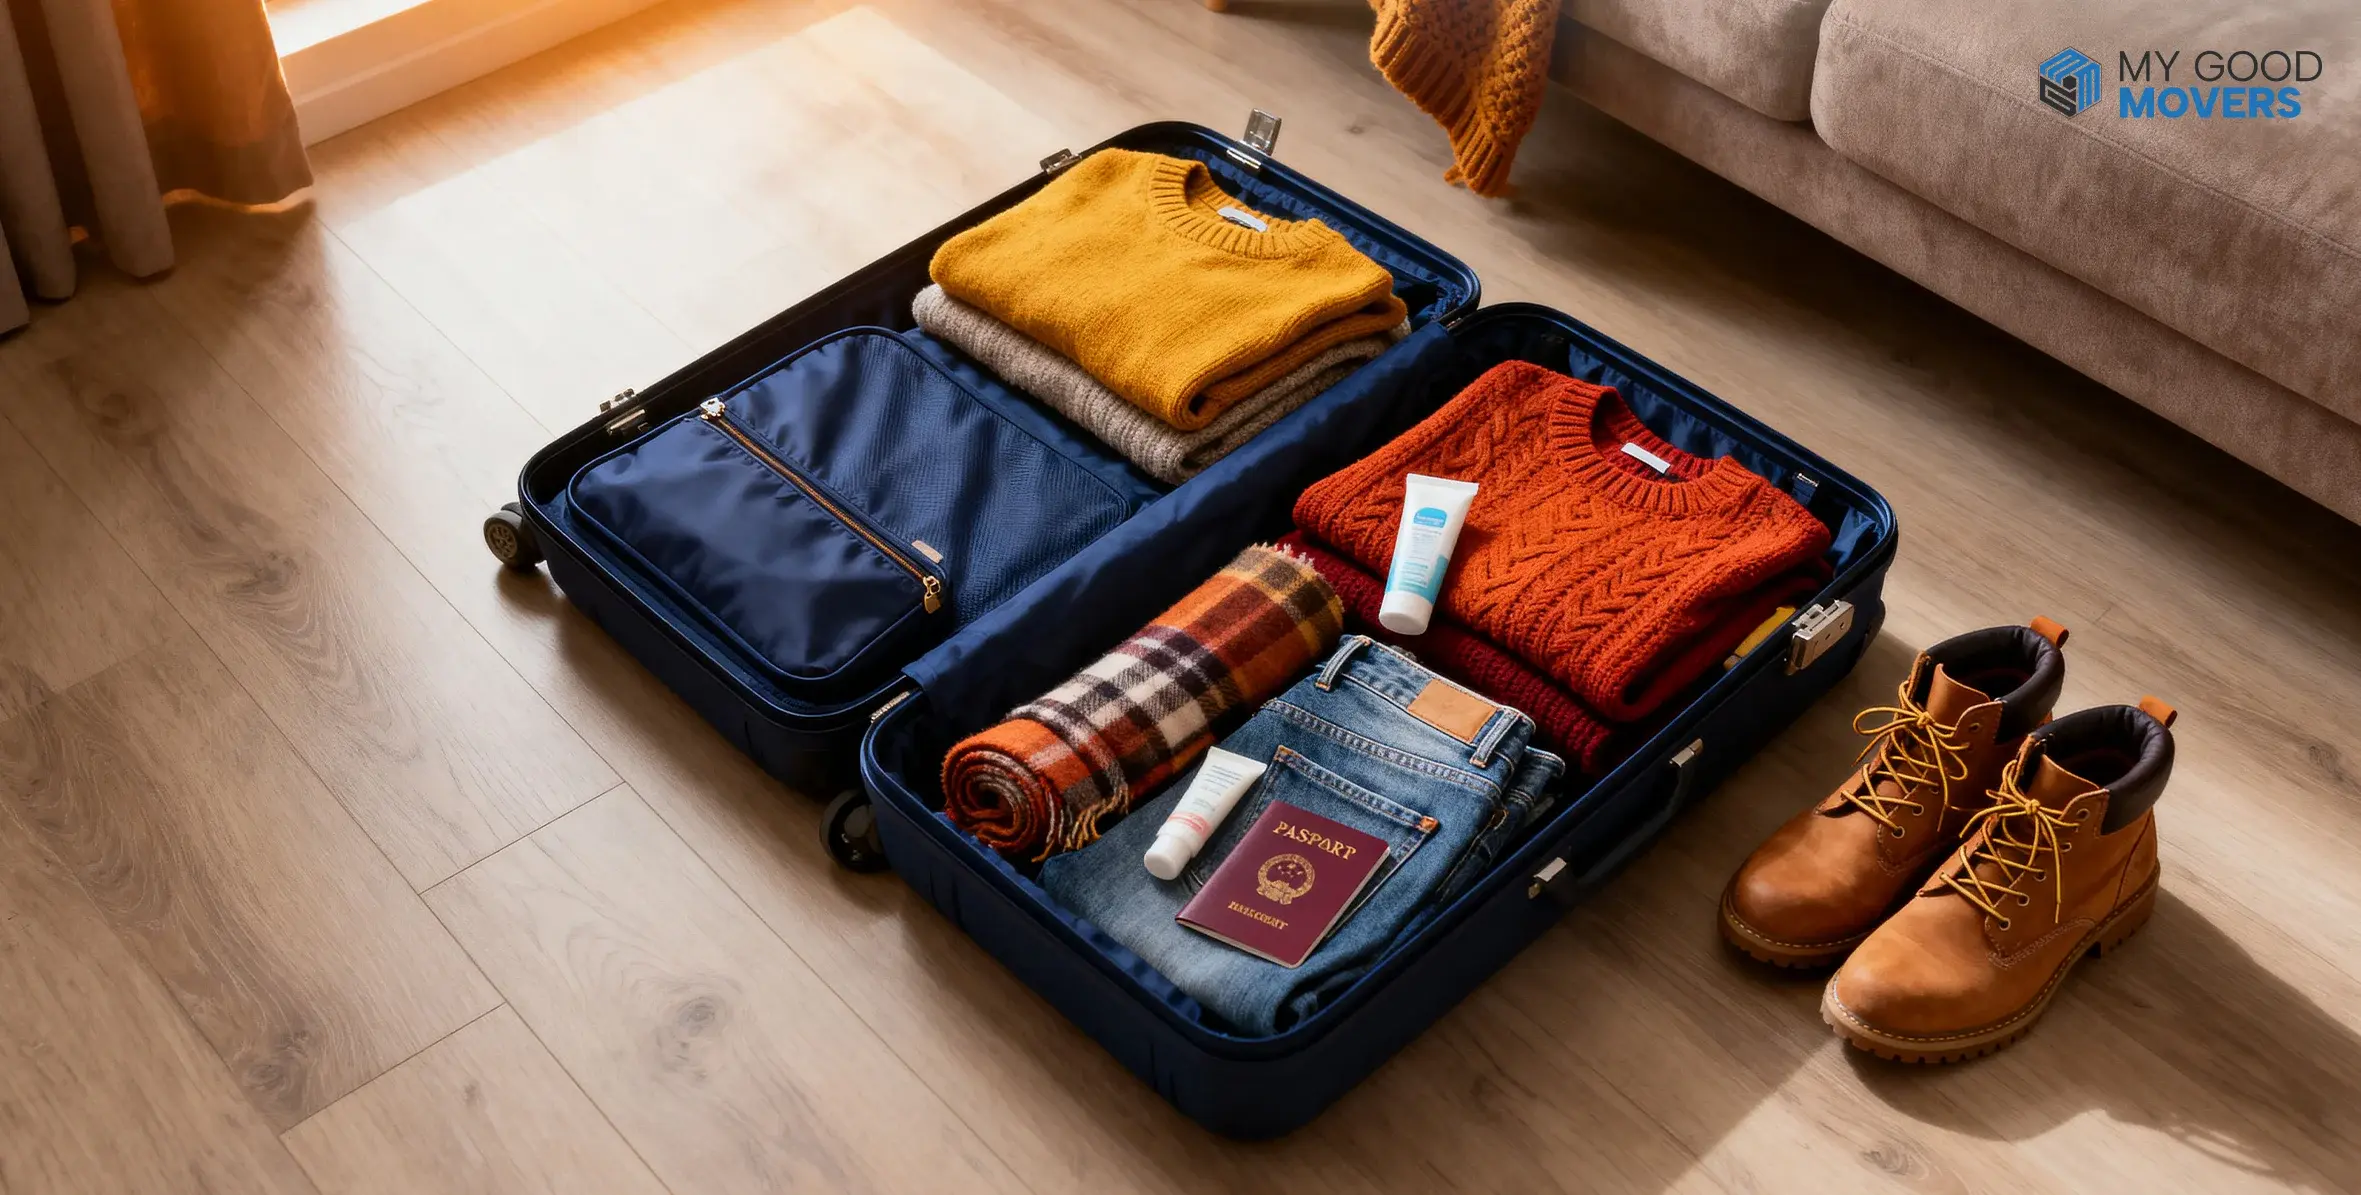
If you are moving loose photos (such as canvas paintings), here’s some additional advice:
- For loose photos, place them in an acid-free photo album or between sheets of non-acidic paper to avoid fading or ink transfer.
- For canvas paintings, avoid using bubble wrap directly on the painted surface. Instead, wrap the painting in acid-free paper and then add bubble wrap for padding.
How Much Does It Cost to Pack Pictures for Moving?
If you're wondering how much it will cost to pack pictures for moving, it's important to consider every factor involved, from the supplies you need to any professional services you might opt for.
Cost of Packing Materials
Packing fragile picture frames requires specific materials to keep them safe during the move. Here's a rough estimate of the materials you’ll need:
| Packing Material | Average Cost |
|---|---|
| Acid-Free Packing Paper | $10 - $15 per pack (for about 100 sheets) |
| Bubble Wrap | $10 - $20 per roll (150-200 sq. ft.) |
| Corner Protectors (Foam/Cardboard) | $5 - $10 per set (for 4 corners) |
| Packing Tape | $3 - $7 per roll |
| Picture/Mirror Boxes | $10 - $30 per box (depending on size) |
| Packing Peanuts/Cushioning Materials | $5 - $10 per bag |
The quantity of these supplies can fluctuate depending on the number of pictures you're packing. For example, a single large roll of bubble wrap can cover several smaller frames, while larger or more valuable artwork may need more than one layer of protective material.
Types of Picture Boxes
Picture boxes come in different types, each designed for specific picture frame sizes and protection needs.
- Small Picture Boxes: These are ideal for smaller frames, up to 24” x 36”. They typically cost between $10 and $15 per box.
- Large Picture Boxes: For larger artwork or multi-piece frames, expect to pay between $20 and $30 per box.
- Adjustable Picture Boxes: These come with inserts that can be adjusted to fit the size of your picture, offering additional protection. These cost about $15 to $25.
DIY vs. Hiring Professional Movers Cost
You can either pack the pictures yourself or hire professional movers.
- DIY Packing: On average, for a 2-bedroom home with about 10 framed pictures, you could spend between $50 to $150 on packing materials alone.
- Hiring Professional Movers: If you get professional services, the cost can range from $200 to $500, depending on the number of frames, their size, and how much protection they require.
Click to learn How Much Do Packing Services Cost?
Custom Crating for High-Value Pictures
For high-value artwork or antique frames, custom crating may be necessary. It’s a more expensive option, but worth considering if the item is irreplaceable.
| Custom Crating | Cost Estimate |
|---|---|
| Small Crate | $100 - $200 per crate |
| Medium Crate | $200 - $400 per crate |
| Large Crate | $500 - $1,000 per crate |
Insurance for Framed Pictures
Many moving companies offer insurance options that will cover damage to fragile items like pictures.
| Type of Insurance | Cost Estimate |
|---|---|
| Basic Valuation Coverage | Free (60 cents per pound) |
| Full Value Protection | $100 - $500 depending on item value |
| Third-Party Insurance | Varies depending on policy and provider |
Total Cost Breakdown
Let's take an example, to sum up all the costs. Suppose you are moving with 10 framed pictures, including a few large frames and one valuable painting.
Here's a rough estimate of the total cost if you're packing yourself:
| Item | Cost |
|---|---|
| Packing Paper (2 packs) | $20 |
| Bubble Wrap (2 rolls) | $40 |
| Corner Protectors (5 sets) | $25 |
| Picture Boxes (5 small, 5 large) | $150 |
| Packing Tape (3 rolls) | $15 |
| Packing Peanuts | $10 |
| Custom Crate for valuable painting | $500 |
| Insurance (Full Value Protection) | $200 |
Total DIY Packing Cost: $960
If you decide to hire professional movers to handle everything, including packing and custom crating, your total could range from $1,200 to $2,000