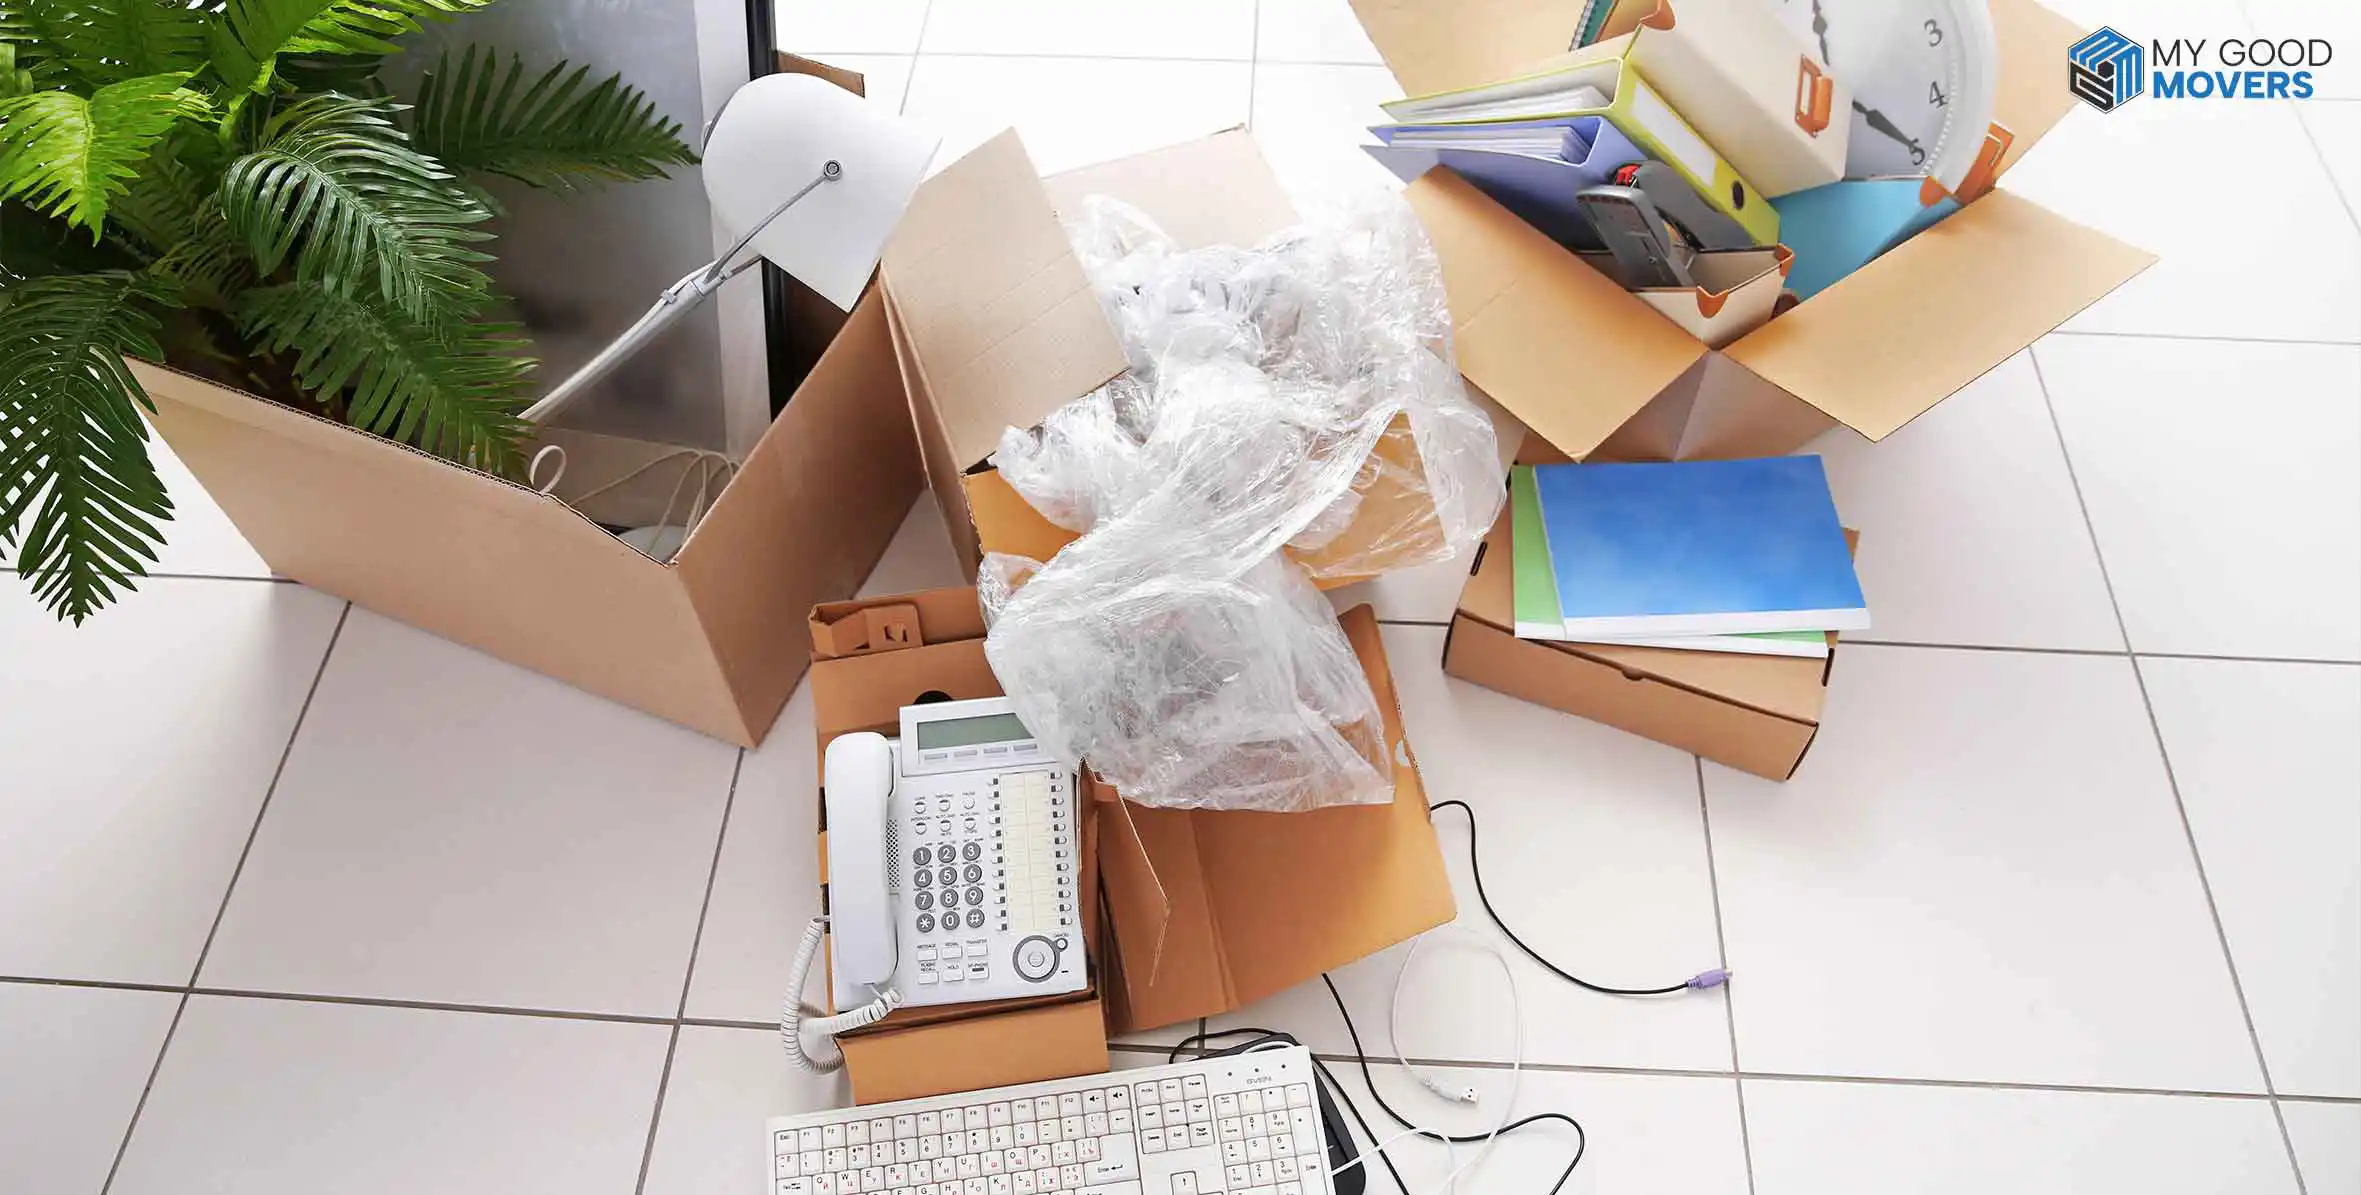




The best way to learn how to pack kitchen for moving is to pack in stages: start with rarely used items, protect fragile pieces with enough padding, keep daily essentials until the end, and prepare one kitchen essentials box for moving day.
The kitchen can fool you because it looks simple until every cabinet, drawer, plate, glass, pan, spice jar, and appliance needs a box.
Most people realize the kitchen is the hardest room only after they open the cabinets. There are breakable dishes, sharp knives, heavy pots, half-used oils, food containers, mugs, cleaning supplies, and small appliances scattered around.
That is why kitchen packing needs a simple plan, not random boxes on the counter. Let’s make your kitchen easier to pack without making your move harder than it already is.
When Should You Start Packing Your Kitchen?
You should start packing your kitchen 3 to 4 weeks before moving day if you have a full kitchen or a family kitchen.
Your kitchen still needs to work until the last few days. So pack the things you do not use often first, then slowly move toward daily-use items.
Kitchen Packing Timeline
| Time Before Move | What to Pack |
|---|---|
| 3 to 4 weeks before | Rarely used dishes, serving sets, seasonal items, extra cookware |
| 2 weeks before | Extra mugs, glasses, baking tools and small appliances |
| 1 week before | Most dishes, utensils, cookware and pantry extras |
| 1 to 2 days before | Spices, oils, remaining cookware and cleaning items are allowed to move |
| Moving day | Kitchen essentials box only |
Kitchen Packing Supplies and Tools You’ll Need
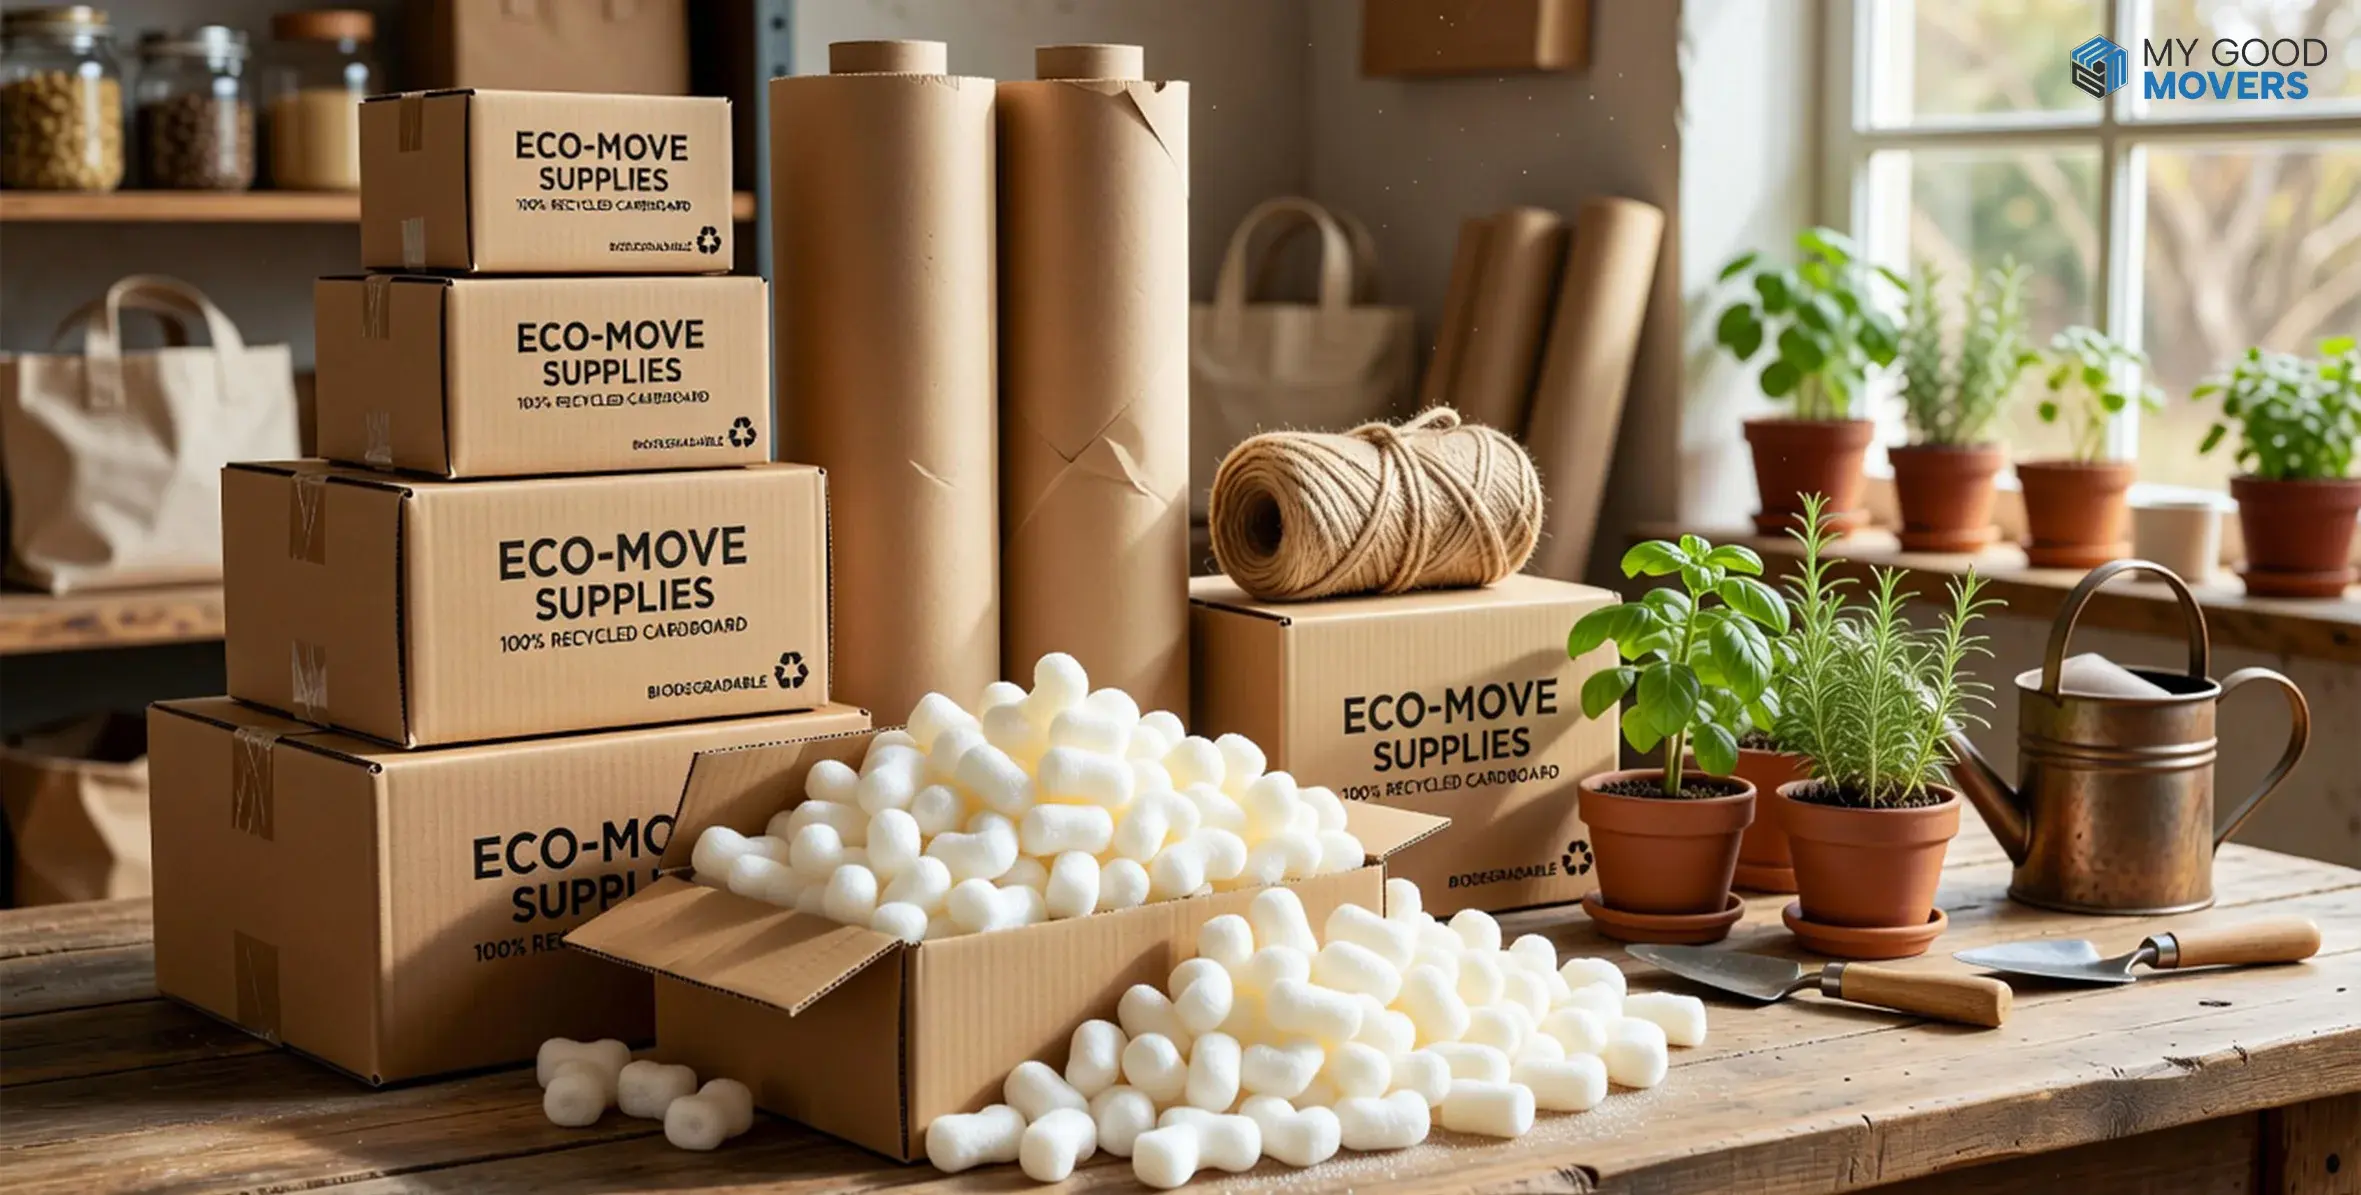
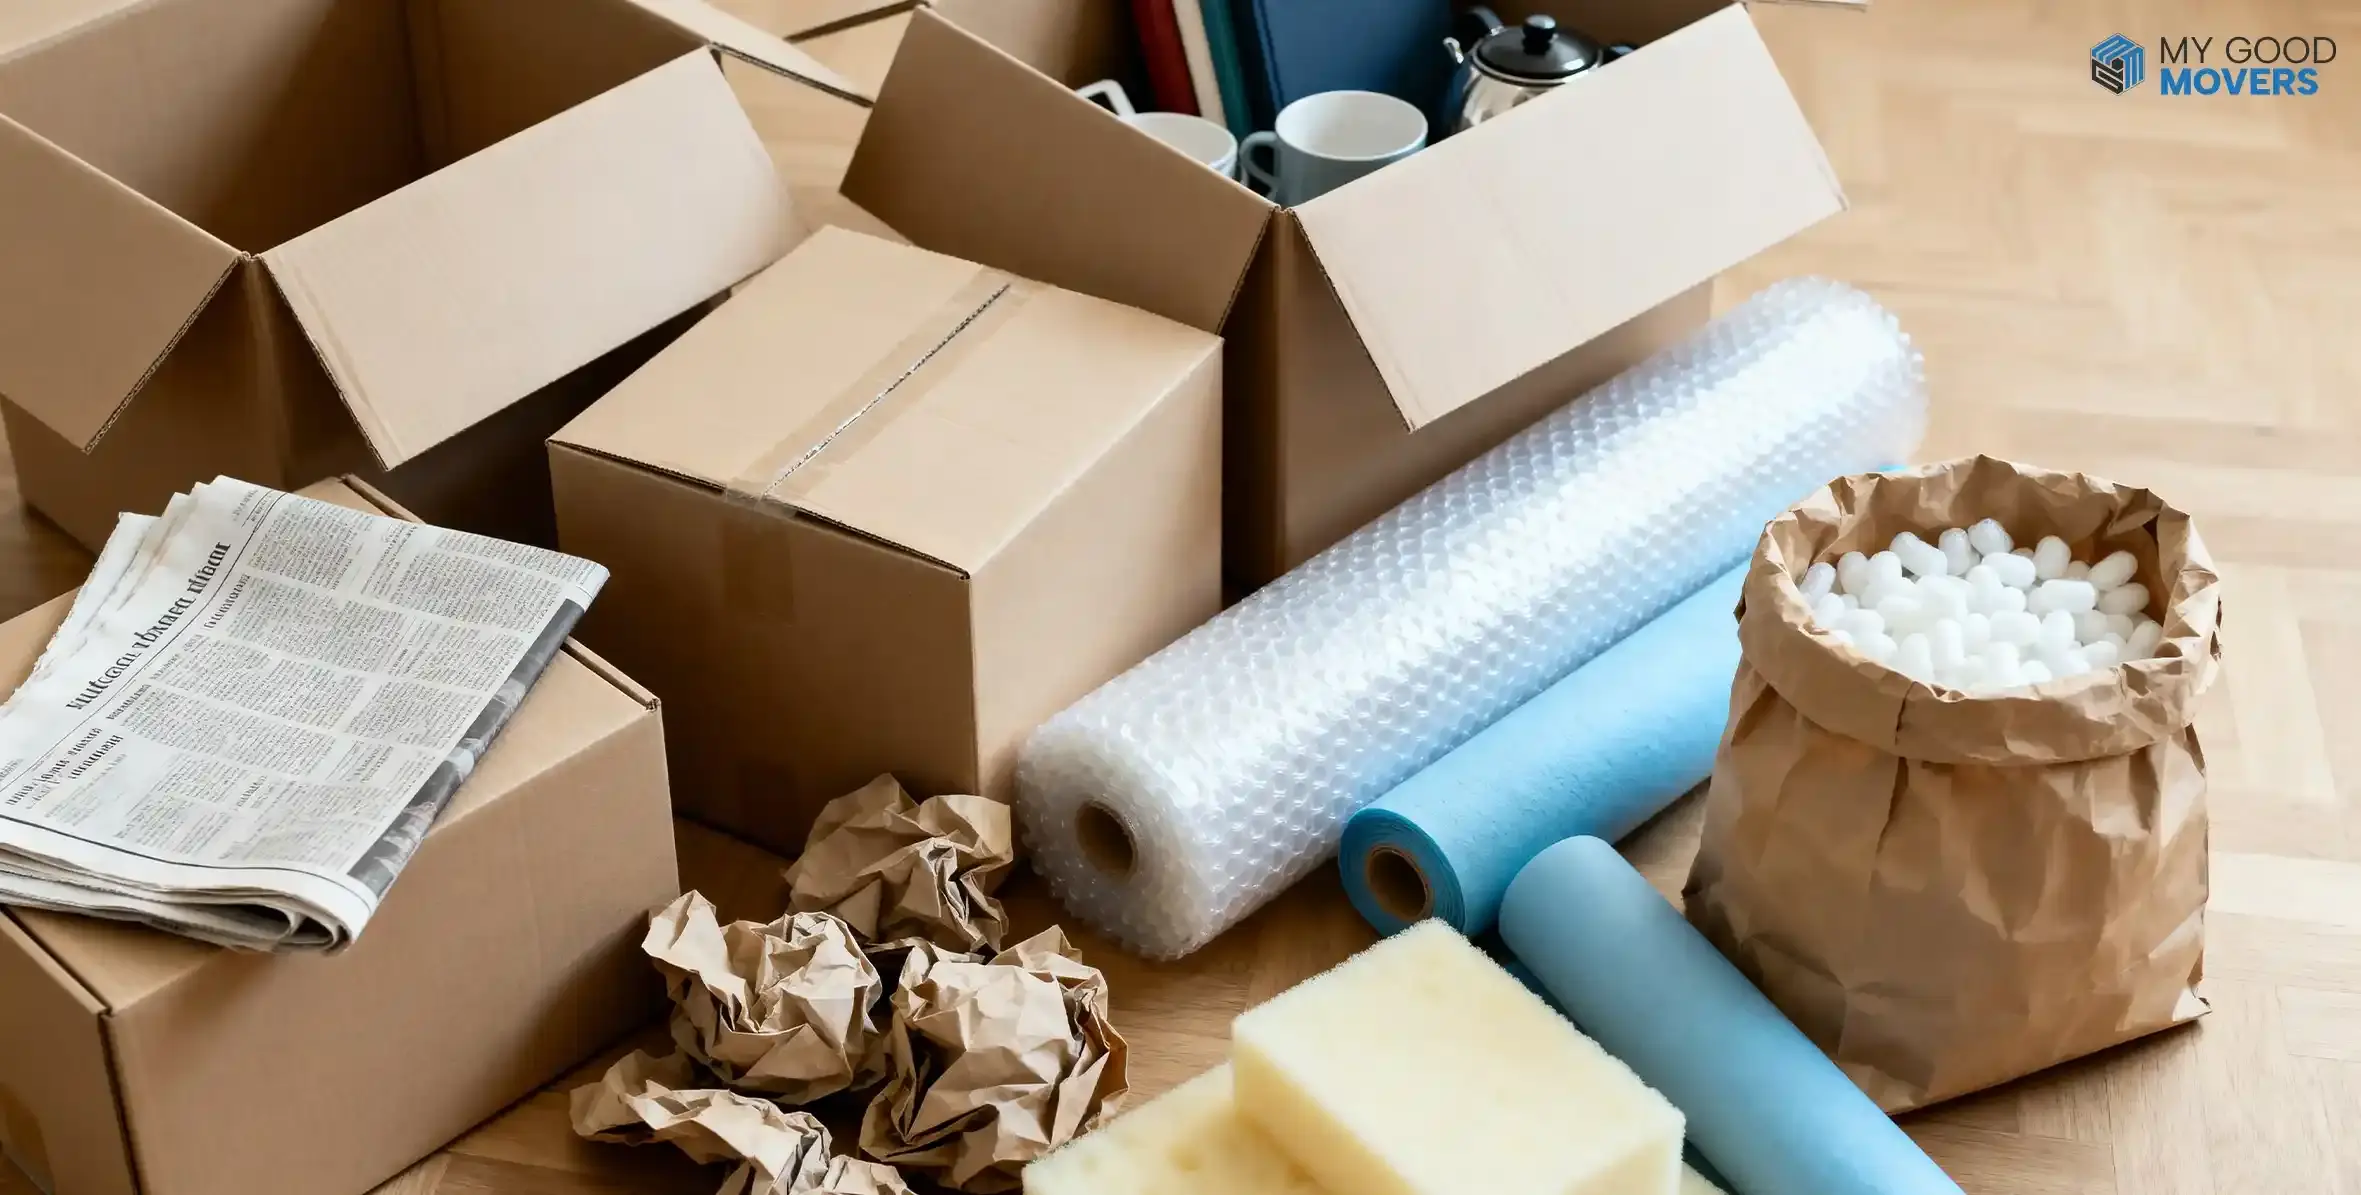
Good kitchen packing starts with the right supplies. Plates, jars, pans, glasses, and canned goods can get heavy fast, so avoid weak boxes and thin tape.
| Supply / Tool | Best Used For |
|---|---|
| Small boxes | Plates, cans, jars, heavy items |
| Medium boxes | Cookware, utensils, appliances |
| Dish boxes | Fragile dishes and glassware |
| Packing paper | Plates, bowls, mugs, glasses |
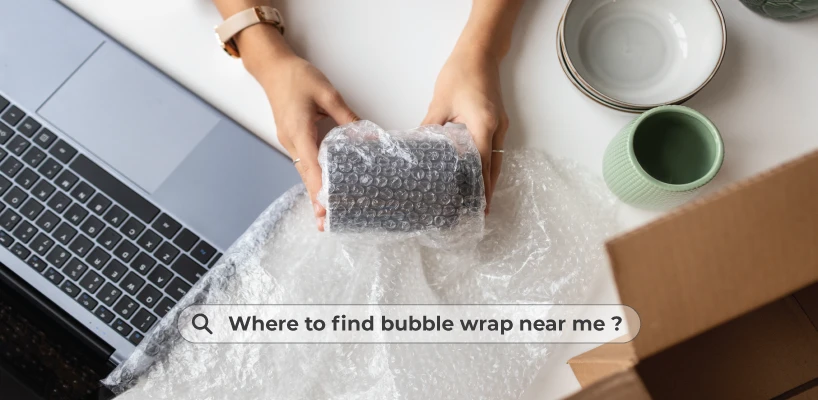
| Bubble wrap | Delicate or expensive items |
| Dividers | Glasses, mugs, stemware |
| Plastic wrap | Oils, sauces, liquids |
| Zip bags | Cords, screws, small parts |
| Tape | Reinforcing and sealing boxes |
| Labels/marker | Fragile, heavy, sharp, open-first boxes |
How to Pack Kitchen for Moving (Step by Step)
A kitchen is easier to pack when you turn it into small steps. Do not start by pulling everything out at once.
1. Set Up Your Kitchen Packing Station
Choose one clear counter, table, or corner as your packing station. Keep these items nearby:
✓ Boxes
✓ Packing paper
✓ Bubble wrap
✓ Tape
✓ Labels
✓ Marker
✓ Trash bags
✓ Donation box
✓ Zip bags
A packing station saves time because you don't have to search for tape every 10 minutes. Keep one open box for fragile items, one for non-fragile items, and one bag for things you no longer need.
2. Declutter and Remove Items You Don’t Need
Before you pack, open every cabinet and drawer. Remove anything expired, chipped, broken, duplicated, or unused. Most kitchens have items that quietly pile up over time:
✗ Old plastic containers with missing lids
✗ Chipped mugs
✗ Expired spices
✗ Duplicate utensils
✗ Unused gadgets
✗ Stained food containers
✗ Extra takeout sauce packets
✗ Old cleaning products
The fewer items you move, the less you pack, carry, unpack, and organize later. If you are paying movers by weight, time, or shipment volume, decluttering can also help reduce moving costs.
3. Separate Essentials from Non-Essentials
Your kitchen essentials should stay out until the final day or two. Keep enough items for basic meals:
✓ 1 or 2 plates per person
✓ 1 cup or mug per person
✓ Basic utensils
✓ 1 pan
✓ 1 pot
✓ Coffee maker or kettle
✓ Dish soap
✓ Paper towels
✓ Trash bags
✓ Snacks
Everything else can be packed earlier. This simple step keeps your kitchen usable while still helping you make progress.
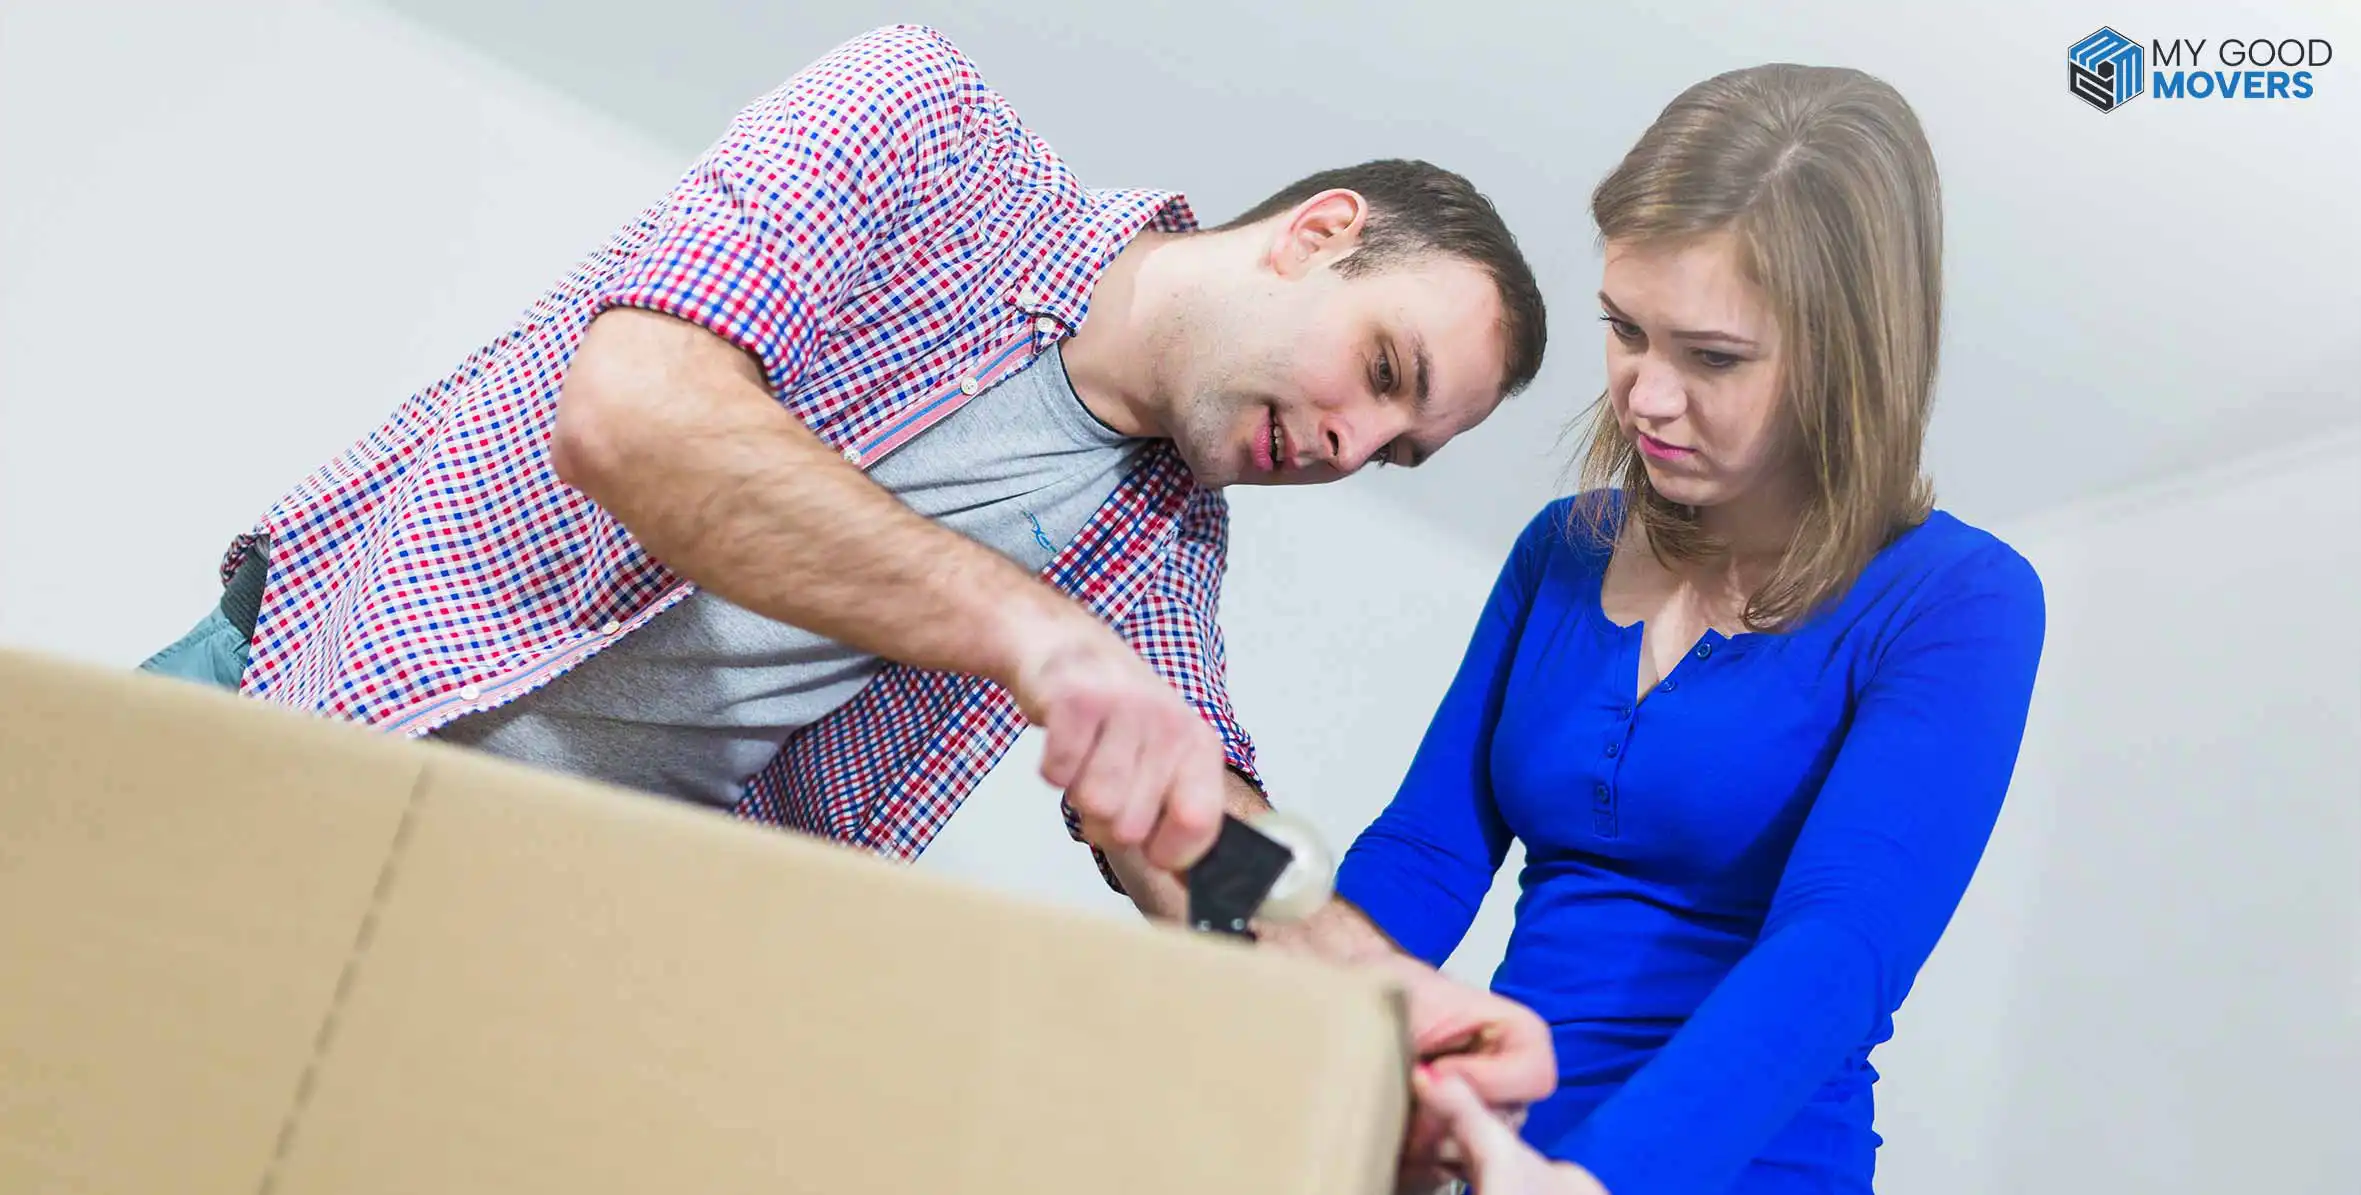
4. Reinforce Boxes Before Packing
Kitchen items are both heavy and fragile. That is a tricky combination.
Tape the bottom seam of each box. Then add another strip in the opposite direction. For heavy boxes, add tape to the bottom edges as well. Place crumpled paper, towels, or bubble wrap at the bottom before adding dishes or glassware.
5. Start with Rarely Used Kitchen Items
Start with things you will not need before moving day. Good first items include:
✓ Holiday dishes
✓ Serving trays
✓ Extra plates
✓ Extra mugs
✓ Baking pans
✓ Cake stands
✓ Large mixing bowls
✓ Specialty appliances
✓ Extra cookware
✓ Seasonal tableware
This lets you pack early without disrupting daily meals.
Want a Complete Packing Plan?
Stop guessing what to pack next. Follow a clear packing plan that helps you move room by room without the usual last-minute chaos.
Read How to Pack for a MovePack Your Kitchen Using the 4-Zone Method
The 4-zone method keeps kitchen packing organized. Instead of jumping from plates to spices to appliances, you move through the kitchen by item type and priority.
This is one of the best ways to pack kitchen items for moving because it gives every item a proper place.
ZONE 1 · Pack Non-Essential Kitchen Items First
Start with kitchen items you rarely use. These include:
✓ Extra plates
✓ Serving bowls
✓ Baking trays
✓ Seasonal dishes
✓ Extra mugs
✓ Party platters
✓ Rarely used appliances
✓ Special occasion glassware
✓ Large roasting pans
Wrap serving dishes and platters individually. Place heavier items at the bottom and lighter pieces on top.
Do not leave space inside the box. Fill gaps with crumpled paper, towels, or packing material to prevent items from shifting during transport.
If you are planning to pack for a move room by room, this early kitchen zone is a smart place to start because it gives you visible progress without disturbing daily routines.
ZONE 2 · Pack Fragile Items with Extra Protection
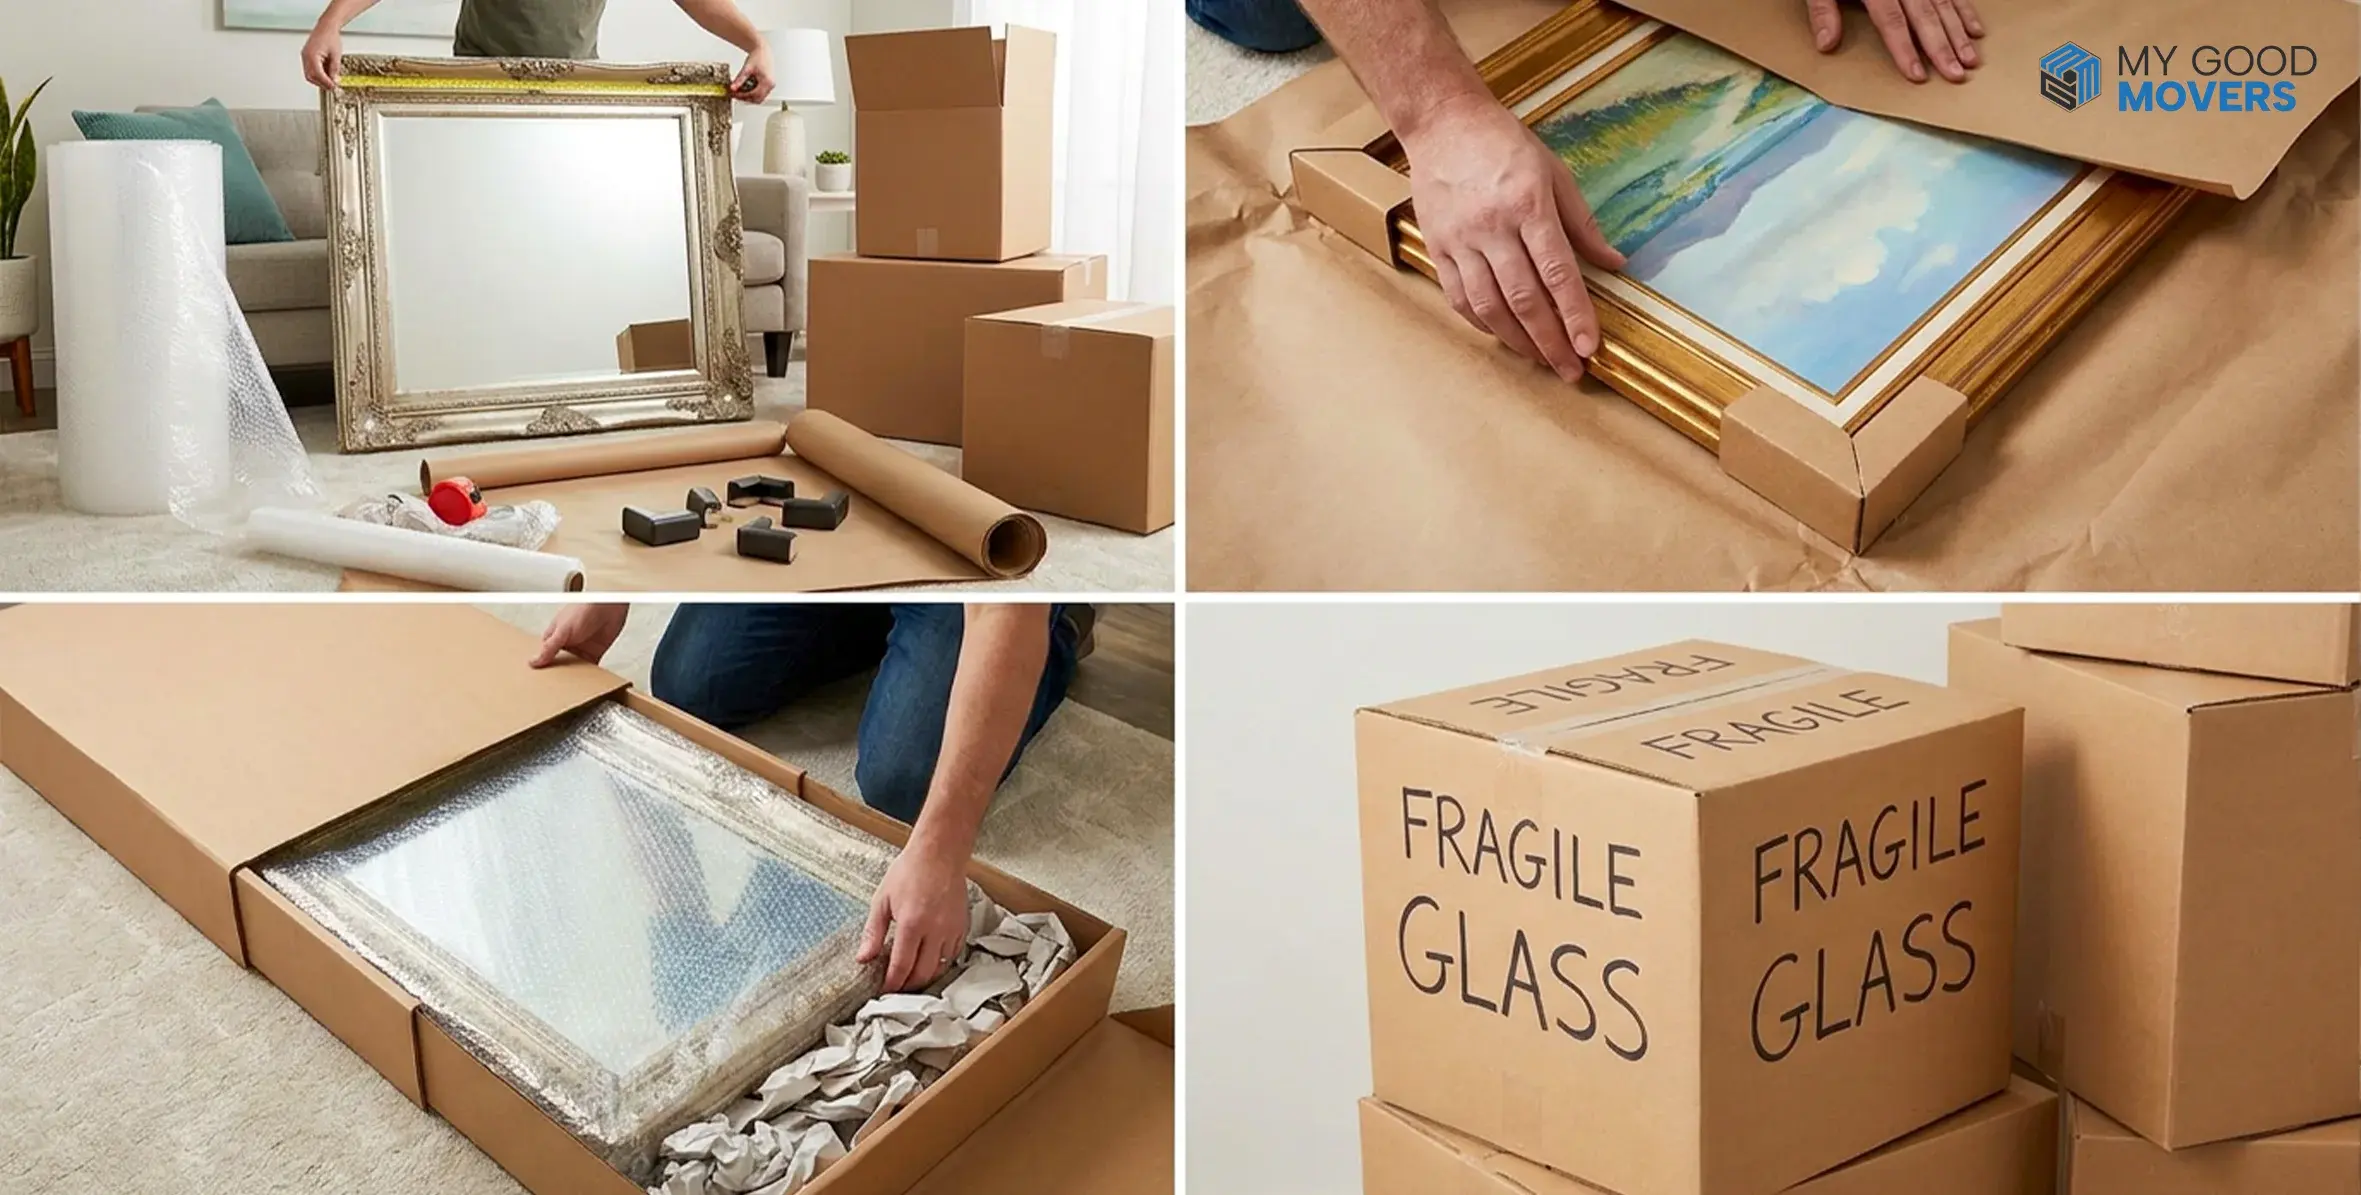
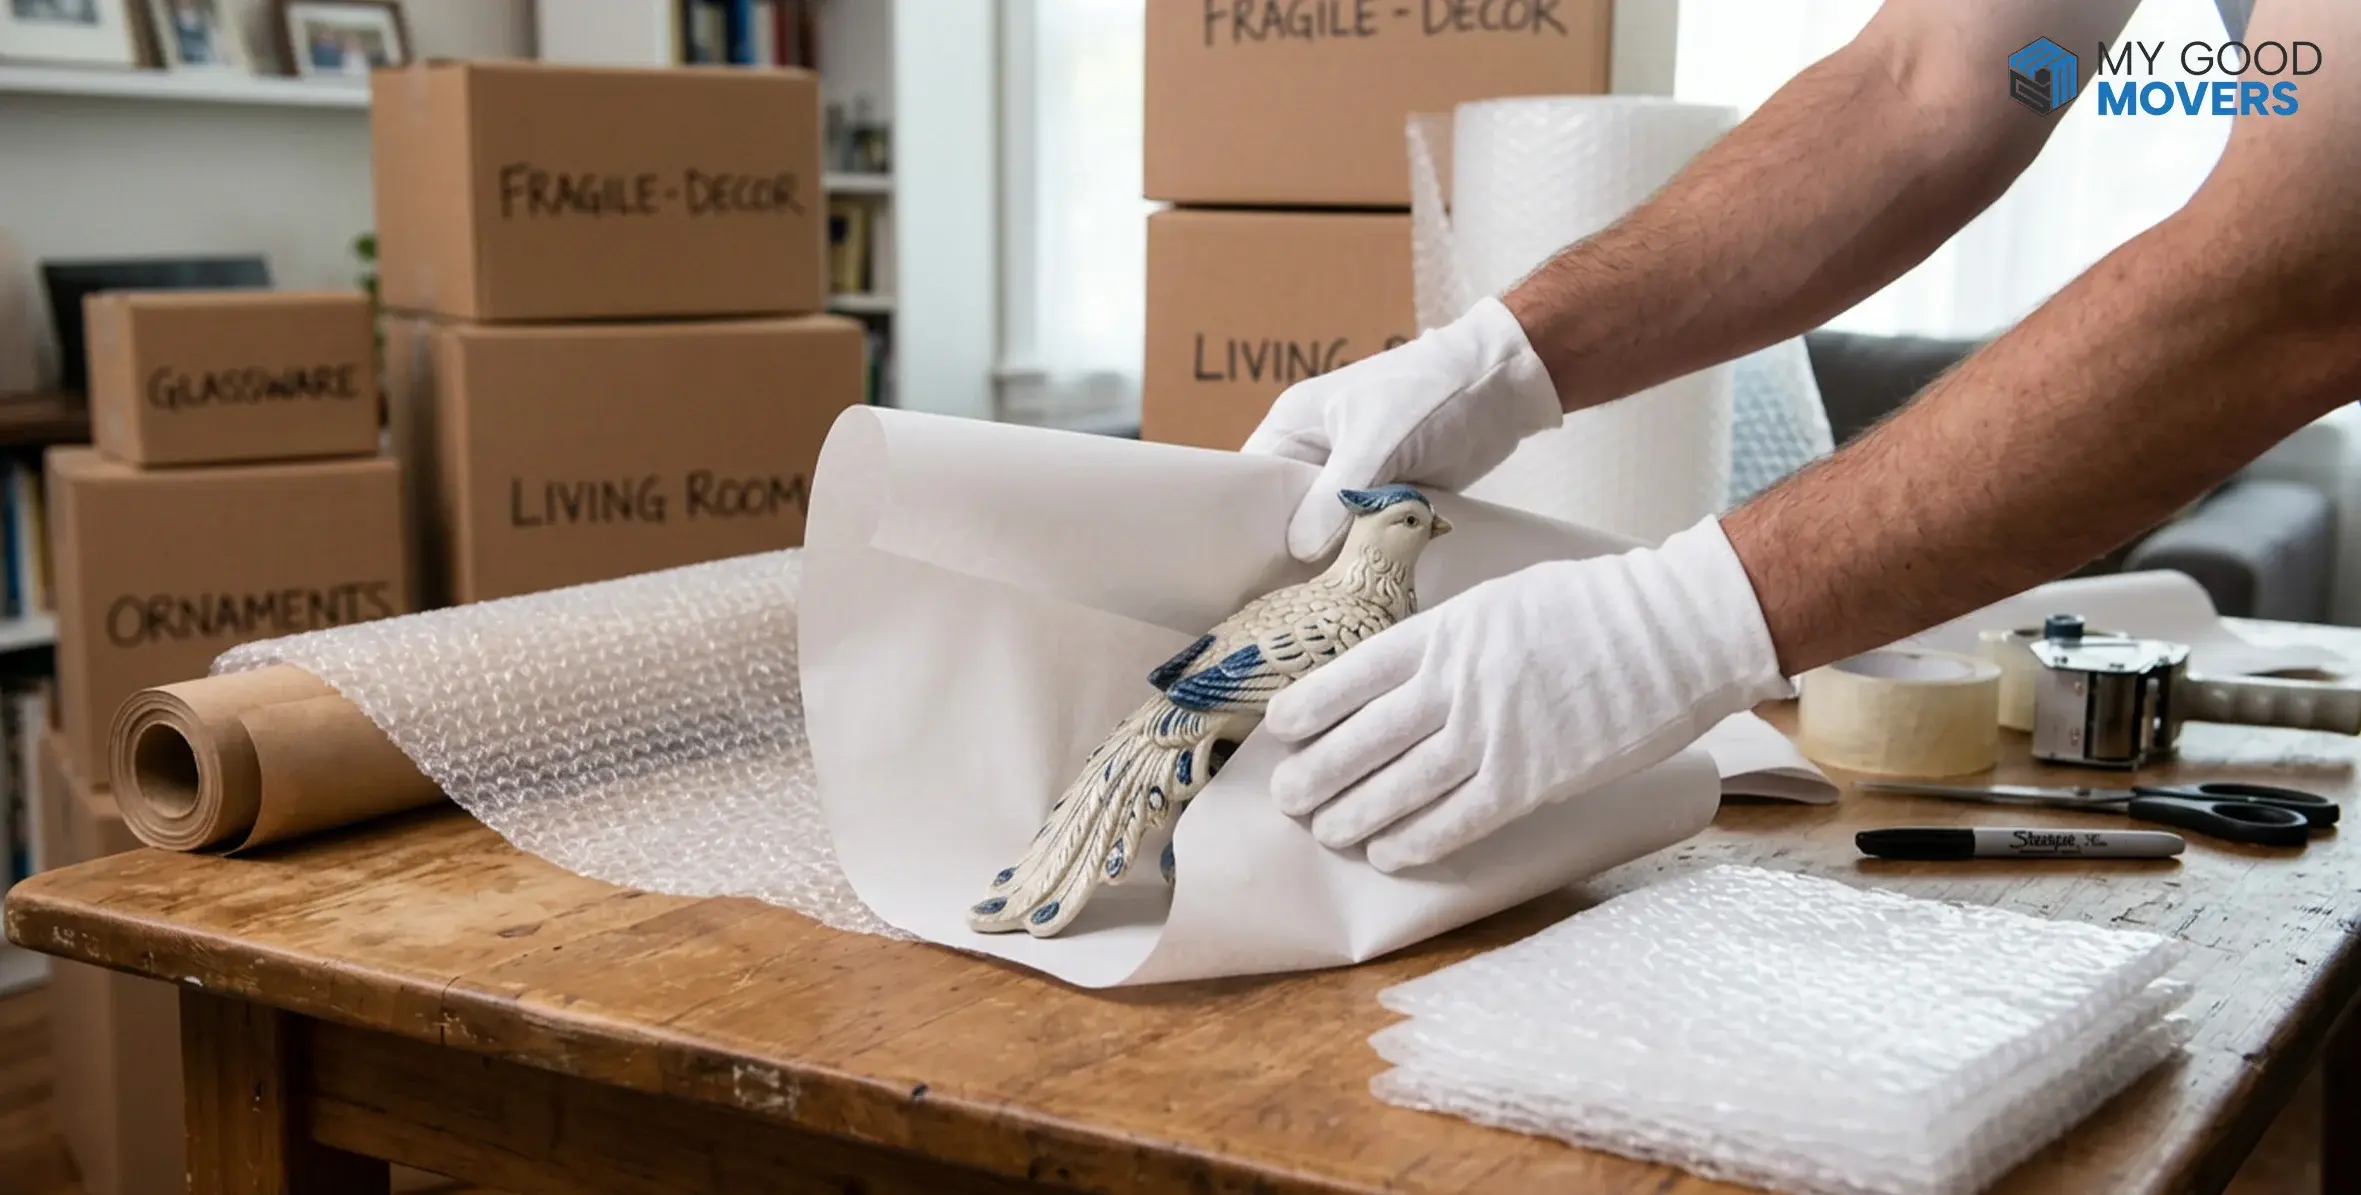
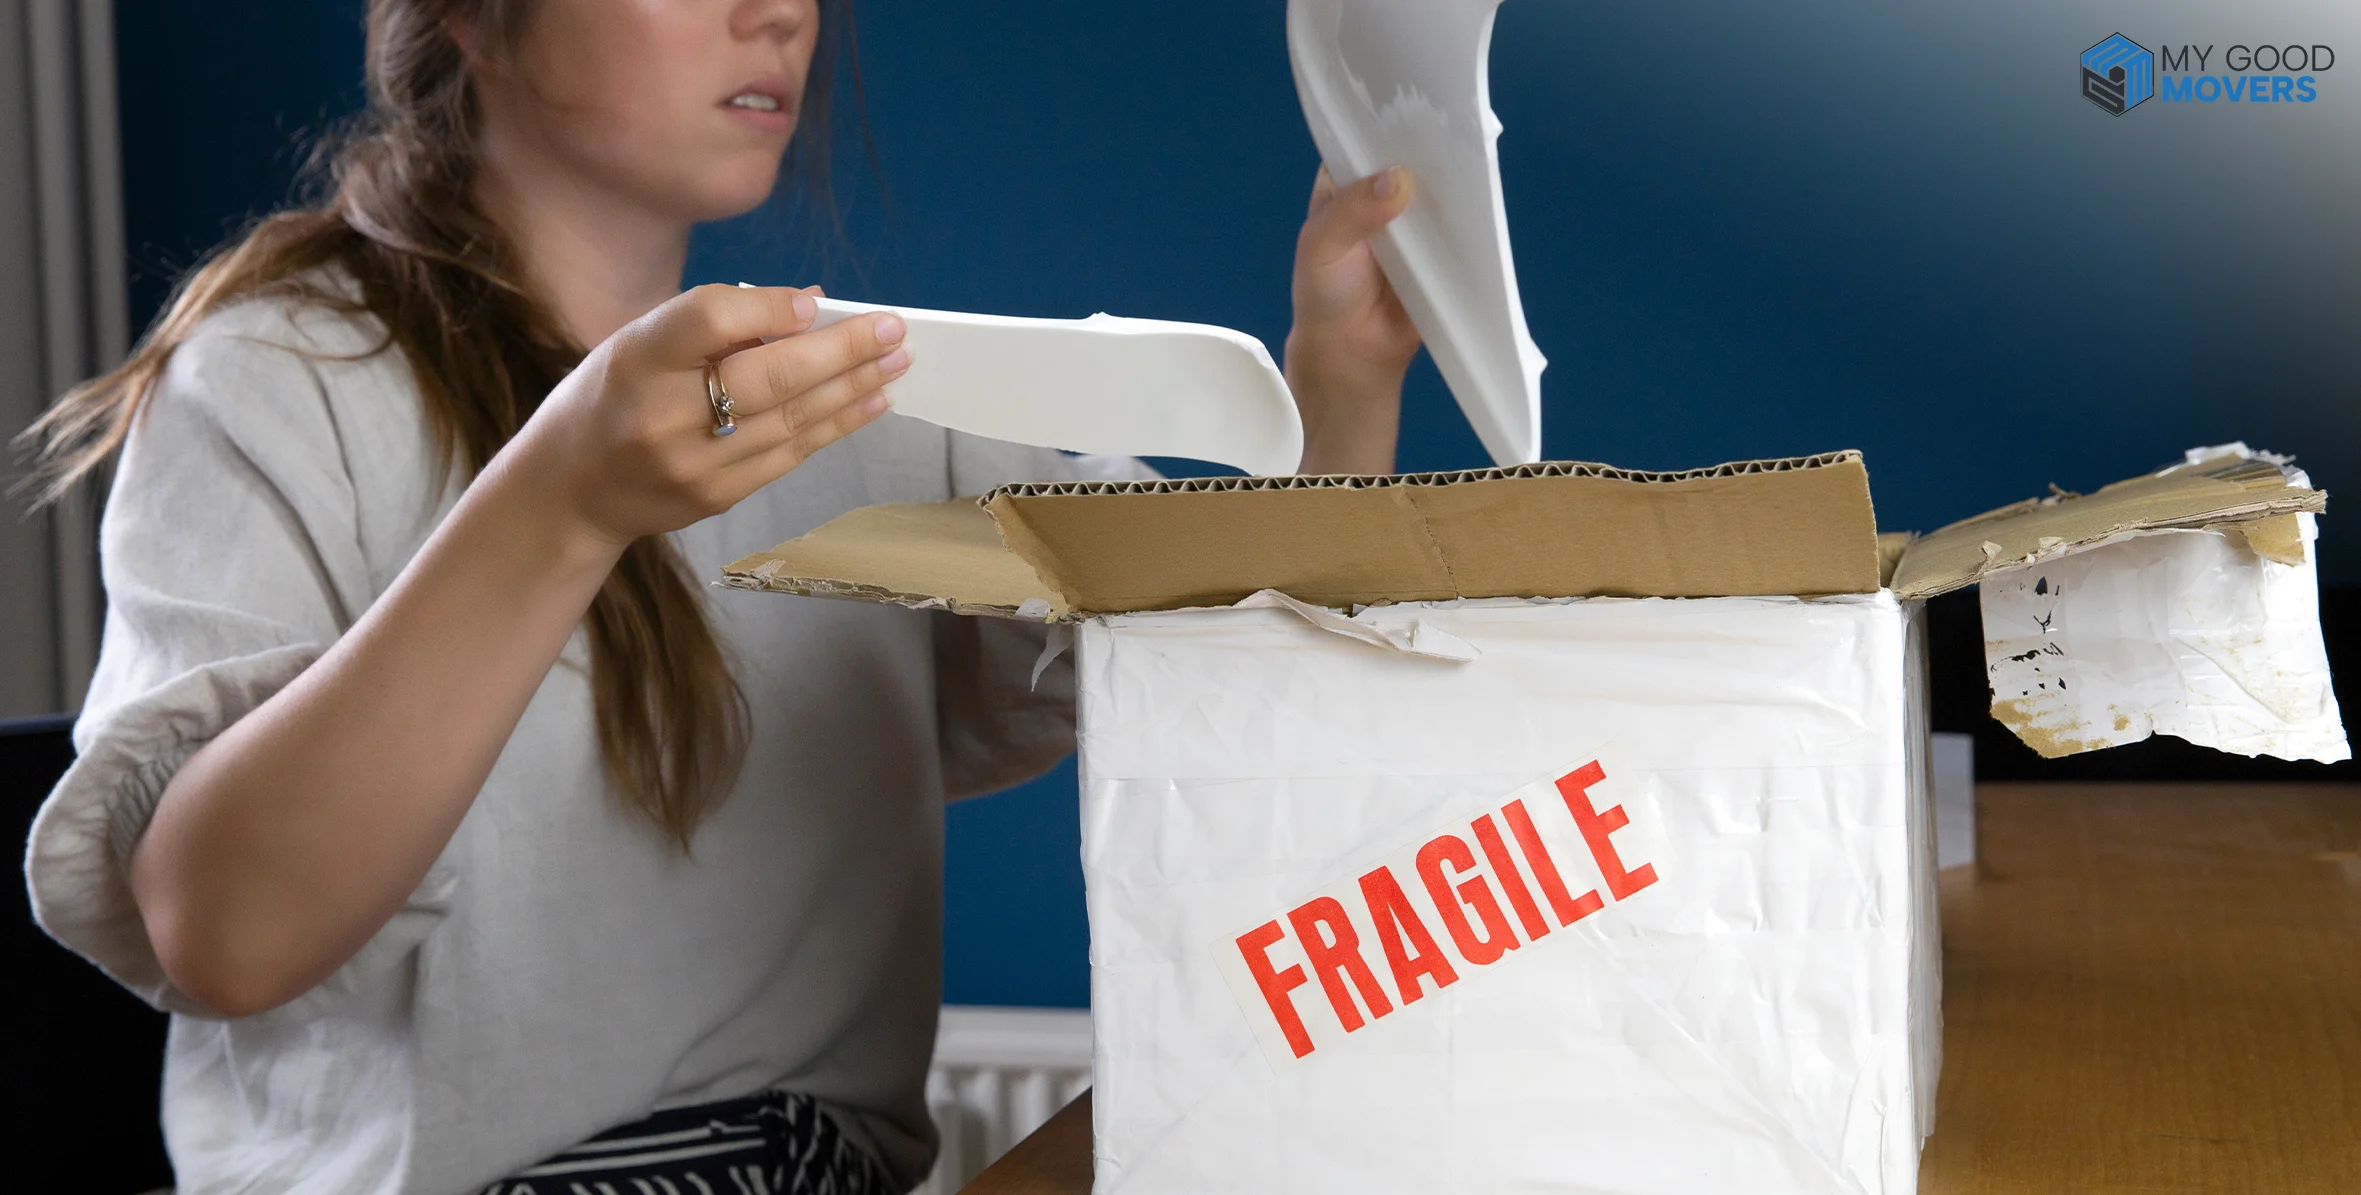
Fragile kitchen items need patience. Plates, bowls, glasses, mugs, wine glasses, platters, and glass lids should not be rushed.
For anyone wondering how to pack fragile items for moving, the safest approach is simple: wrap each piece, cushion the box, pack items tightly enough to prevent movement, and label the box clearly.
Some kitchen items are easy to pack, but fragile glassware and heavy cookware can be difficult to pack. You can approach the best packing and moving companies for this zone.
ZONE 3 · Pack Heavy, Sharp, and Awkward Items Safely
Heavy, sharp kitchen items require a different packing style than dishes. This zone includes:
✓ Pots
✓ Pans
✓ Cast iron cookware
✓ Knives
✓ Knife blocks
✓ Utensils
✓ Cooking tools
✓ Cutting boards
✓ Metal mixing bowls
For packing pots and pans for moving, nest smaller pans inside larger ones with paper, dish towels, or a soft cloth between each piece.
Do not overload a single box with cast-iron or stainless-steel cookware. Heavy cookware should go into small or medium boxes, not large boxes.
ZONE 4 · Pack Food, Liquids, and Small Appliances Last
Food, liquids, and small appliances are usually packed near the end because you may still need them. This zone includes:
✓ Pantry food
✓ Spices
✓ Oils
✓ Sauces
✓ Cleaners
✓ Toaster
✓ Blender
✓ Coffee maker
✓ Air fryer
✓ Mixer
✓ Food processor
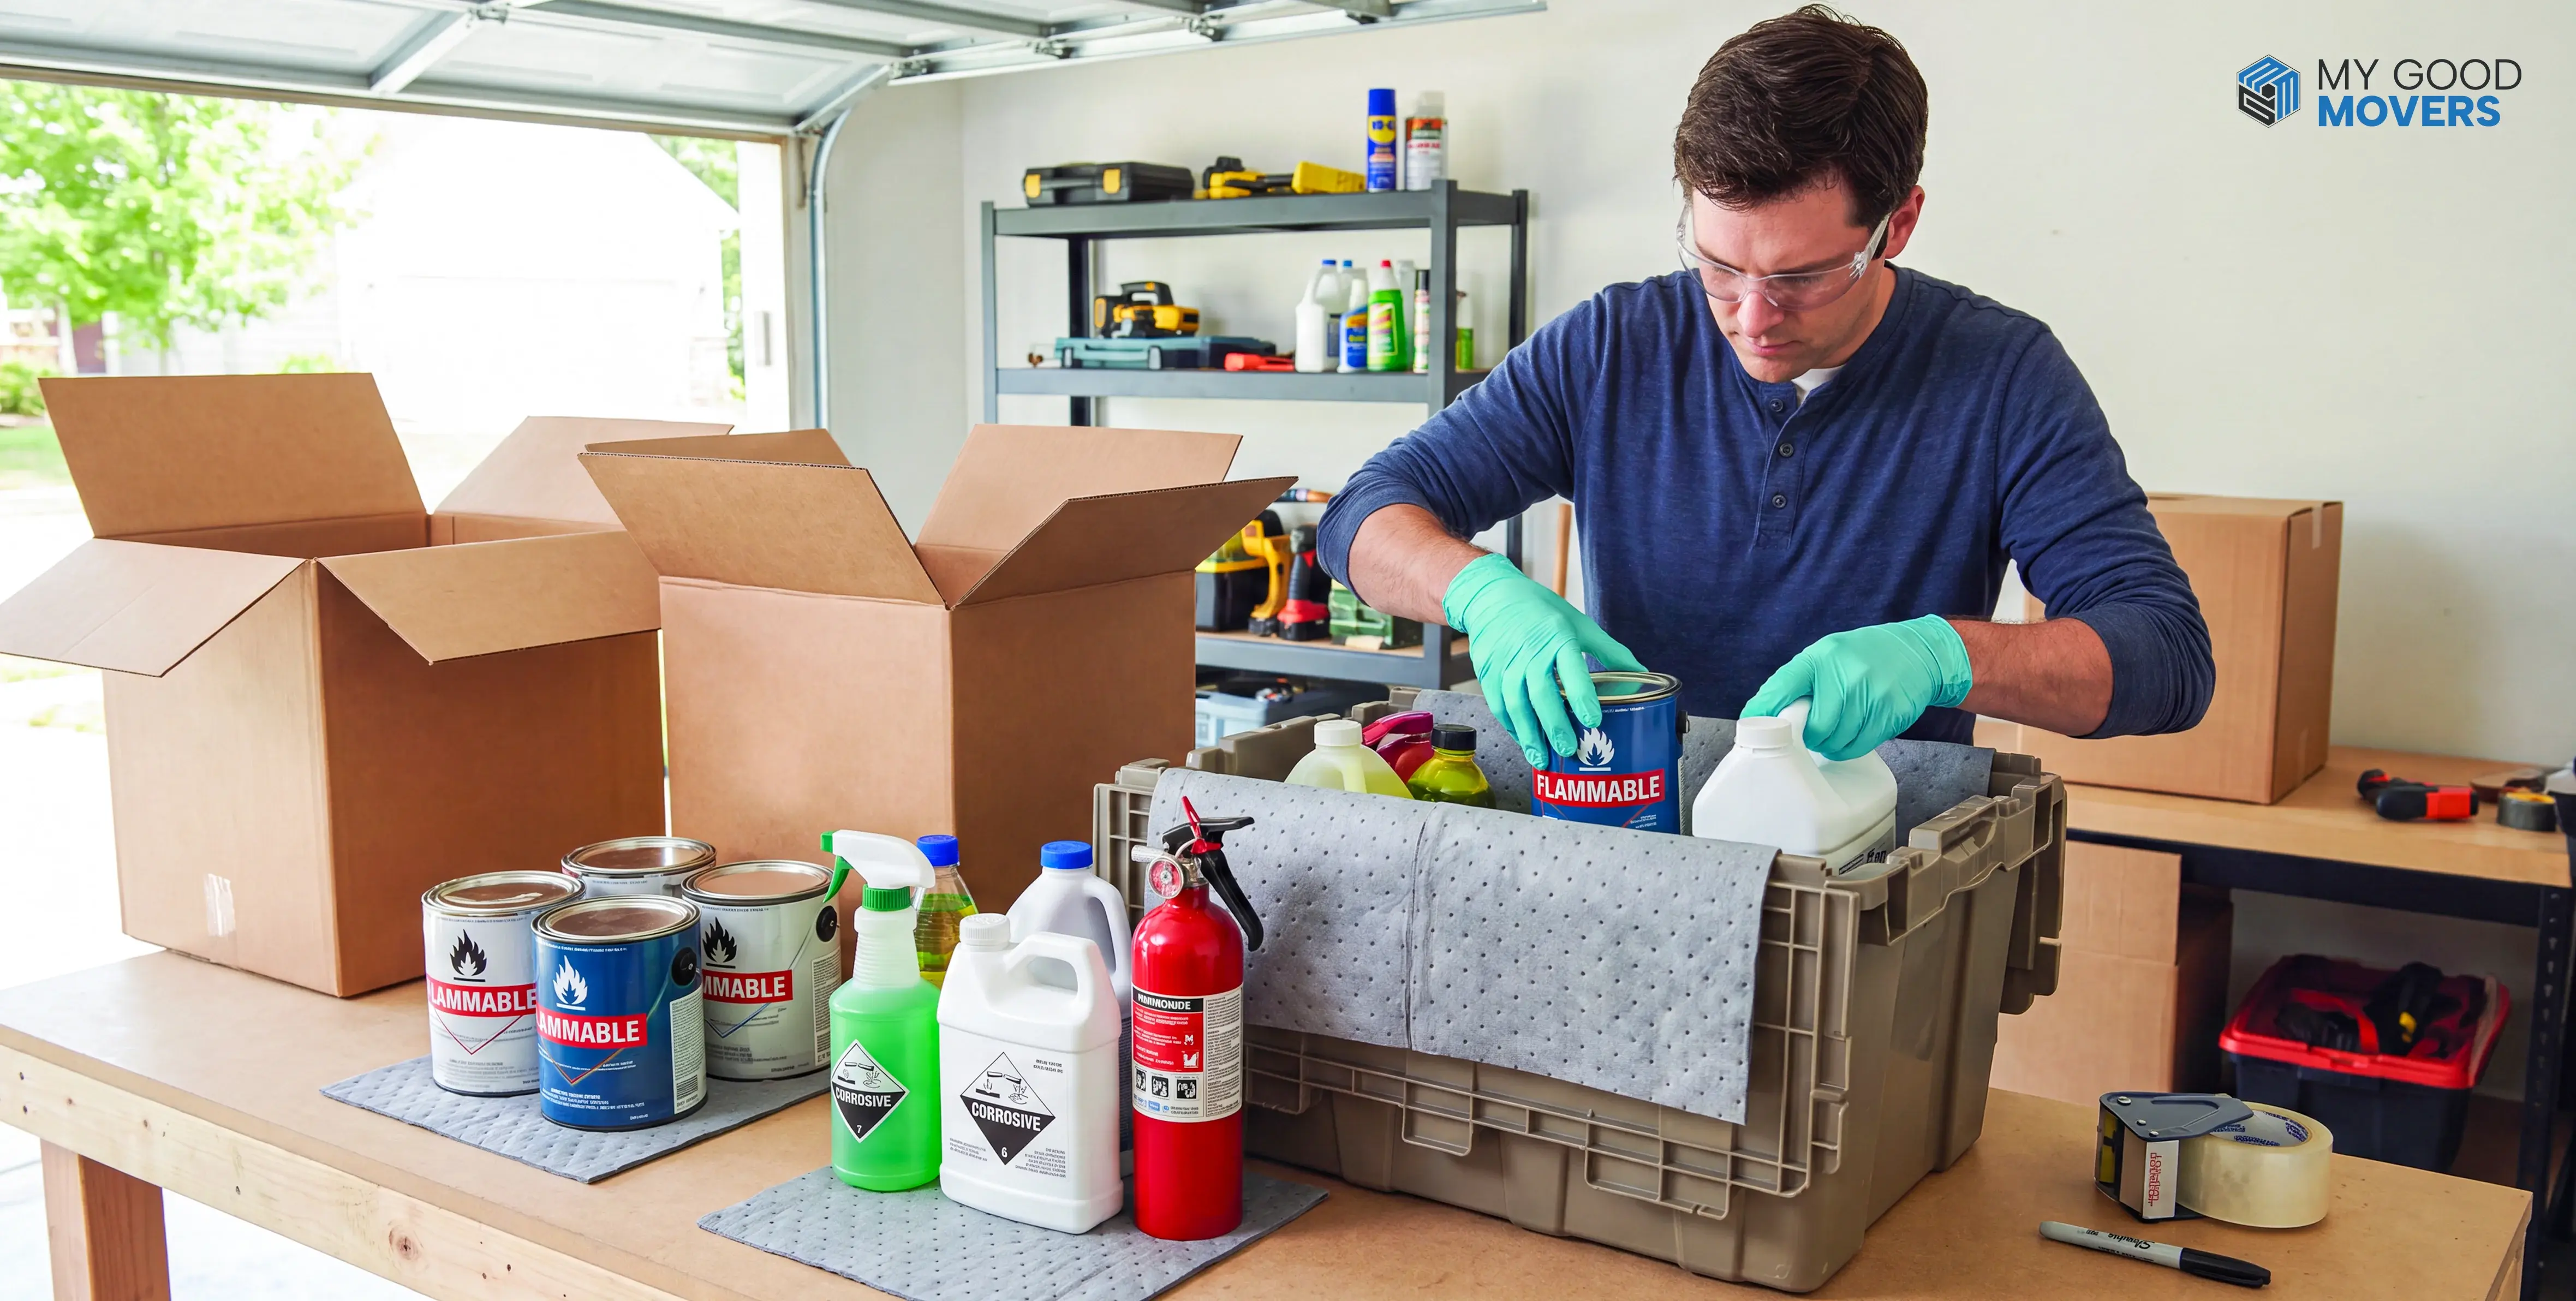
Only pack sealed, dry, non-expired pantry food. Avoid moving frozen, leaking, open, or perishable food unless you are handling it yourself in a short local move.
How to Pack Each Kitchen Item Safely
Different kitchen items need different packing methods. Glasses, plates, knives, oils, and appliances should not be packed the same way.
Use this item-by-item kitchen packing guide as a quick reference while you pack:
| Kitchen Item | How to Pack It |
|---|---|
| Plates | Wrap each plate and place vertically in a padded box |
| Bowls | Wrap individually and stack with padding between layers |
| Glasses | Wrap one by one and use dividers when possible |
| Mugs | Wrap handles carefully and avoid tight pressure |
| Pots and pans | Nest with paper or towels between each piece |
| Glass lids | Wrap separately and pack upright |
| Knives | Wrap blades, secure tightly, and label as “Sharp” |
| Utensils | Bundle similar items or wrap the utensil tray |
| Small appliances | Clean, dry, wrap, and pack parts in labeled bags |
| Spices | Seal lids and place upright in a small box |
| Oils and sauces | Wrap lids with plastic and pack upright |
| Pantry food | Pack only sealed, dry, non-expired items |
Pack a Kitchen Essentials Box for Moving Day
Your kitchen essentials box is the box you open first at the new home.
It should hold the basic items you need for the first night and the next morning. Without it, you may end up opening 10 boxes just to find a spoon, coffee mug, or plates.
What to Put in the Kitchen Essentials Box
✓ 1 pan or pot
✓ 2 to 4 plates
✓ 2 to 4 cups
✓ Basic utensils
✓ Coffee maker or kettle if needed
✓ Dish soap
✓ Sponge
✓ Paper towels
✓ Trash bags
✓ Snacks
✓ Pet bowls if needed
✓ Baby feeding items if needed
✓ Small towel
✓ Bottle opener or can opener
You can also add a few disposable plates or cups if you want less cleanup on the first night. The goal is simple: eat, drink, clean, and function without unpacking the whole kitchen.
Label and Seal Kitchen Boxes the Right Way
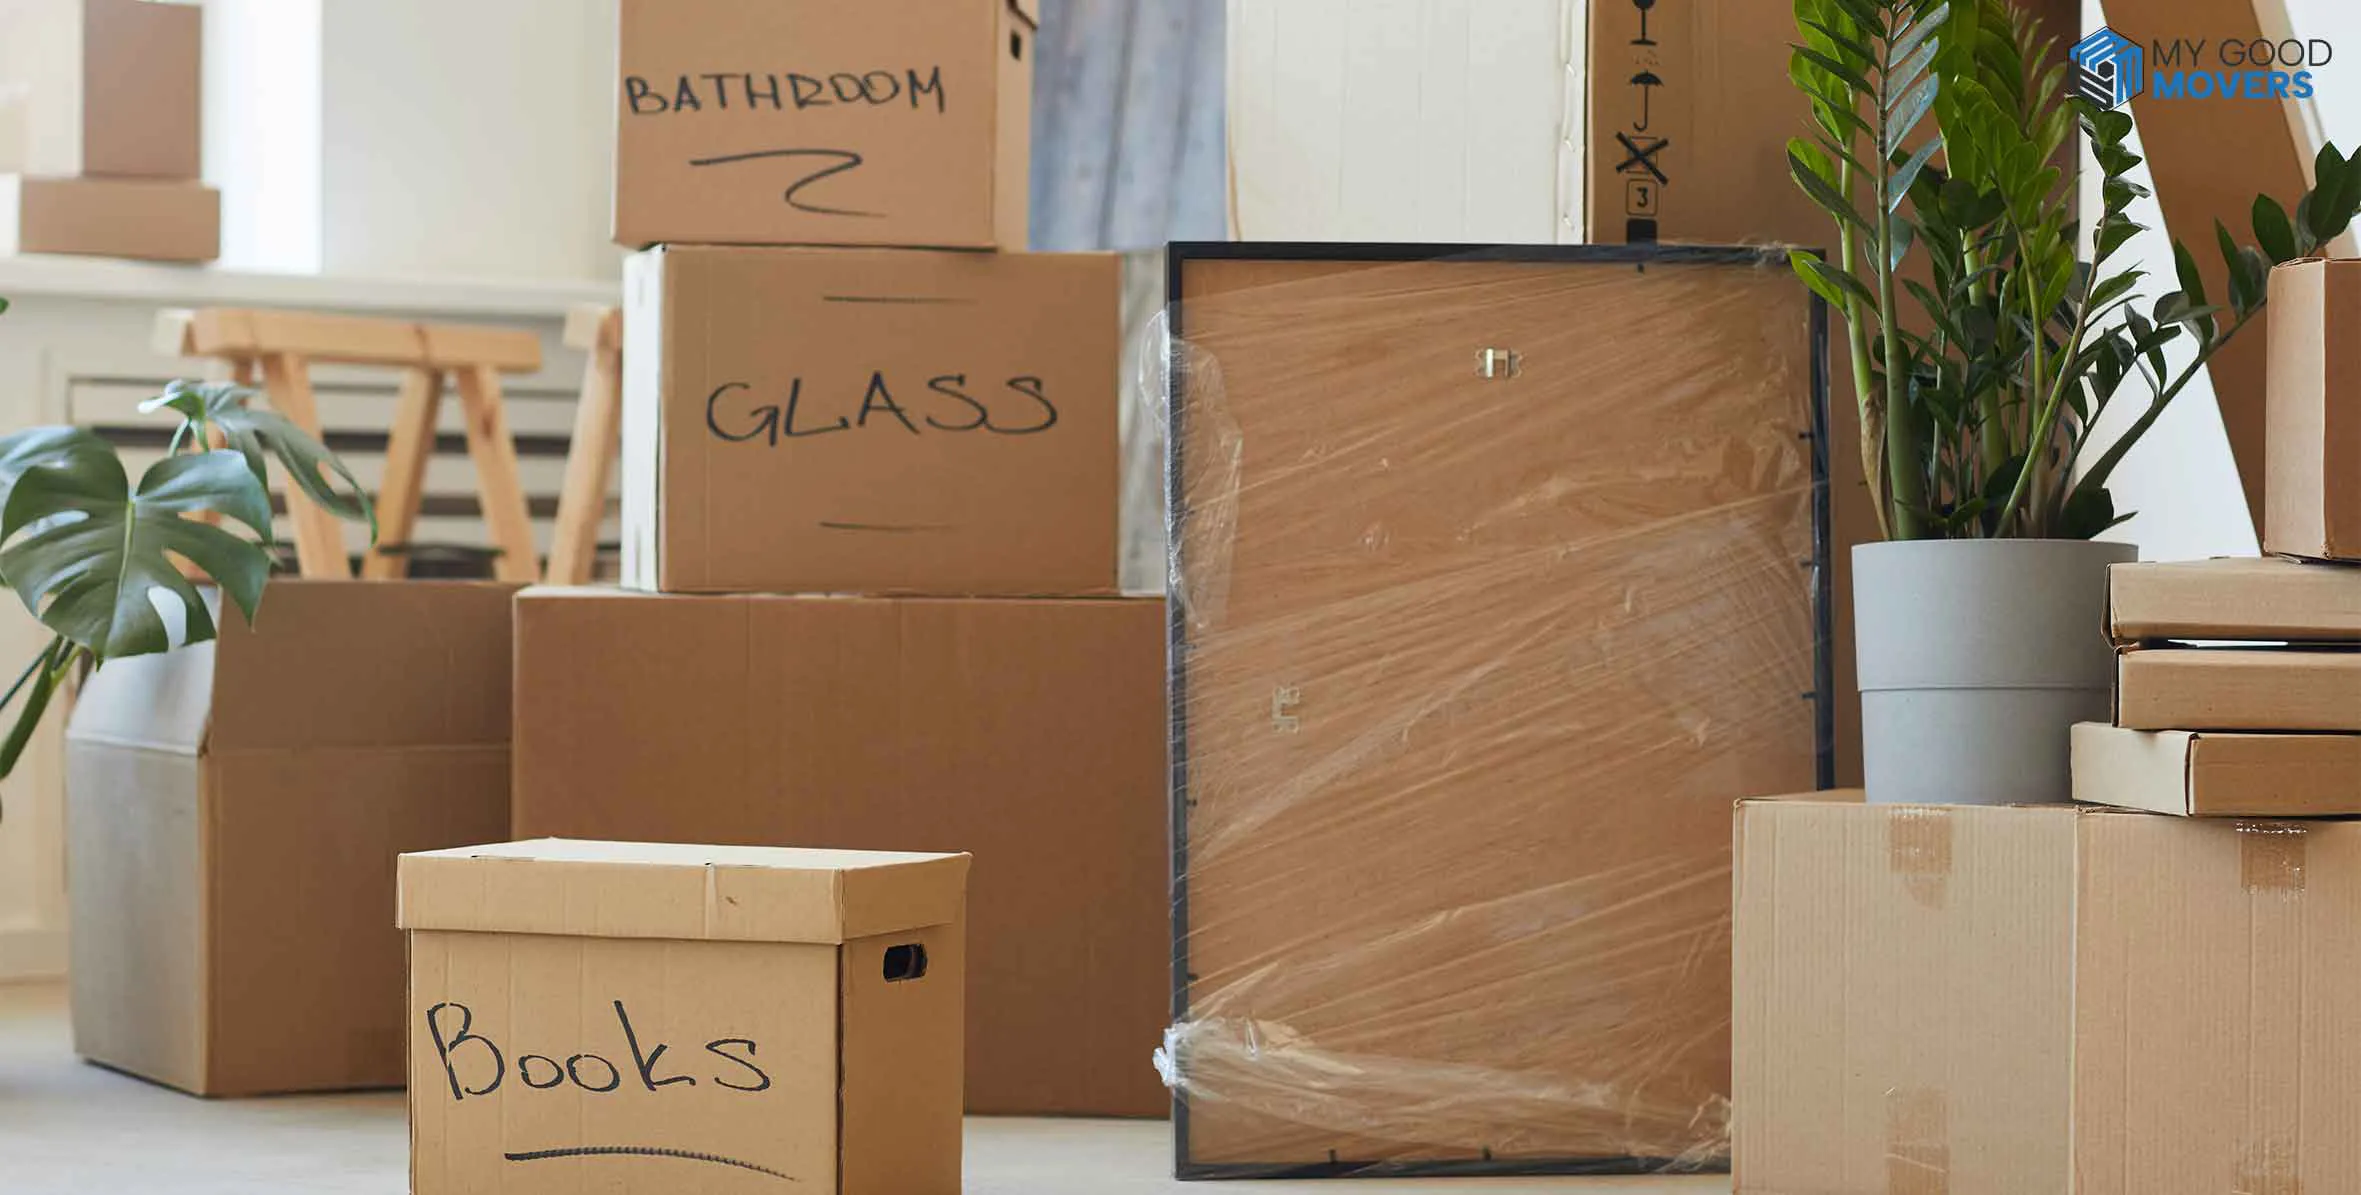
Clear labels can save you a lot of unpacking time. When you label moving boxes, include more than just the room name. Writing only ‘Kitchen’ does not tell you what is actually inside.
Use labels like:
- Kitchen: Plates, Fragile
- Kitchen: Pots and Pans, Heavy
- Kitchen: Glassware, Fragile
- Kitchen: Coffee Maker, Open First
- Kitchen: Knives, Sharp
- Kitchen: Pantry, Upright
Label at least two sides of each box so you can read it even when the boxes are stacked. Also mark:
✓ Fragile
✓ Heavy
✓ Sharp
✓ Open First
✓ This Side Up
Common Mistakes to Avoid When Packing a Kitchen
Most kitchen packing damage occurs from small mistakes, not because the item was impossible to move.
A little extra care can prevent broken plates, cracked glasses, leaking bottles, and unsafe boxes.