



The garage usually looks manageable until you start decluttering it.
At first, you see a lawn mower, a ladder, and a few storage bins. Then you find loose screws, greasy tools, half-used paint cans, tangled cords, sports gear, power tools, and items untouched for years.
A garage becomes much easier to pack once you stop treating everything inside it the same way.
Let’s discuss how to pack common garage items safely without turning every tool into a separate project.
What You’ll Need Before Packing Your Garage
Gather moving supplies after the first round of decluttering. This gives you a better idea of how many moving boxes for garage items you actually need and what sizes will work.
| Item | Best Use |
|---|---|
| Small heavy-duty boxes | Hand tools and dense metal items |
| Medium boxes | Lightweight mixed garage items |
| Plastic bins | Loose or moisture-sensitive belongings |
| Bubble wrap | Fragile equipment and accessories |
| Packing paper | Scratch and surface protection |
| Moving blankets | Ladders, bicycles, cabinets, and equipment |
| Strong packing tape | Closing and reinforcing boxes |
| Reusable ties or zip ties | Cords and long-handled tools |
| Resealable bags | Screws, bolts, and small parts |
| Labels and a permanent marker | Box identification and warnings |
Use our moving box calculator to get an estimate of your total box needs, but remember that garages require more small boxes than bedrooms or living rooms.
How to Pack a Garage for Moving (Step by Step)
Packing a garage safely comes down to sequence: sort before you box anything, prepare each item for its specific risks, then reinforce and label the box around it.
Here are the seven steps that take you there.
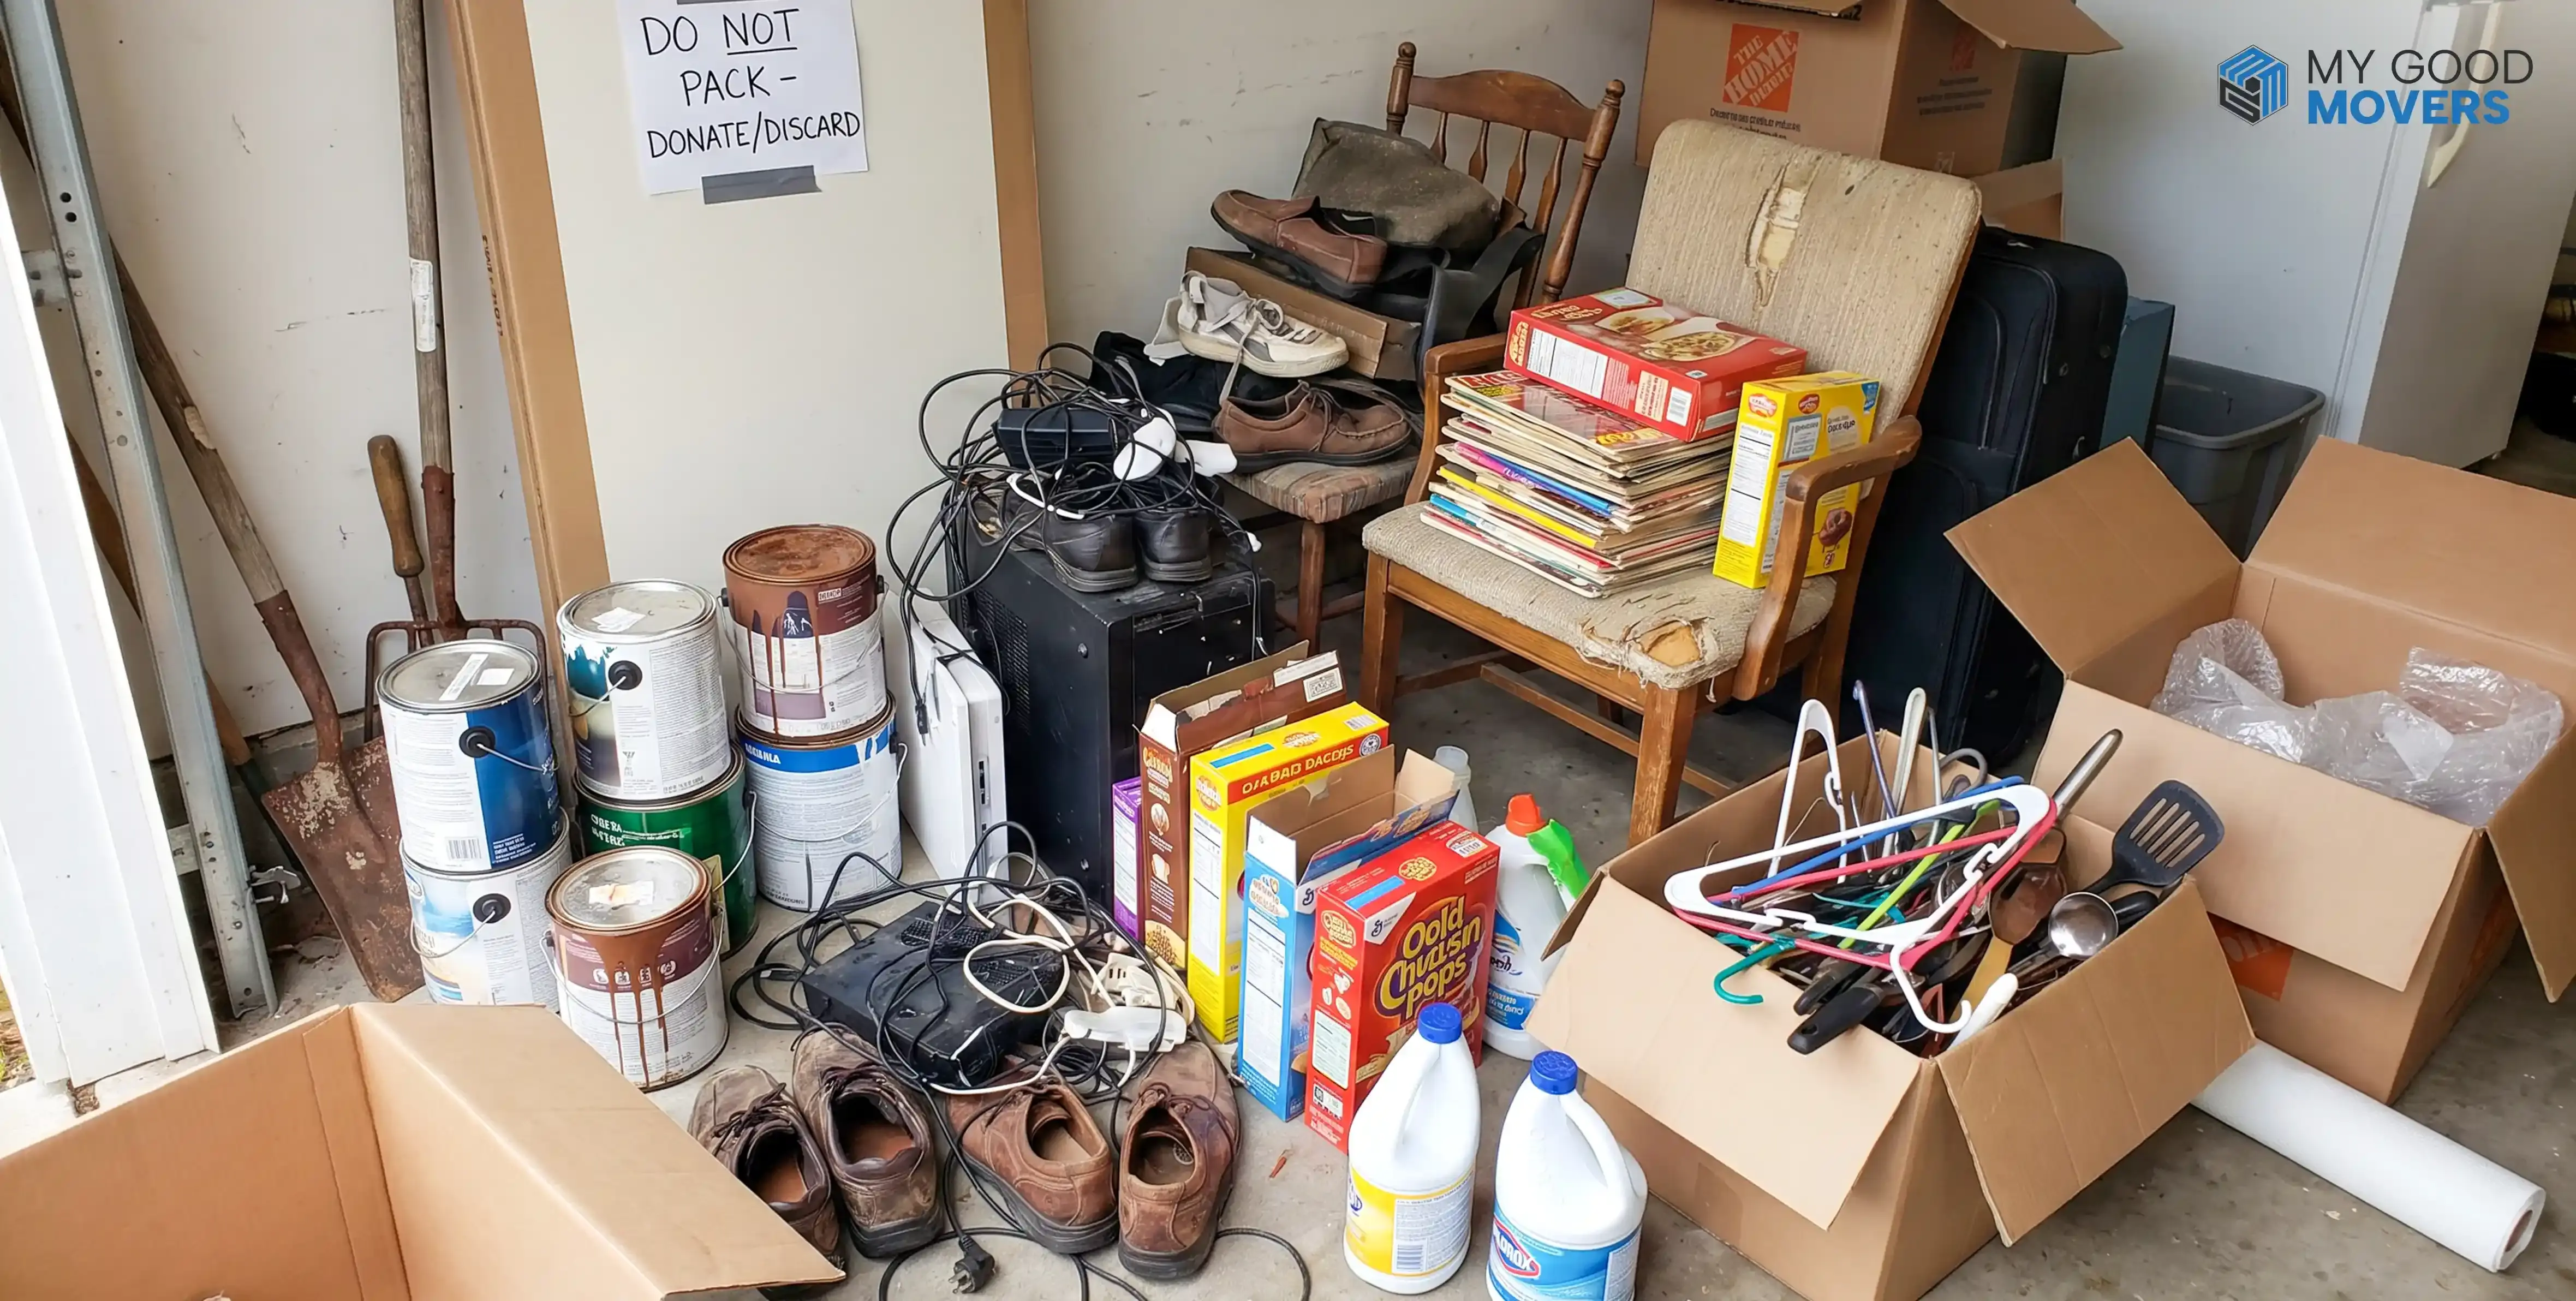
Before packing a single box, take time to declutter your garage. Packing everything without sorting first only increases the number of boxes and the total shipment weight.
Decide What to Keep, Sell, Donate, Recycle, or Throw Away
If you’re unsure how to declutter before a move, start by separating items into five categories:
| Category | What to Do |
|---|---|
| Keep | Tools, equipment, and supplies you use regularly or will need after moving. |
| Sell | Valuable tools, machinery, sports gear, and other valuable items in good condition that you no longer need. |
| Donate | Working items you don’t use anymore, but someone else could benefit from. |
| Recycle | Scrap metal, batteries, electronics, cardboard, and other recyclable materials. |
| Throw Away | Broken, expired, or damaged items that can’t be repaired, donated, or recycled. |
Separate Items That Movers Usually Won’t Transport
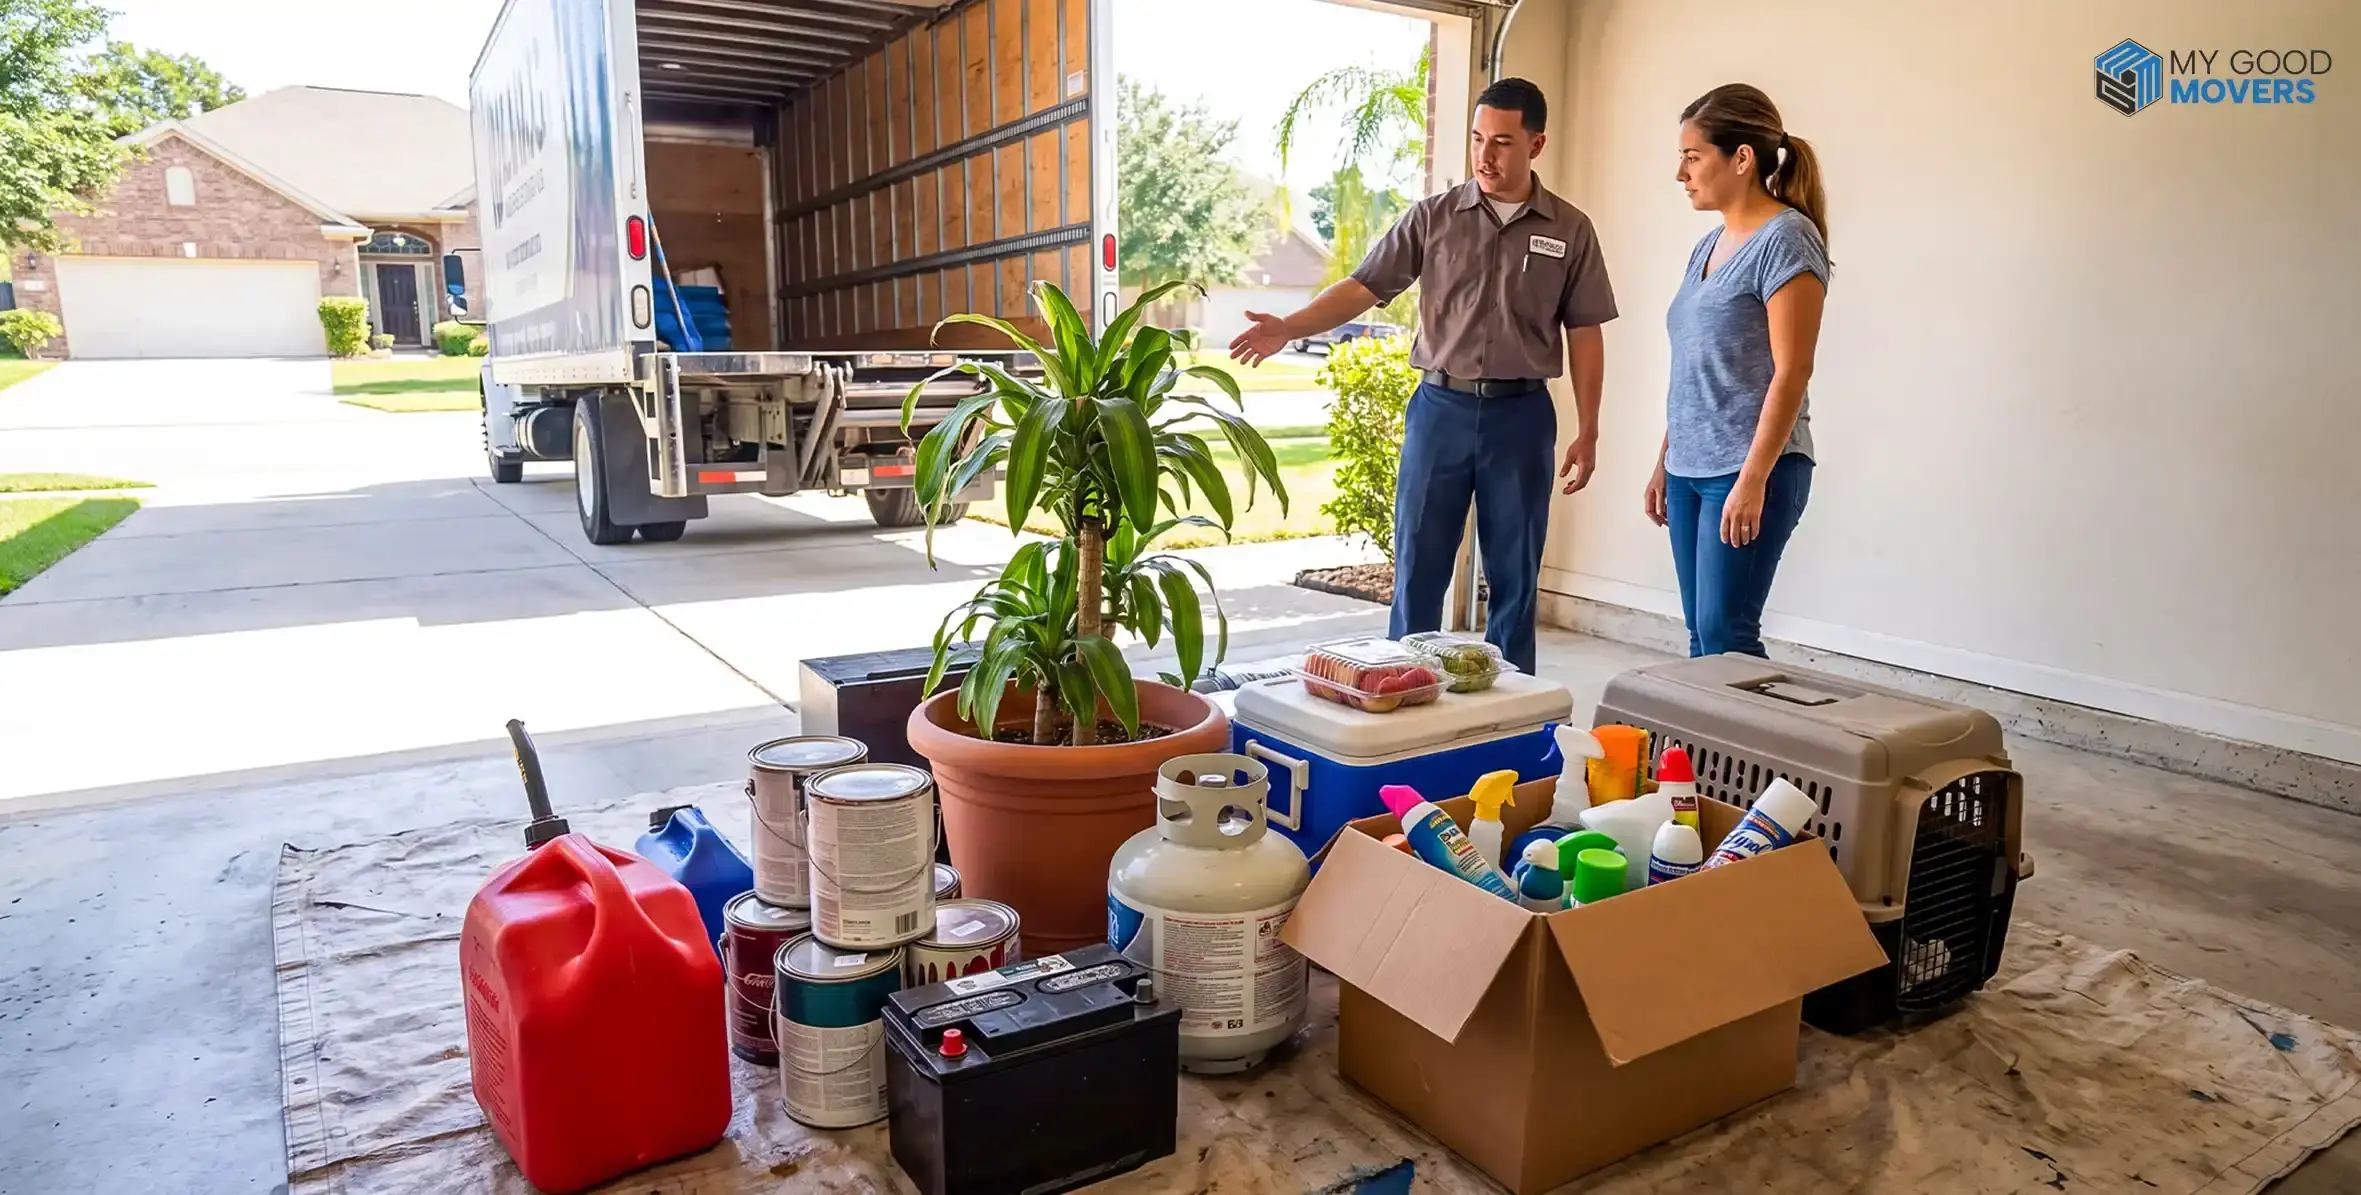
Items movers commonly refuse to transport include:
- Gasoline
- Diesel fuel
- Propane tanks
- Paint and paint thinner
- Pesticides
- Herbicides
- Fertilizers
- Fireworks
- Ammunition
- Cleaning solvents
- Motor oil
- Brake fluid
- Antifreeze
- Aerosol cans
- Compressed gas cylinders
- Pool chemicals
Once you have removed unwanted and prohibited items, organize everything that is moving with you. Create clear categories based on how the items are used.
Hand Tools
Group together hammers, wrenches, pliers, screwdrivers, chisels, clamps, measuring tools, and other manual tools.
Power Tools
Keep drills, sanders, grinders, saws, nail guns, and their accessories together. Match each tool with its batteries, chargers, blades, bits, guards, and cases before packing.
Hardware
Sort screws, nails, bolts, nuts, washers, hooks, wall anchors, brackets, and small replacement parts.
Garden Equipment
Group shovels, rakes, hoes, pruning tools, hoses, sprinklers, planters, and other gardening supplies.
Automotive Supplies
Organize approved automotive tools, jumper cables, tire inflators, cleaning equipment, spare parts, and emergency kits.
Sports Equipment
Group sports gear by activity. Keep cycling equipment together, place camping supplies in another group, and separate balls, rackets, bats, helmets, and protective gear.
Seasonal Storage
Sort holiday decorations, outdoor furniture accessories, snow equipment, seasonal tools, and stored household items into clearly defined groups.
A garage inventory does not need to be complicated. A basic written or digital list can save hours of searching after the move.
Record:
- Box number
- Main contents
- Valuable tools or equipment
- Quantity of major items
- Condition of expensive items
- Photos of high-value belongings
For example:
- Garage Box 1: Hand tools
- Garage Box 2: Drill, batteries, charger, bits
- Garage Box 3: Gardening accessories
- Garage Box 4: Bike repair tools
- Garage Box 5: Sports equipment
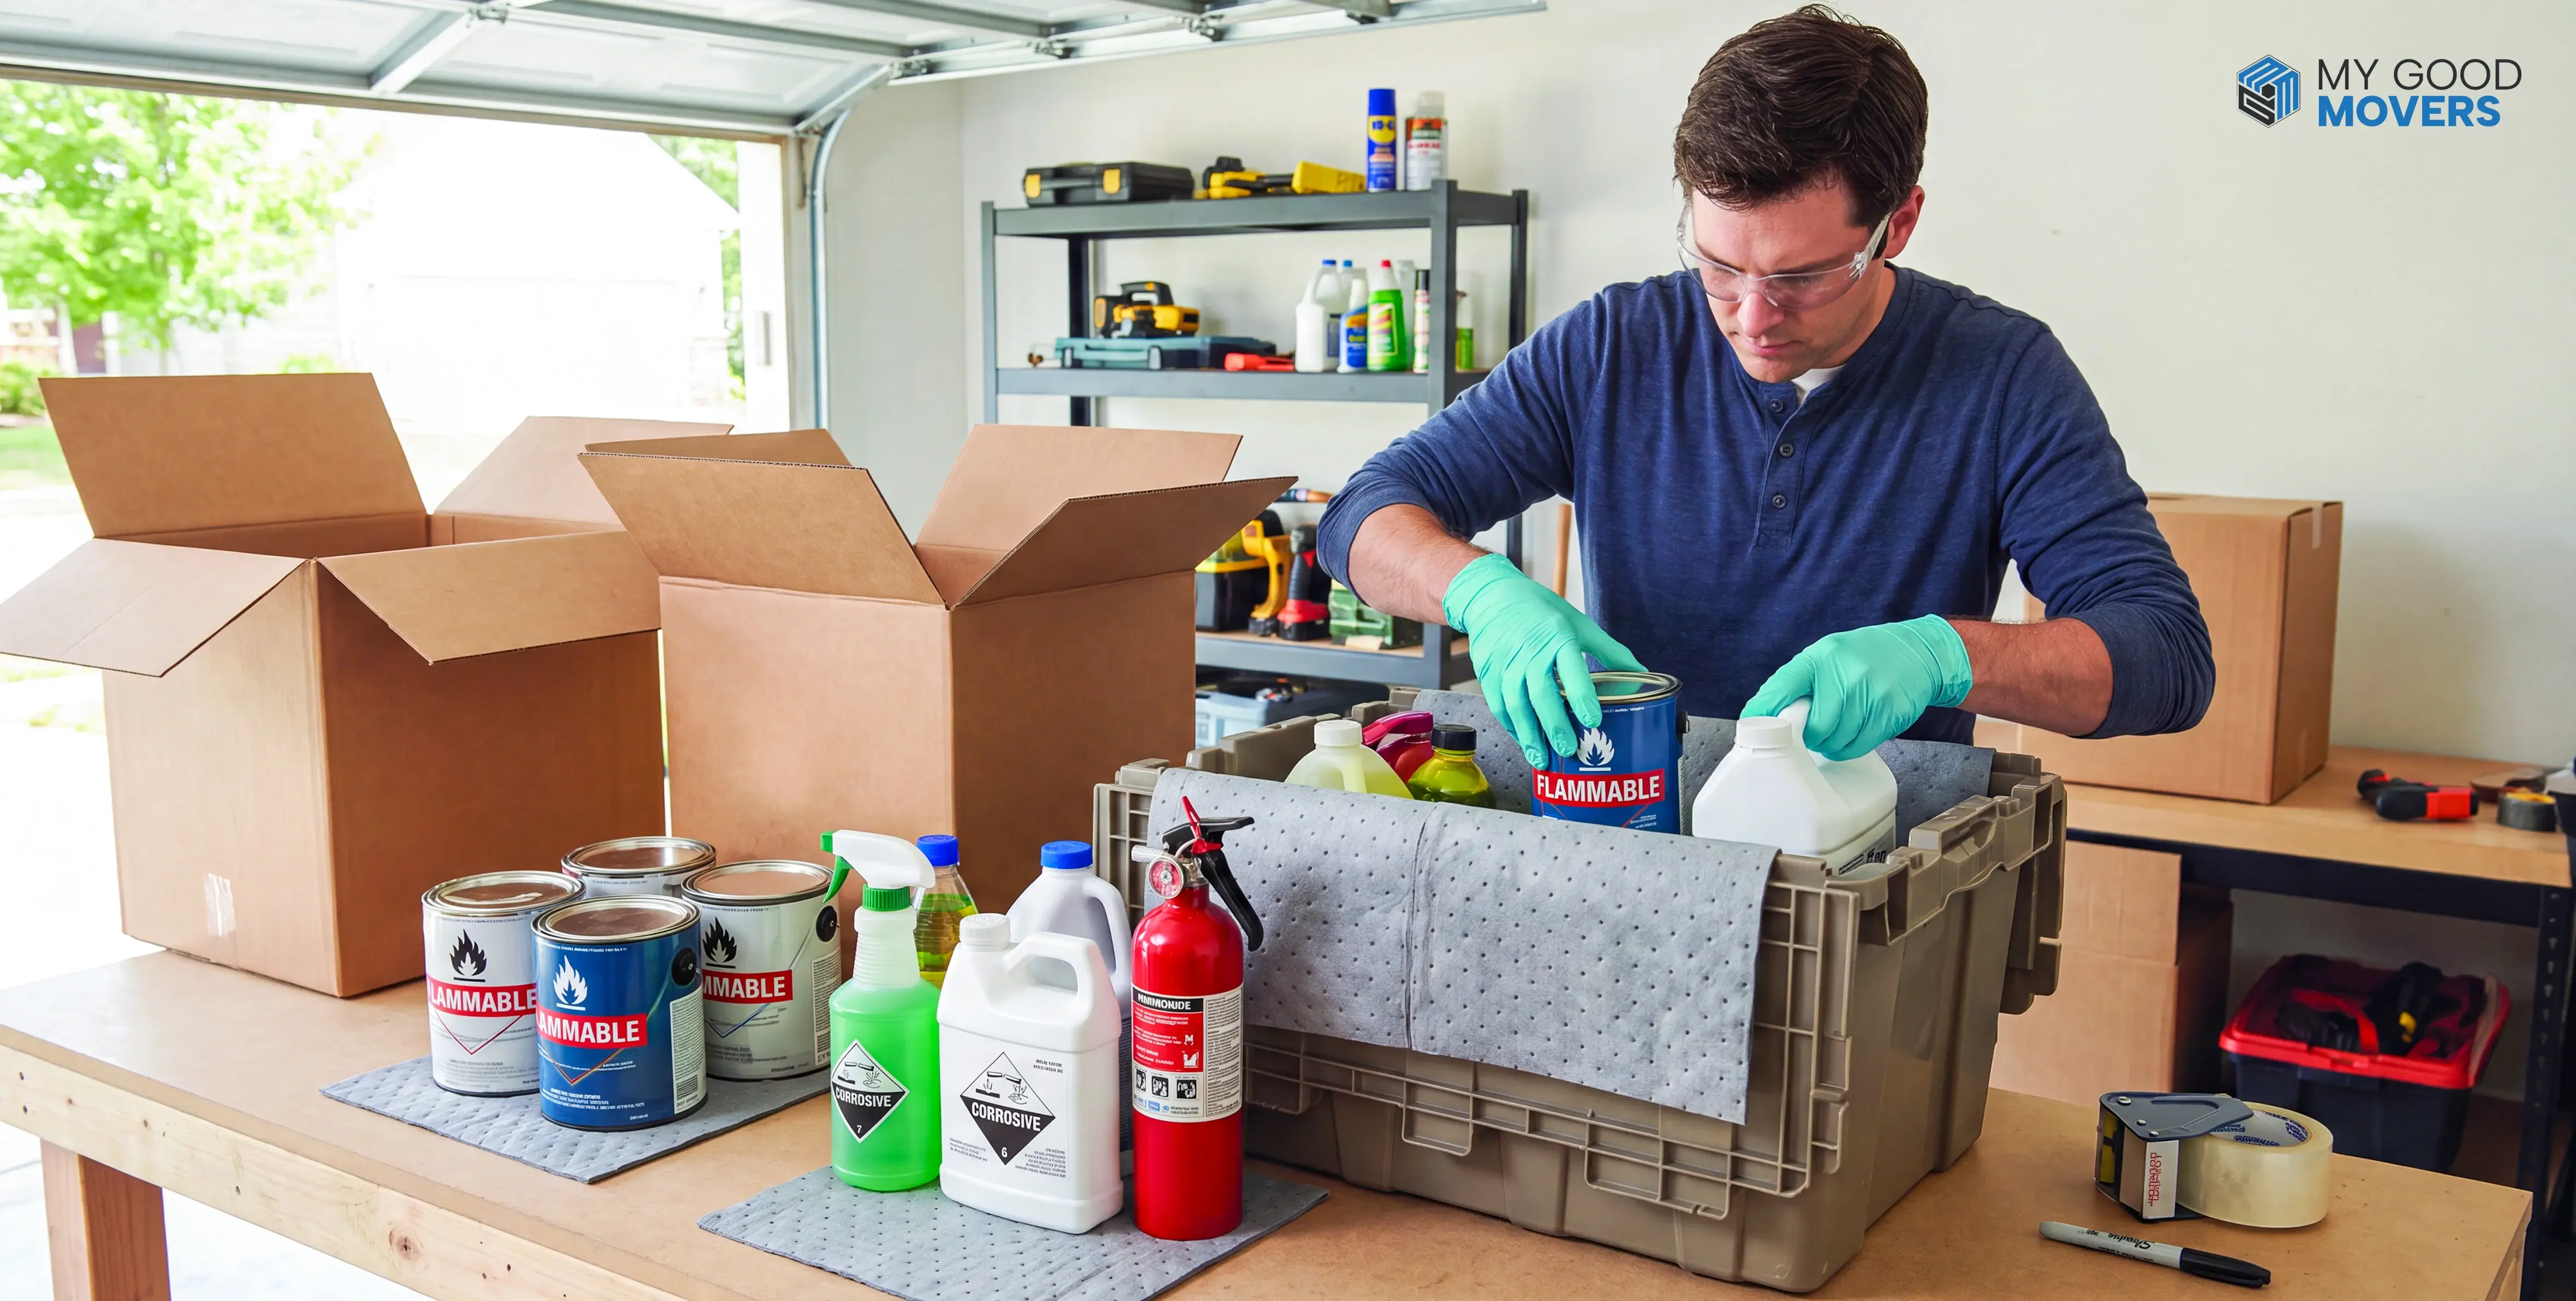
Garage items need more preparation than belongings from other rooms. Many are dirty, sharp, oily, heavy, battery-powered, or connected to removable parts.
Clean Dirt, Dust, and Grease
Wipe down tools, storage bins, sports gear, and lawn equipment to remove dirt, dust, and grease. Pay extra attention to garden tools and equipment that may have mud, grass, or oil on them. Make sure everything is completely dry before packing.
Drain Fuel and Other Fluids
Empty the fuel tanks of lawn mowers, trimmers, chainsaws, generators, and other gas-powered equipment before moving. Some movers also require you to drain engine oil or other fluids.
Remove Batteries and Loose Attachments
Remove batteries from cordless tools and equipment, and pack them according to your mover’s safety guidelines. Detach removable blades, drill bits, cutting discs, handles, and other accessories.
Disassemble Large Equipment
Take apart bulky items such as shelving units, workbenches, storage racks, and exercise equipment if they are difficult to move in one piece.
Keep Screws and Bolts Organized
Put screws, nuts, bolts, washers, and other small hardware in resealable bags. Label each bag with the item it belongs to, such as Workbench Screws or Shelving Hardware.
Each type of garage item needs a different packing approach. Follow these steps to protect your tools, equipment, and other belongings during the move.
Pack Heavy Hand Tools
Heavy metal tools need strong boxes and enough padding to keep them from shifting or damaging other items.
- Use small, heavy-duty boxes or toolboxes for hammers, wrenches, pliers, and other metal tools.
- Wrap sharp edges and pointed ends with thick cardboard and secure them with tape.
- Place heavier tools at the bottom and lighter ones on top.
- Fill empty spaces with crumpled packing paper to stop tools from moving around.
- Keep boxes light enough to lift safely instead of filling them to the top.
Once your garage items are ready, pack them in strong, well-padded boxes to prevent damage during the move.
Choose the Right Box Size
Pick boxes based on the weight and size of your items:
- Small boxes: Heavy hand tools, hardware, and metal parts.
- Medium boxes: Power tools, sports gear, and smaller equipment.
- Large boxes: Lightweight items like cushions, empty bins, and seasonal supplies.
Distribute Weight Evenly
Place heavier items at the bottom and lighter ones on top. Spread the weight evenly so the box stays balanced. Divide heavy tools among several small boxes instead of putting everything in one.
Fill Empty Spaces
Use packing paper, bubble wrap, or clean towels to fill gaps around items. Gently shake the box before sealing it. If anything shifts, add more padding.
Reinforce and Seal Boxes
Use strong packing tape to seal the bottom and top seams in an H-pattern. Choose double-wall boxes for heavier items and avoid damaged or worn-out boxes.
Protect Sharp and Fragile Items
Cover sharp edges with blade guards, cardboard, or foam and secure the covers with tape. Wrap fragile items separately and keep them away from heavy metal tools.
A label that simply says “Garage” is not enough. You may have dozens of garage boxes, and without more detail, finding a specific item can become frustrating. So you must know how to label the garage boxes.
What Every Garage Box Label Should Include
| Label Type | Required or Optional? | When to Add It | Example of What to Write |
|---|---|---|---|
| Room | Required – Every box | To show where movers should place the box. | GARAGE |
| Contents | Required – Every box | To identify what’s packed inside. | Hammers, Wrenches & Pliers |
| Heavy | Optional | When the box contains heavy tools, equipment, or metal parts. | HEAVY – Lift Carefully |
| Fragile | Optional | When packing delicate tools, electronics, or breakable equipment. | FRAGILE – Handle with Care |
| Sharp Objects | Optional | When the box contains saw blades, chisels, or other sharp tools. | SHARP OBJECTS – Handle Carefully |
| Priority | Optional | When you’ll need the items immediately after moving. | OPEN FIRST |
Examples of Labels for Different Garage Boxes
BOX 01 - BASIC
GARAGE
Contents: Sports Balls & Gloves
BOX 02 - HEAVY
GARAGE
Contents: Hammers & Wrenches
⚠ HEAVY
BOX 03 - SHARP
GARAGE
Contents: Saw Blades & Chisels
⚠ SHARP OBJECTS
BOX 04 - PRIORITY
GARAGE
Contents: Basic Toolkit
⊗ OPEN FIRST
Want a Complete Packing Plan?
Stop guessing what to pack next. Follow a clear packing plan that helps you move room by room without the usual last-minute chaos.
Read How to Pack for a MoveCommon Mistakes to Avoid When Packing a Garage
Most garage-packing damage stems from a handful of repeatable habits. Here is the short version.
| Mistake | The Fix |
|---|---|
| Waiting until the last minute | Start decluttering early; save only daily-use tools for the final day |
| Using large boxes for metal tools | Use several small boxes, which are easier to balance, carry, and stack |
| Packing hazardous products without telling the mover | Disclose them; FMCSA warns that this can reduce the mover’s liability and create legal issues |
| Mixing heavy and fragile items | Pack them separately; a wrench can easily crack a gauge or delicate attachment |
| Leaving sharp edges exposed | Use rigid covers and clear warning labels |
| Vague hardware labels | Label the exact item and location, like “Workbench rear brace” |
| Packing damp equipment | Drain and dry everything first to avoid odors, rust, and weak boxes |
| Packing daily-use tools too early | Keep one small working set, ladder, drill, utility knife, until moving day |