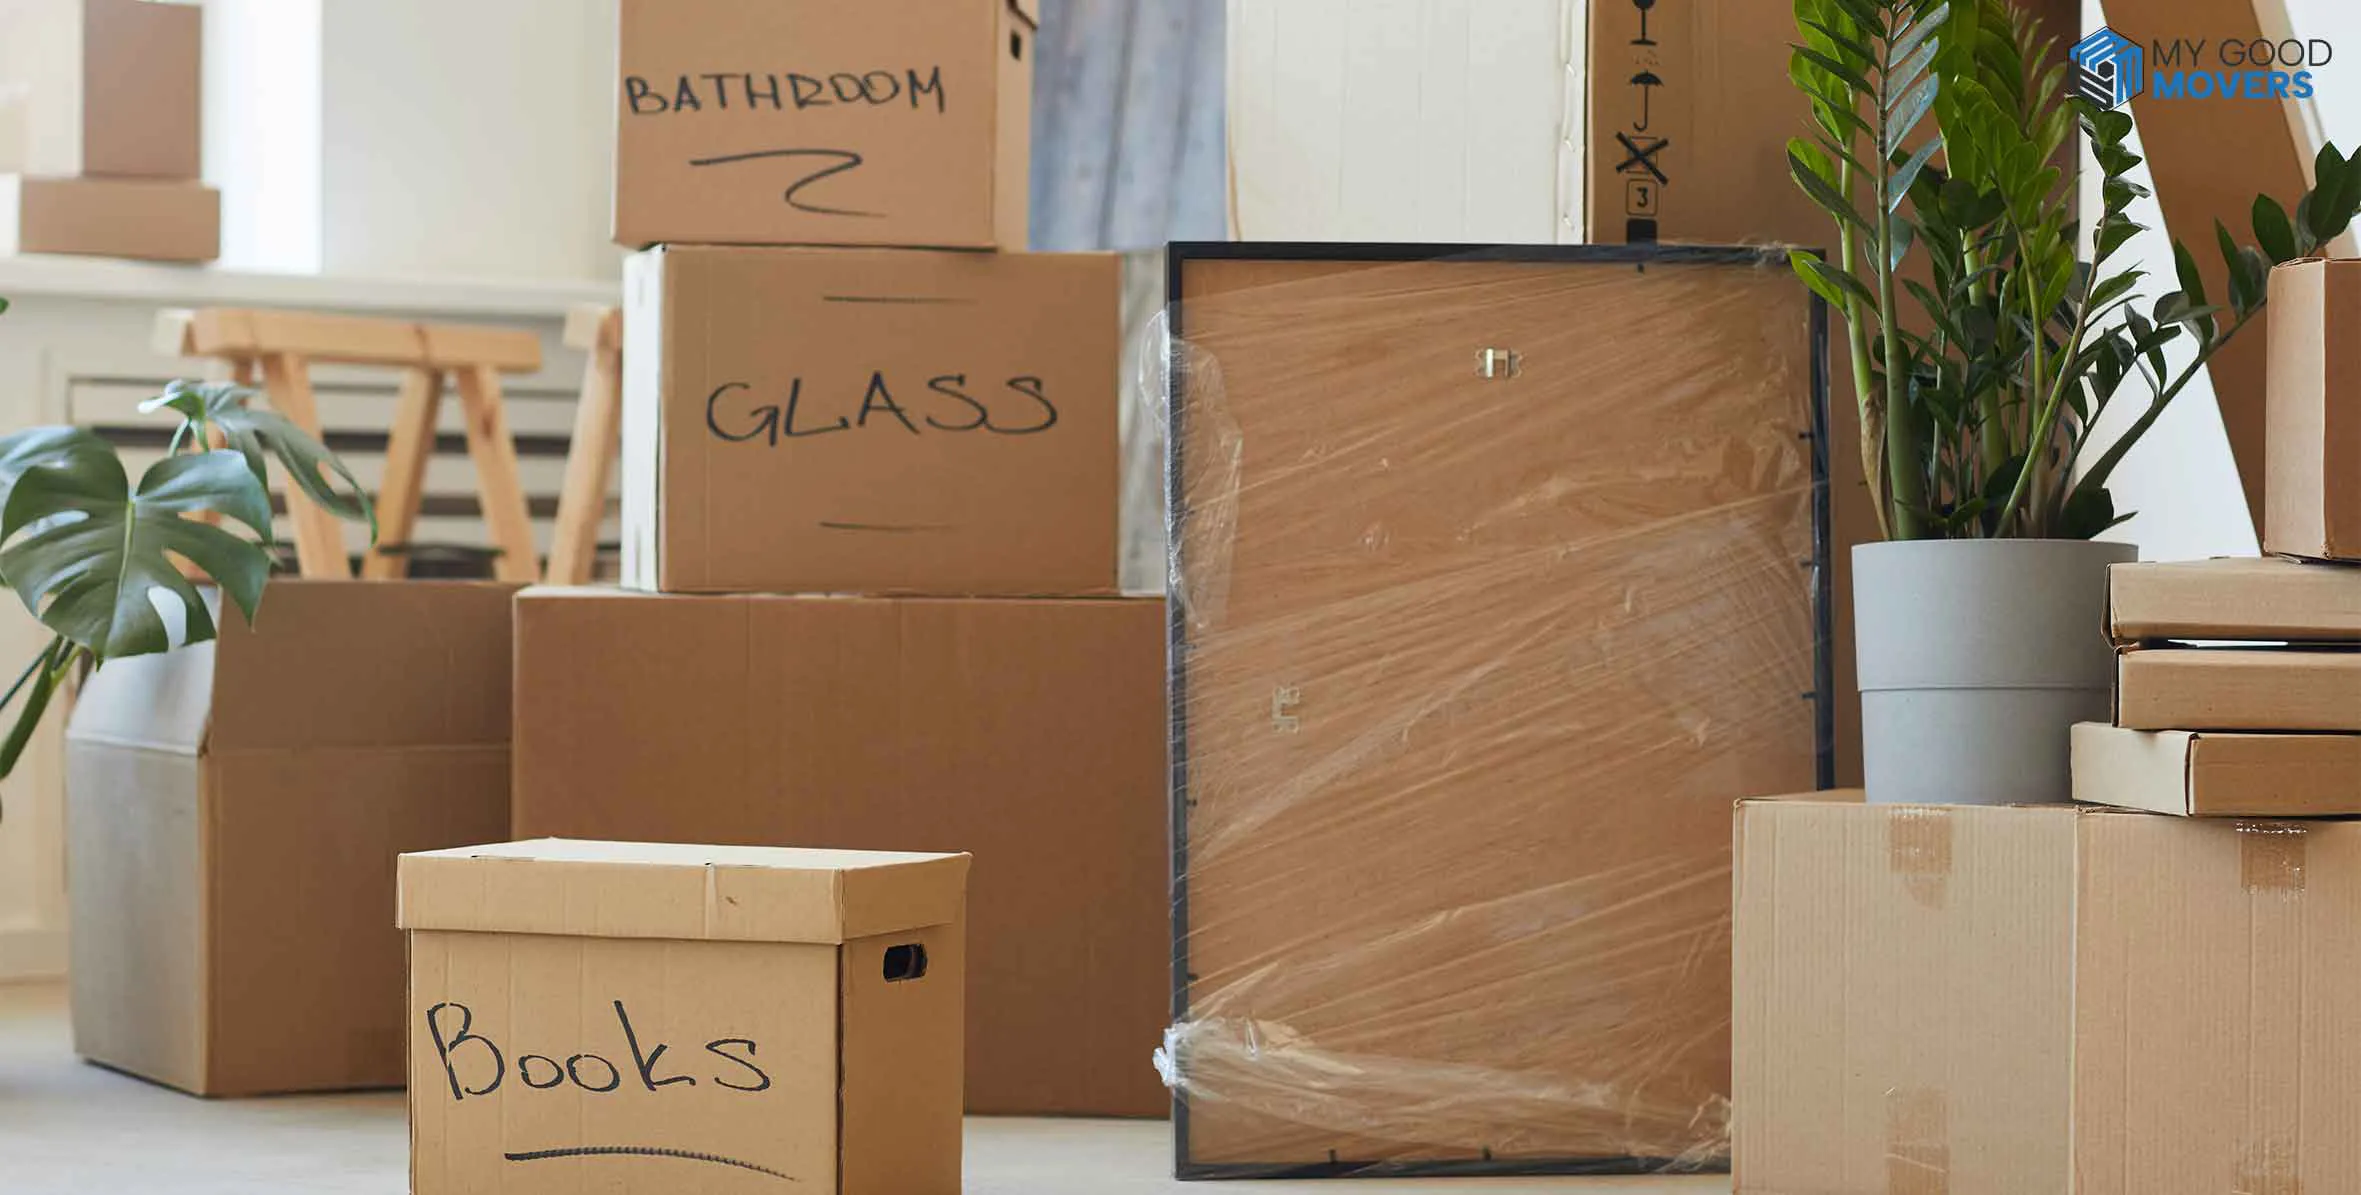



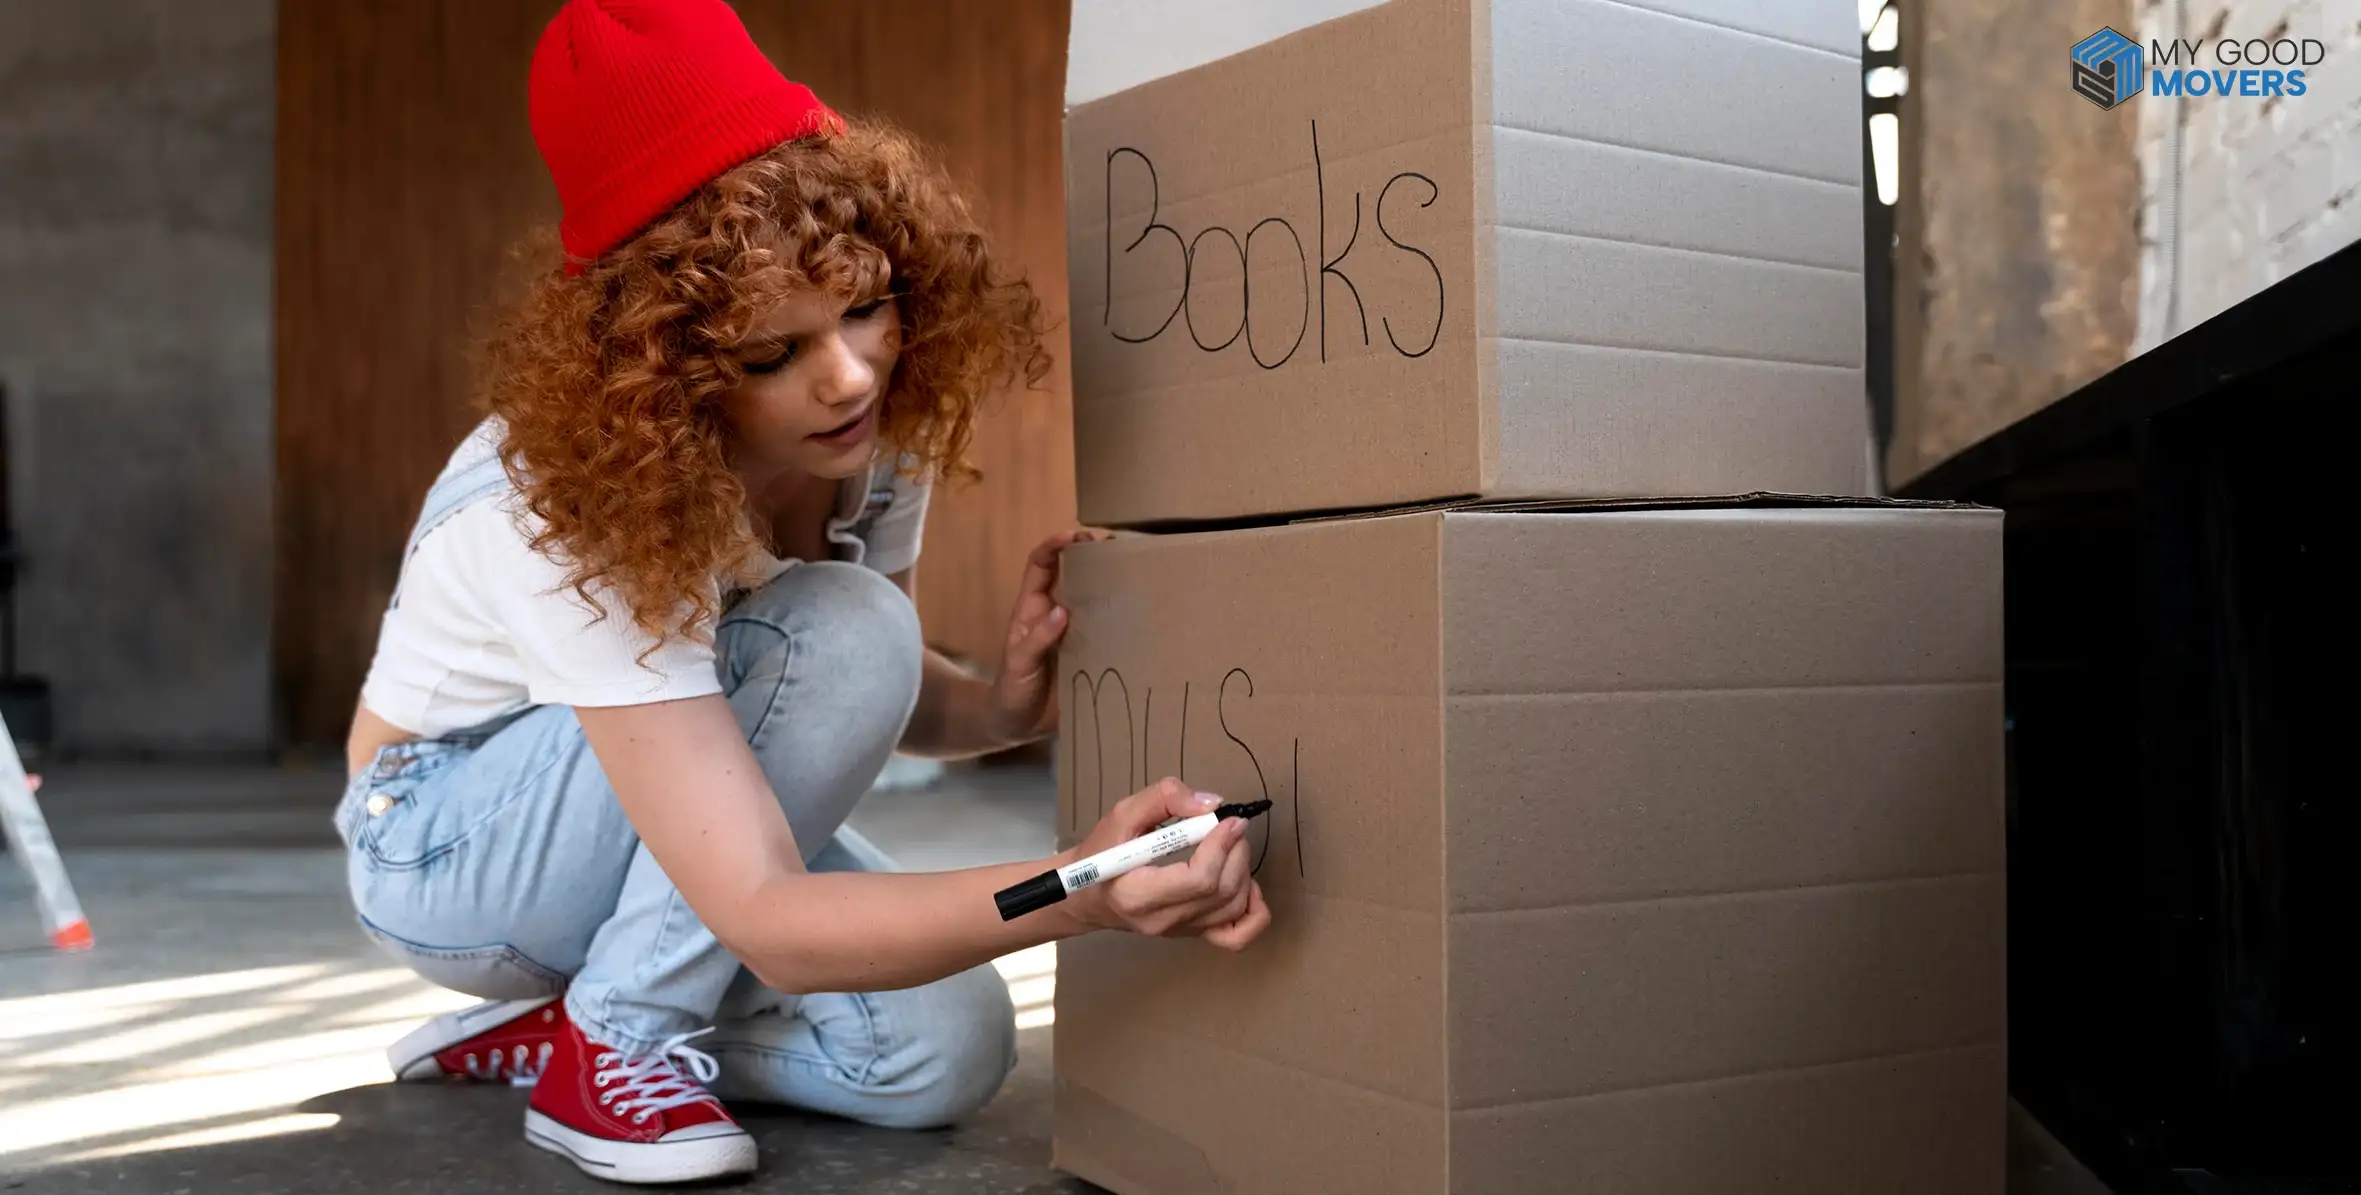
The best way to label moving boxes is to clearly write the room name, a brief description of the contents, a box number, and any special handling instructions on multiple sides of the box.
This simple system helps movers place boxes in the correct rooms, prevents lost items, and speeds up unpacking.
Without a clear system, moving day quickly turns into a guessing game. You may carry kitchen supplies into the bedroom, search through five boxes for your phone charger, or find out that the items you need first are buried at the back of the truck.
That’s why knowing how to label moving boxes prevents that confusion before it begins.
A well-labelled box can save hours of frustration, dozens of unnecessary box openings, and a surprising amount of moving stress.
Let's go through a simple system that helps you label boxes clearly, keep everything organized, and make unpacking far smoother once you arrive at your new home.
Key Takeaways
- Label every box with the room name, contents, box number, and handling instructions.
- Use a numbering system to track all boxes during the move.
- Place labels on multiple sides for quick identification.
- Clearly mark fragile, heavy, and priority boxes.
- Create an inventory list to quickly locate items.
- Set aside open-first boxes containing essentials.
- Use color-coding moving boxes systems for larger households.
- Keep descriptions specific rather than using vague labels.
- Consider digital tracking methods for long-distance moves.
Why Properly Labeling Moving Boxes Matters
A clear labeling system keeps your move organized from packing day to the final stage of unpacking. Here are the main reasons labeling boxes for moving is worth the effort.
You Can Find Important Items Faster
Clear labels tell you what each box contains. This saves you from opening several boxes just to find a charger, towel, remote, or another item you need right away.
Every Box Is Easier to Track
Moving day can become hectic, especially when many boxes are being loaded and unloaded. Numbering each box and recording it on an inventory list helps you notice quickly if something is missing.
Fragile Items Receive Better Care
Boxes containing glassware, dishes, electronics, or decorations need careful handling. A visible “Fragile” label tells movers and family members to lift, carry, and place the box more carefully.
Boxes Reach the Correct Room
Room labels show movers exactly where each box belongs in your new home. This prevents kitchen boxes from ending up in bedrooms and saves you from moving heavy boxes again later.
Unpacking Becomes More Manageable
Proper labels allow you to unpack one room at a time instead of opening boxes randomly. You can also mark important boxes as “Open First”, so your daily essentials are ready when you need them.
Expert Insight: The 30-Second Rule
If someone can't identify where a box belongs within 30 seconds, the label isn't detailed enough.
Every label should answer:
- Which room does it belong to?
- What's inside?
- Does it require special handling?
If one of those answers is missing, improve the label before sealing the box.
What Information Should You Write on Every Moving Box?
If you're wondering what to write on moving boxes, focus on details that help identify the box without opening it. A well-labeled moving box should tell you exactly where it belongs, what's inside, and whether it needs special handling.
Essential Information Every Moving Box Should Include
| Label Element | What to Include |
|---|---|
| Room Name | Kitchen, Bedroom, Bathroom, Living Room, Home Office, etc. |
| Contents | Summary of items inside |
| Box Number | Unique number for tracking and inventory |
| Priority Level | Open First, Essential, Standard |
| Handling Notes | Fragile, Heavy, This Side Up, Do Not Stack |
Supplies You'll Need to Label Moving Boxes
You don't need any fancy equipment. A few basic supplies are enough to create a clear and organized labeling system.
| Supply | What It's For | Pro Tip |
|---|---|---|
| Permanent Markers | Write room names, contents & handling instructions directly on boxes. | Get at least 3, one for each packer. |
| Colored Stickers or Tape | Color-code boxes by room so movers know exactly where each one goes. | Assign one color per room; post a key near the front door. |
| Printable Moving Labels |
Speed up labeling with pre-formatted templates, faster and more consistent |
Print extras; labels peel off walls when it's hot |
| Label Maker (Optional) | Creates sharp, professional-looking labels that are easy to read at a glance. | Worth it for long-distance or multi-day moves. |
| Inventory Sheet or Moving App |
Track box numbers, contents, and room assignments across the whole move |
Number each box; your inventory becomes a checklist on arrival |
Not Sure How Many Boxes You Need?
Use our moving box calculator to quickly estimate how many boxes you need for your move.
Calculate Your Moving BoxesHow to Label Moving Boxes Like a Pro (Step-by-Step)
When labels are detailed and consistent, unloading becomes faster, unpacking becomes easier, and finding important items doesn't turn into a treasure hunt.
Follow the steps below to label moving boxes like a pro and make your move stress-free:
Step 1: Assign a Room to Every Box Before Packing
Choose the destination room before you pack the box, not after.
A common packing mistake occurs when items are grouped by where they're currently stored rather than where they'll be used in the new home. That approach creates boxes filled with unrelated items that are harder to unpack later.
Think about the destination, not the starting point
For example:
- Spare batteries stored in a kitchen drawer may belong in a home office.
- Bed linens stored in a hallway closet belong in a bedroom.
- Cleaning supplies stored under different sinks may end up in one utility room.
The more accurately you assign a destination room, the fewer boxes you'll have to move around after unloading.
Pro Packing Habit
Write the room name on the box before placing the first item inside. This creates a natural filter that prevents unrelated items from ending up together.
Step 2: Write a Clear Description of the Contents
A room label tells you where a box belongs. The contents label tells you whether it's the box you're looking for.
The difference becomes obvious after moving day.
Imagine you're looking for a coffee maker on your first morning in the new house. A box labeled "Kitchen" won't help much if 12 kitchen boxes are sitting in front of you.
Write for your future self
Instead of describing a category, describe the items you'll likely search for.
Quick Reality Check
| ❌ Too Vague | ✅ Specific & Clear |
|---|---|
| ❌ Kitchen Items | ✅ Everyday Plates, Coffee Mugs, Measuring Cups |
| ❌ Bathroom Items | ✅ Hair Dryer, First-Aid Kit, Bath Towels |
| ❌ Office Supplies | ✅ Printer Paper, Monitor Cables, File Folders |
💡 A Simple Rule That Works
If someone could walk into a store and buy exactly what you wrote, you're being specific enough.
Step 3: Number Every Box for Easy Tracking
Room names tell you where a box belongs. Numbers tell you whether every box actually arrived.
This becomes especially important during long-distance moves, temporary storage, or moves involving dozens of boxes.
Create a room-based numbering system
Instead of: Box 1, Box 2, Box 3
Use:
| Box Number | Room | Contents |
|---|---|---|
| K-01 | Kitchen | Plates and Bowls |
| K-02 | Kitchen | Small Appliances |
| BR-01 | Bedroom | Bedding and Pillows |
Why best packing and moving companies use box numbers
Let's say your inventory shows:
- Kitchen = 12 boxes
- Bedroom = 8 boxes
- Bathroom = 4 boxes
If only 11 kitchen boxes arrive, you'll know immediately that something is missing, rather than discovering it weeks later.
Step 4: Add Priority Labels for Essential Boxes
Not every box deserves the same level of urgency.
Some boxes can wait a week to be unpacked. Others become important within minutes of arriving.
Build a "first 24 hours" category
Think about what you'll need before you unpack anything else.
Examples include:
- Phone chargers
- Medications
- Toilet paper
- Pet supplies
- Basic cookware
- Children's necessities
- Wi-Fi equipment
A simple "OPEN FIRST" label can save hours of searching after a long moving day.
A Mistake Worth Avoiding
Don't hide essential items across multiple boxes. Keep them together whenever possible so one box solves multiple immediate needs.
Step 5: Use Color Coding to Identify Rooms Faster
Text labels work well when you're standing directly in front of a box. Color coding works when you're standing across the room.
During unloading, movers often identify boxes from a distance before they can read the label itself. That's where color coding becomes useful.
Example color system
| Color | Room |
|---|---|
| Blue | Kitchen |
| Green | Bedroom |
| Yellow | Bathroom |
| Red | Living Room |
| Orange | Home Office |
Step 6: Clearly Mark Fragile, Heavy, and Valuable Items
A mover can't protect what they don't know needs protection.
A box containing books requires different handling than a box containing glassware.
Mark special handling requirements clearly
Use labels such as:
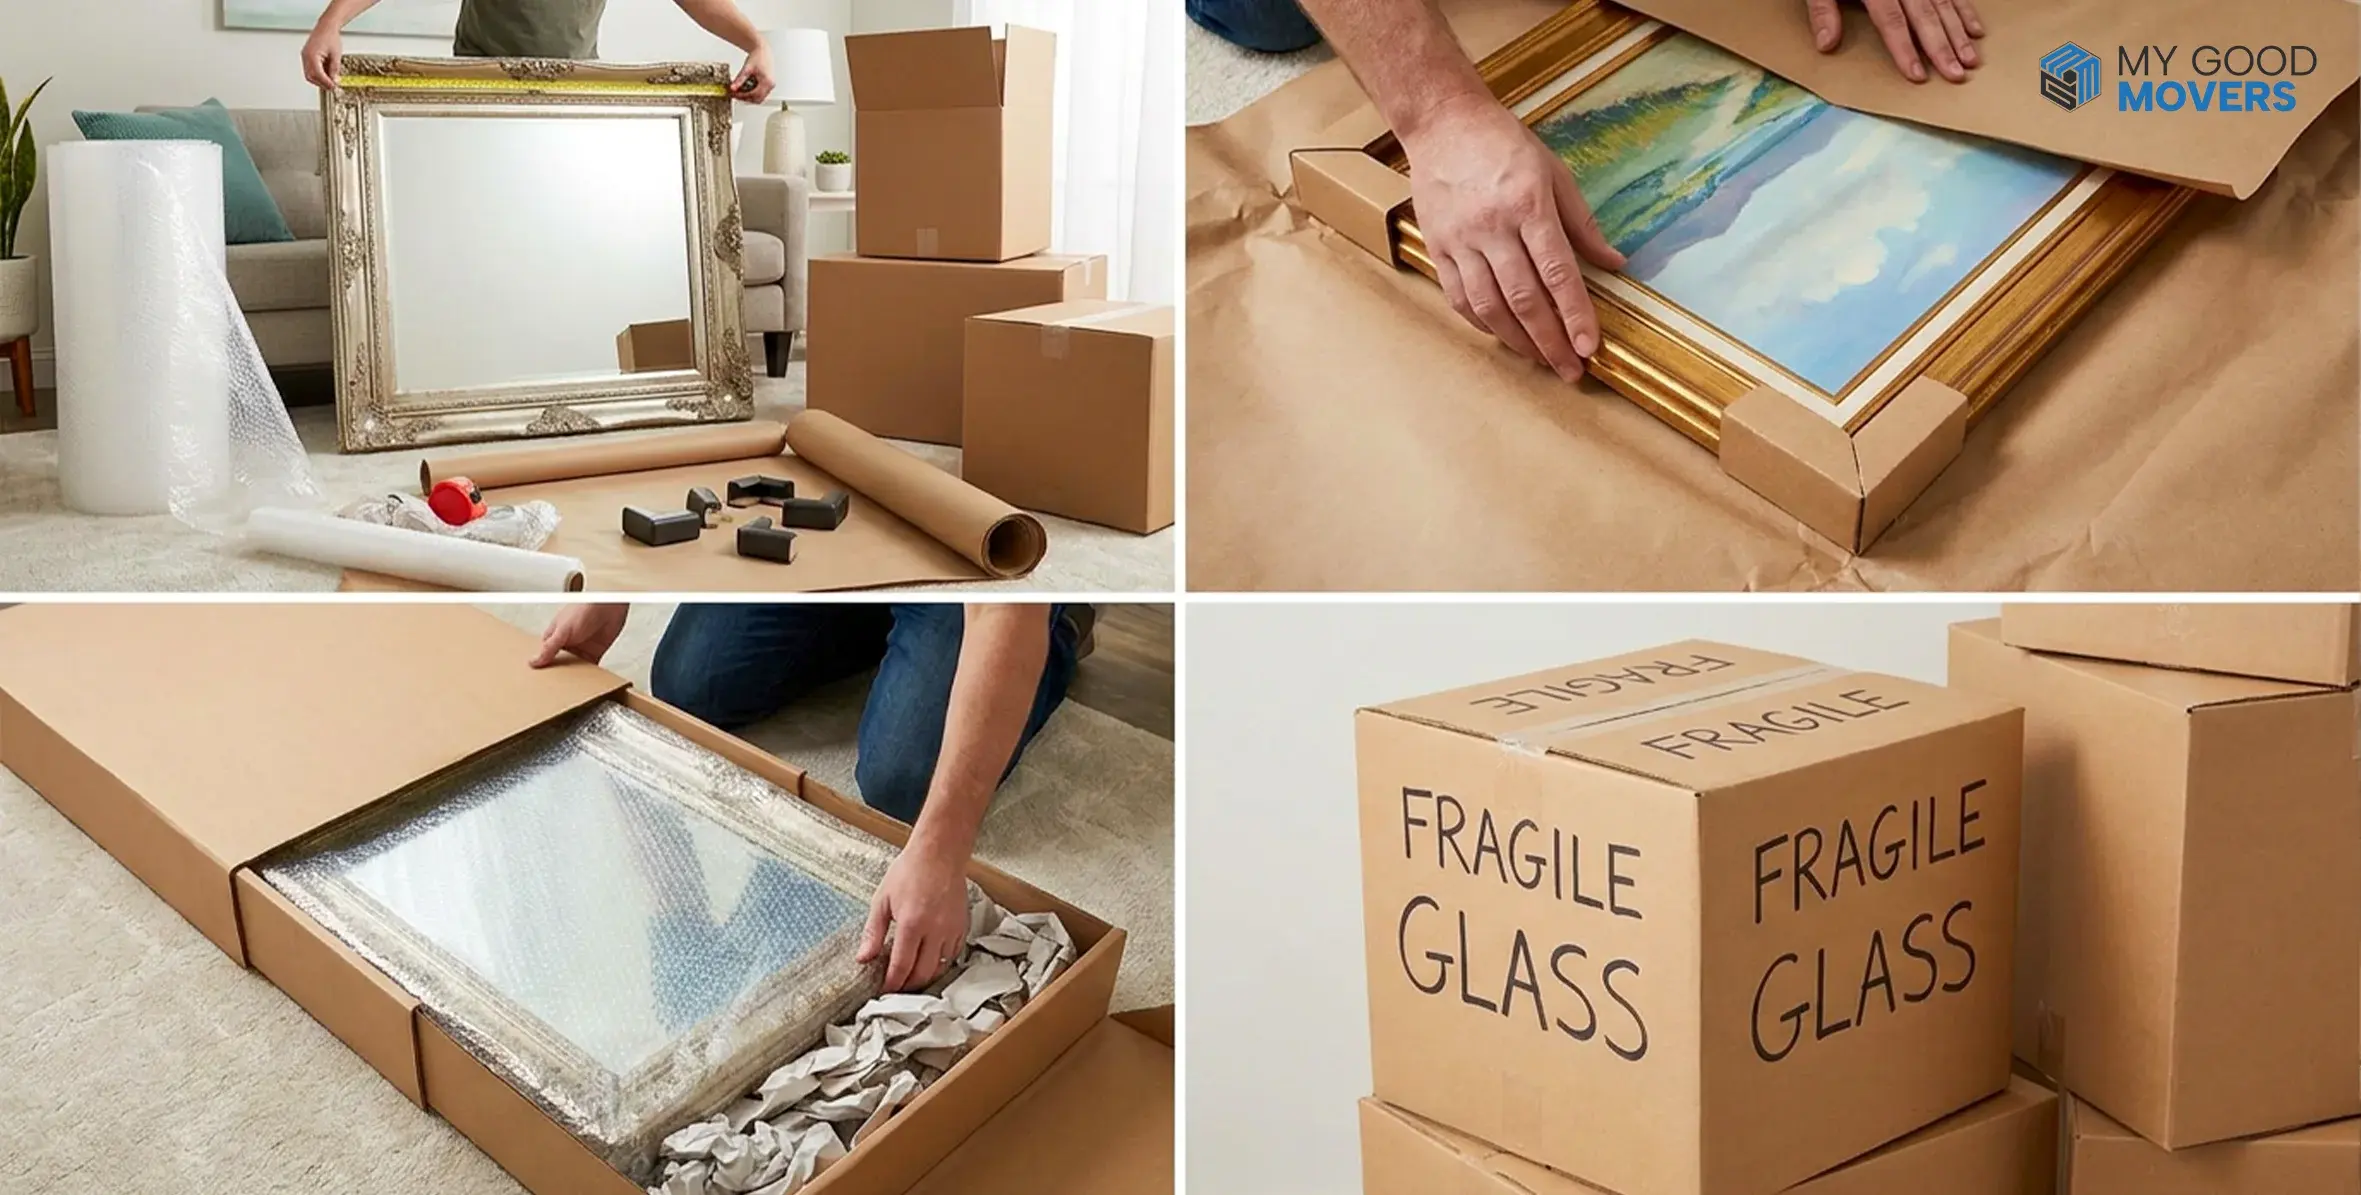
- Fragile
- Heavy
- This Side Up
- Do Not Stack
- Handle With Care
🔒 Security Tip Most People Miss
Avoid writing:
❌ Jewelry
❌ Expensive Electronics
❌ Valuable Collectables
Write instead:
✅ High-Value Items
✅ Private Contents
✅ Handle With Care
Step 7: Place Labels on Multiple Sides of Every Box
A label only works if it's visible.
Once boxes are stacked inside a truck, a garage, or a storage unit, top labels often go out of view.
Where should labels go?
Place labels on:
- The top
- One long side
- One short side
This allows the box to be identified regardless of its orientation.
Why This Matters?
Imagine searching through 40 boxes in a garage. A visible side label lets you find the correct box immediately, without lifting and rotating multiple boxes to read the top.
Step 8: Create a Moving Box Inventory List
Labels tell you what's inside one box. An inventory tells you where everything is.
Keep the inventory simple
Your list should include:
- Box number
- Room
- Main contents
- Priority level
Example:
| Box Number | Contents |
|---|---|
| K-03 | Coffee Maker, Toaster, Blender |
| BR-05 | Winter Jackets and Boots |
| OF-01 | Chargers, Documents, Medications |
Step 9: Label Open-First Boxes Separately
The first evening in a new home usually follows a predictable pattern.
- Someone needs a charger.
- Someone needs medication.
- Someone asks where the coffee maker is.
That's why open-first boxes deserve their own category.
What should go inside?
Focus on items needed during the first 24:48 hours:
- Chargers
- Medications
- Toiletries
- Towels
- Coffee supplies
- Basic kitchen tools
- Important paperwork
Make these boxes impossible to miss
Use:
- Bright tape
- Large lettering
- Distinctive labels
If every box looks the same, your essentials won't feel very essential.
Step 10: Use Digital Tracking for Large or Long-Distance Moves
A handwritten inventory works well for smaller moves. Once the box count starts climbing, digital tracking becomes easier to manage.
What can digital tracking help with?
You can:
- Search box contents instantly
- Upload photos
- Track box numbers
- Share inventories with family members
- Update locations during storage
A practical shortcut
Take a photo of the contents before sealing each box. Later, you'll have a visual record without reopening anything.
Step 11: Double-Check Every Label Before Moving Day
A final review catches small mistakes before they become big frustrations. Walk through each room and look at every packed box.
Confirm that every box has:
- A room label
- A content description
- A box number
- Special handling instructions if needed
Look for labels that are too vague
Examples:
❌ Miscellaneous
❌ Storage
❌ Random Items
These labels rarely help during unpacking. Replace them with descriptions that actually identify the contents.
Want a Complete Packing Plan?
Stop guessing what to pack next. Follow a clear packing plan that helps you move room by room without the usual last-minute chaos.
Read How to Pack for a MoveRoom-by-Room Moving Box Label Examples
You do not need to write a full inventory on every box. A useful label should quickly tell you three things:
- Which room the box belongs in
- What is inside
- Whether it needs special handling
Kitchen Box Labels
Kitchen boxes contain fragile items, heavy cookware, and things you may need on the first day. Keep the label clear and specific.
| Box Contents | Label Example |
|---|---|
| Plates and bowls | KITCHEN • Plates and Bowls • FRAGILE |
| Pots and pans | KITCHEN • Pots and Pans • HEAVY |
| Coffee supplies | KITCHEN • Coffee Maker and Mugs • OPEN FIRST |
| Pantry items | KITCHEN • Dry Food and Spices |
| Small appliances | KITCHEN • Blender and Toaster • HANDLE WITH CARE |
A better label is "Kitchen, everyday dishes" instead of simply writing "Kitchen stuff."
Bedroom Box Labels
Bedroom labels should help you separate clothing, bedding, and personal items.
| Box Contents | Label Example |
|---|---|
| Everyday clothes | MAIN BEDROOM • Everyday Clothes |
| Bedding | MAIN BEDROOM • Sheets and Pillowcases • OPEN FIRST |
| Shoes | MAIN BEDROOM • Shoes |
| Seasonal clothes | MAIN BEDROOM • Winter Clothing |
| Bedside items | MAIN BEDROOM • Lamp, Books and Charger • FRAGILE |
For homes with several bedrooms, use names such as "Main Bedroom," "Guest Room," or "Sarah's Room." This helps movers place each moving box in the correct space.
Bathroom Box Labels
Bathroom boxes usually contain liquids, toiletries, towels, and first-night essentials.
| Box Contents | Label Example |
|---|---|
| Towels | BATHROOM • Towels |
| Daily toiletries | BATHROOM • Toiletries • OPEN FIRST |
| Cleaning products | BATHROOM • Cleaning Supplies • KEEP UPRIGHT |
| Hair tools | BATHROOM • Hair Dryer and Styling Tools |
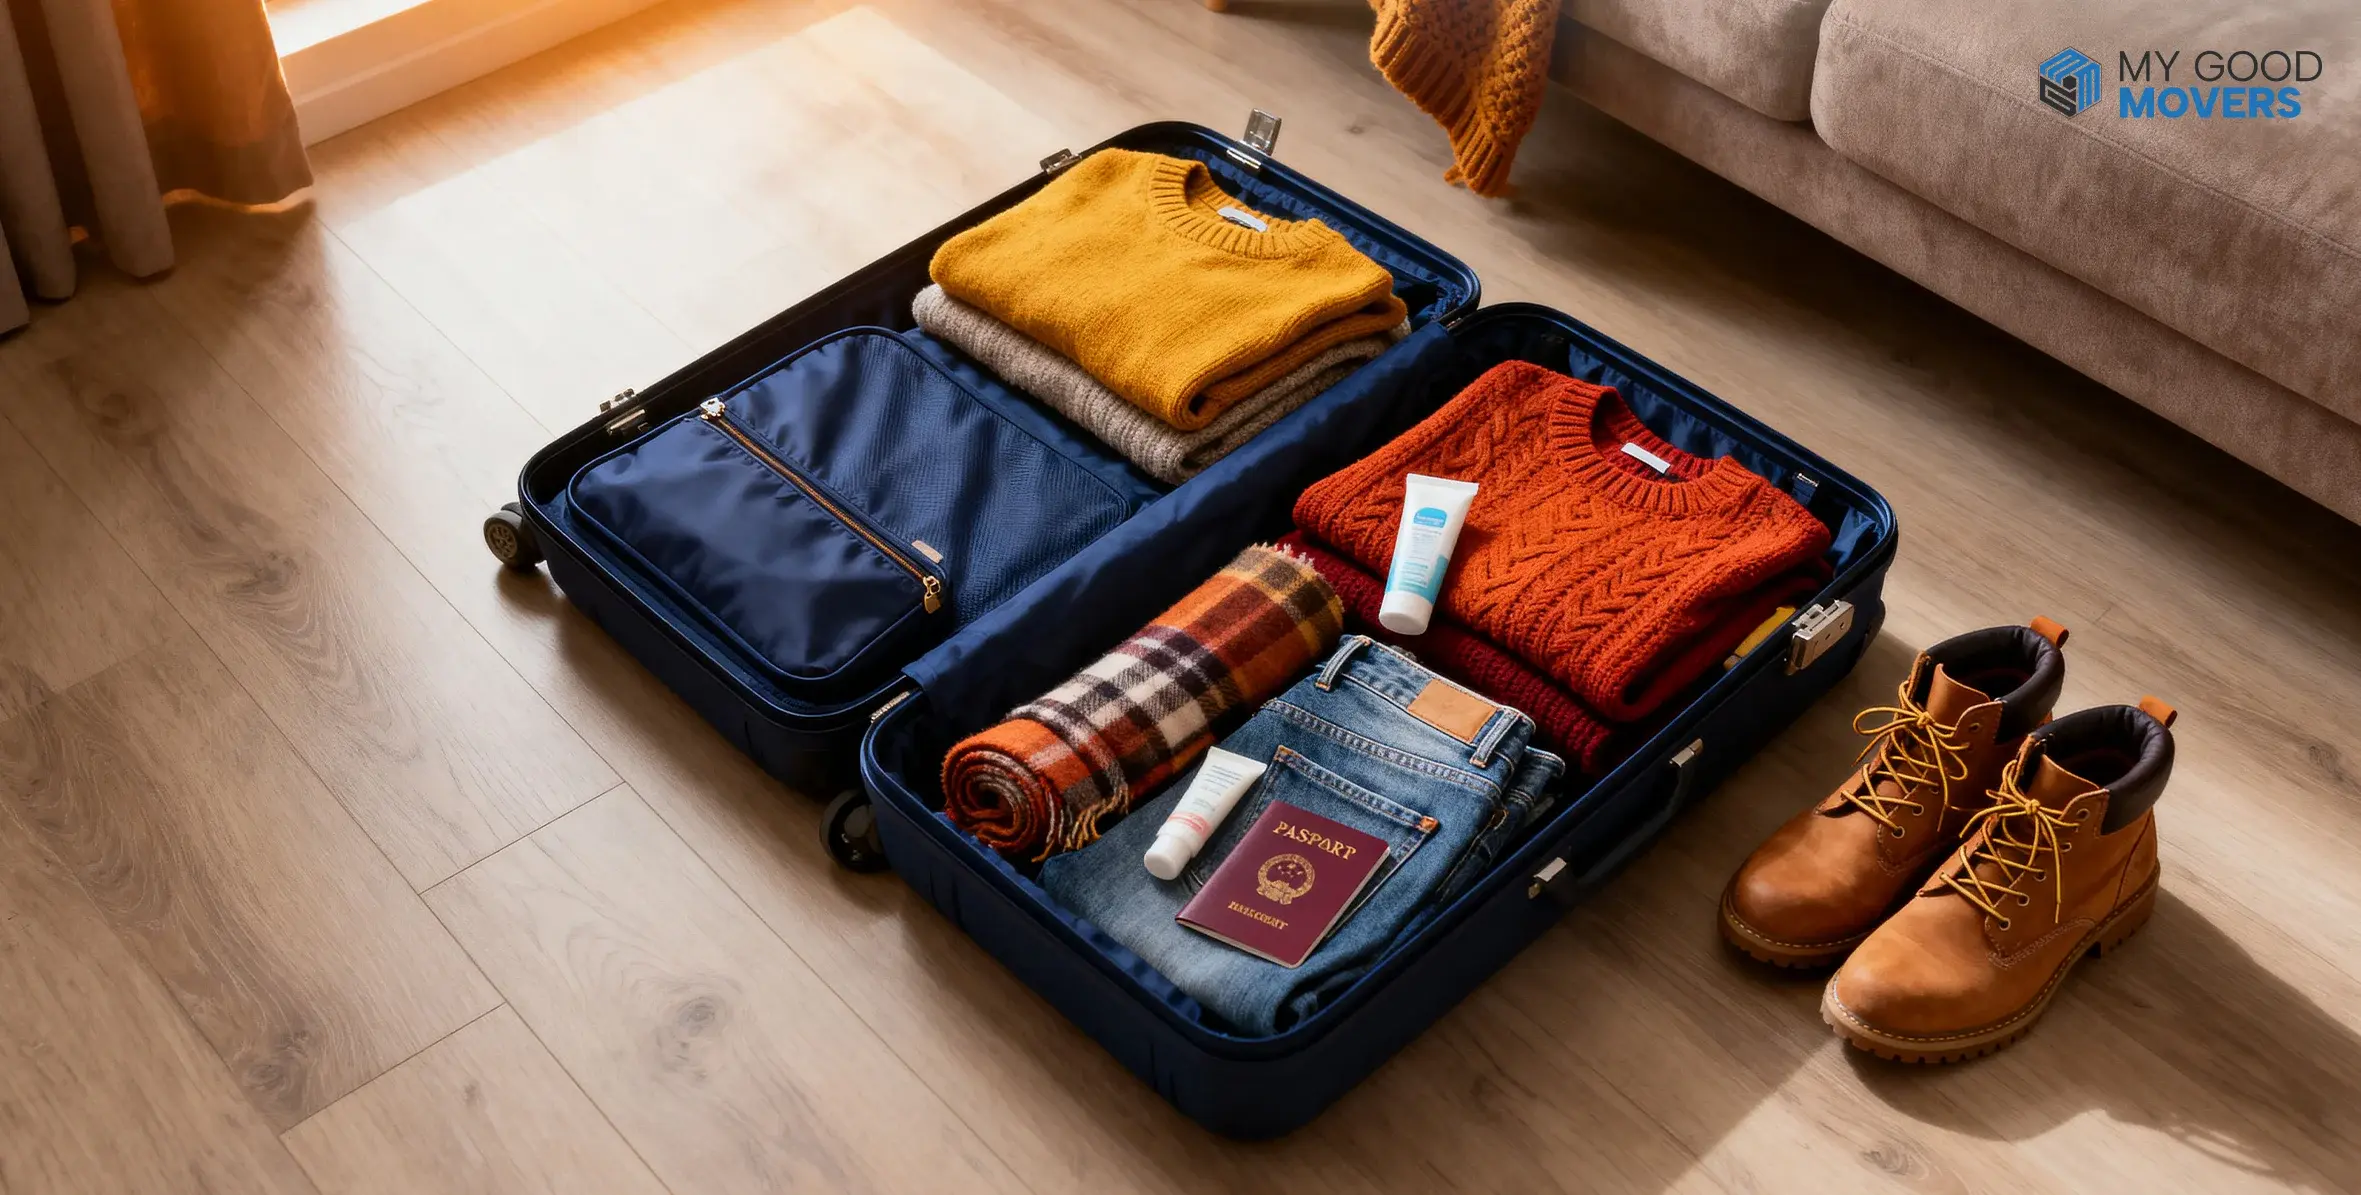
| Medicine | KEEP WITH OWNER • MEDICATION • DO NOT LOAD |
Place liquids in sealed bags before packing them. Add "Keep Upright" when a box contains products that could leak.
Living Room Box Labels
Living room boxes may include electronics, decorations, books, and fragile display items.
| Box Contents | Label Example |
|---|---|
| Electronics | LIVING ROOM • Streaming Device and Cables • FRAGILE |
| Books | LIVING ROOM • Books • HEAVY |
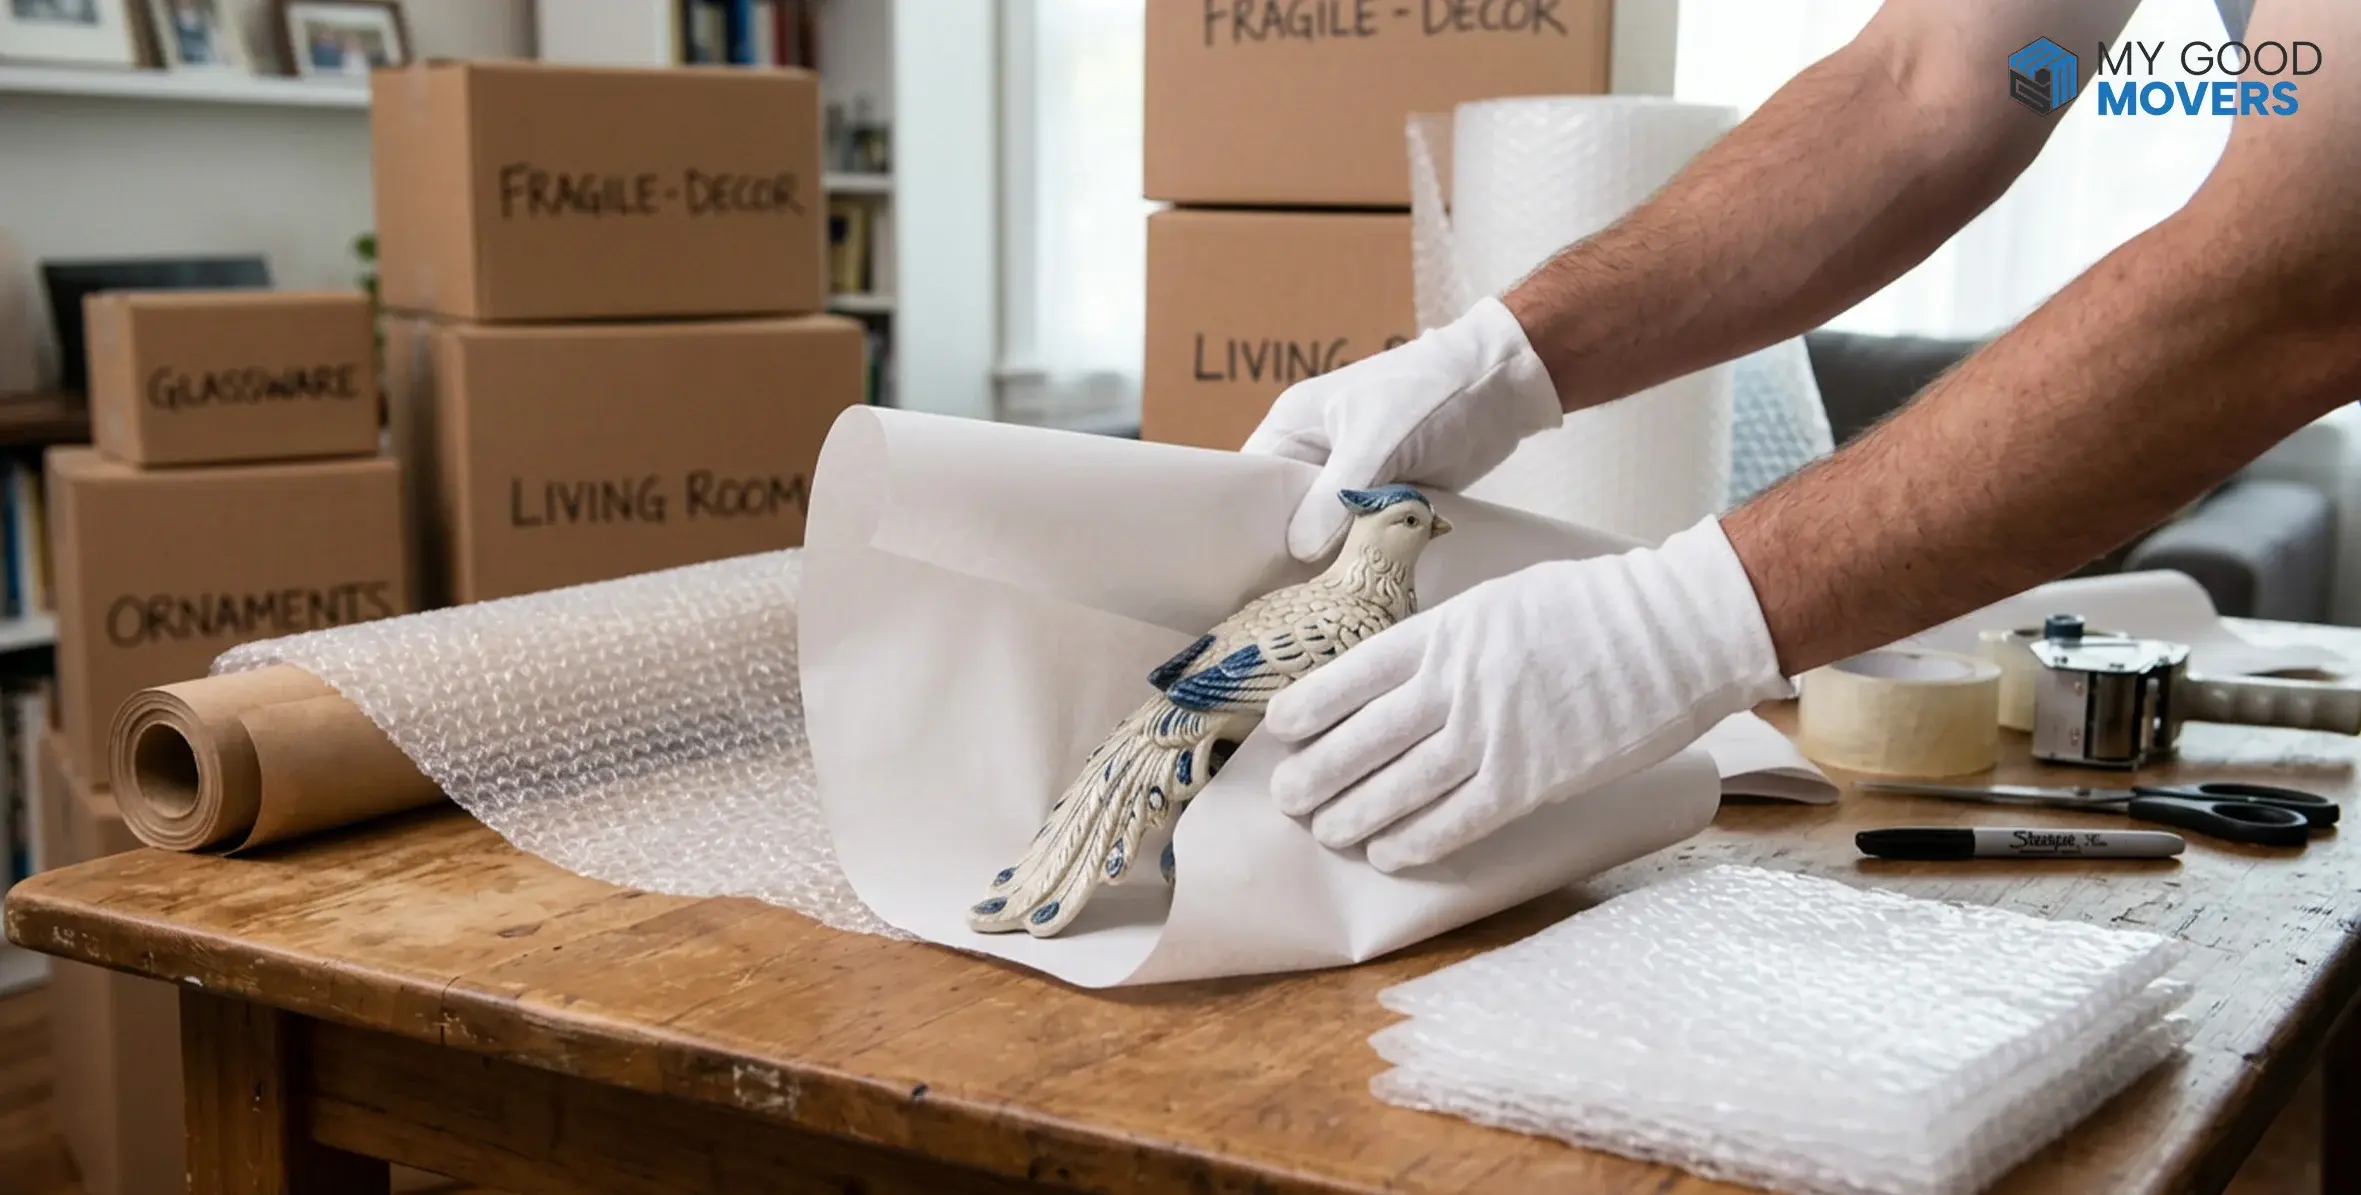
| Decorations | LIVING ROOM • Decor Items • FRAGILE |
| Cushions and throws | LIVING ROOM • Cushions and Blankets |
| Remote controls | LIVING ROOM • Remotes and Small Electronics • OPEN FIRST |
Keep cables with the device they belong to. You can also place them in a labeled bag inside the box.
Home Office Box Labels
Office boxes need more detail because they may contain important documents, equipment, and confidential information.
| Box Contents | Label Example |
|---|---|
| Computer equipment | HOME OFFICE • Monitor and Accessories • FRAGILE |
| Documents | HOME OFFICE • Tax and Property Records • PRIVATE |
| Desk supplies | HOME OFFICE • Stationery and Desk Items |
| Printer items | HOME OFFICE • Printer Cables and Ink |
| Work essentials | HOME OFFICE • Laptop Stand and Chargers • OPEN FIRST |
Avoid listing valuable equipment in too much detail on the outside. Use a box number and record the full contents in your inventory instead.
Garage and Tool Box Labels
Garage boxes are heavy and may contain sharp, oily, or hazardous items. Clear handling notes are important.
| Box Contents | Label Example |
|---|---|
| Hand tools | GARAGE • Hand Tools • HEAVY |
| Power tools | GARAGE • Power Tools • KEEP DRY |
| Car supplies | GARAGE • Car Cleaning Supplies • KEEP UPRIGHT |
| Garden items | GARAGE • Gardening Tools |
| Hardware | GARAGE • Screws, Nails and Hardware • HEAVY |
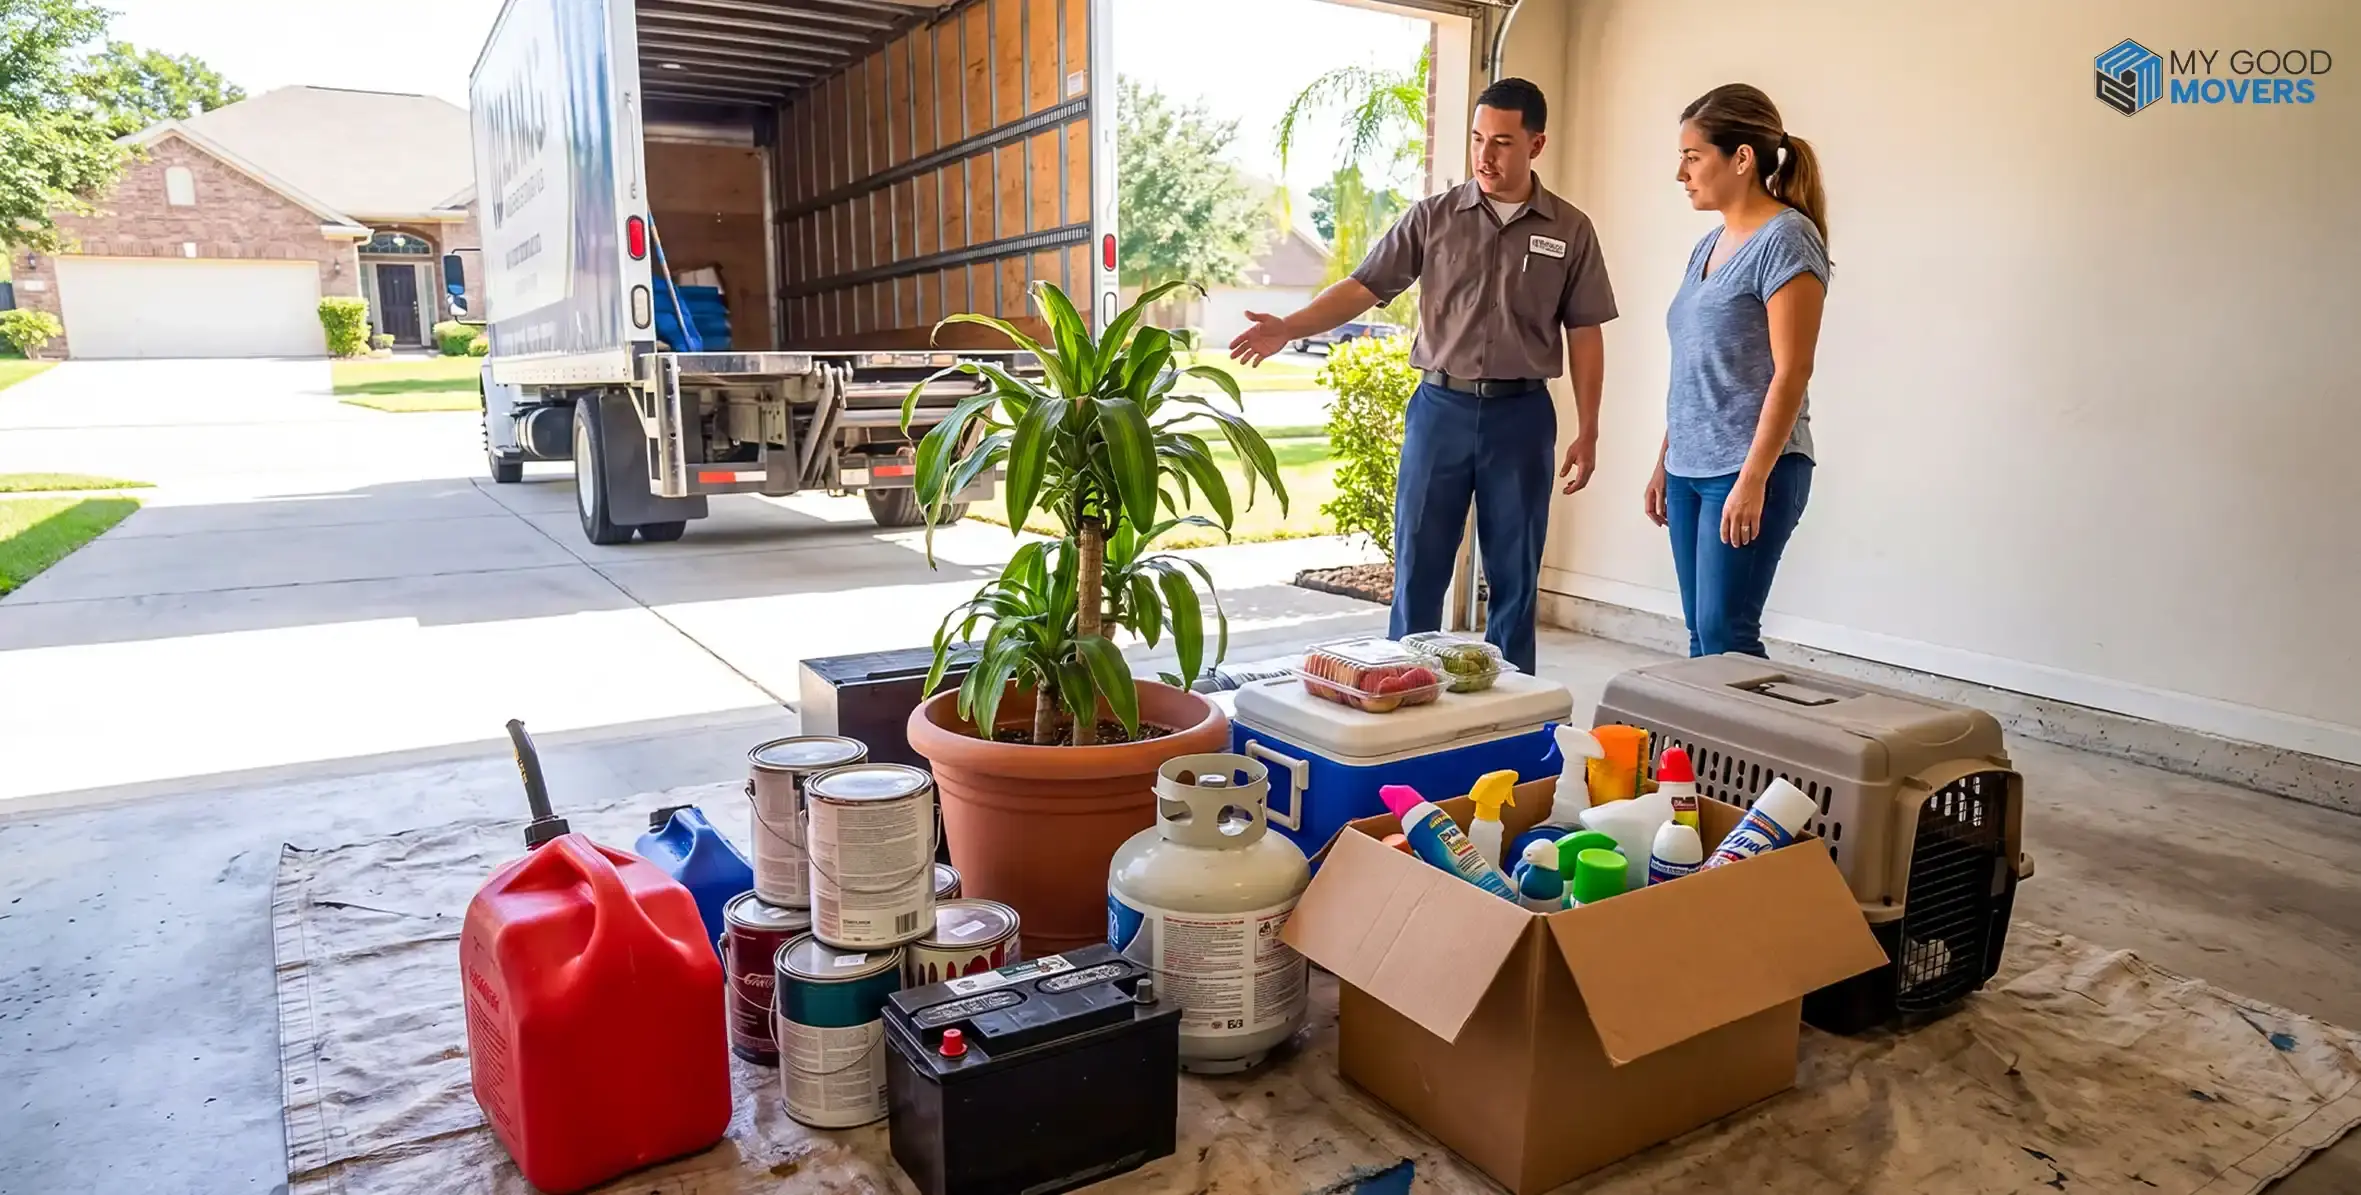
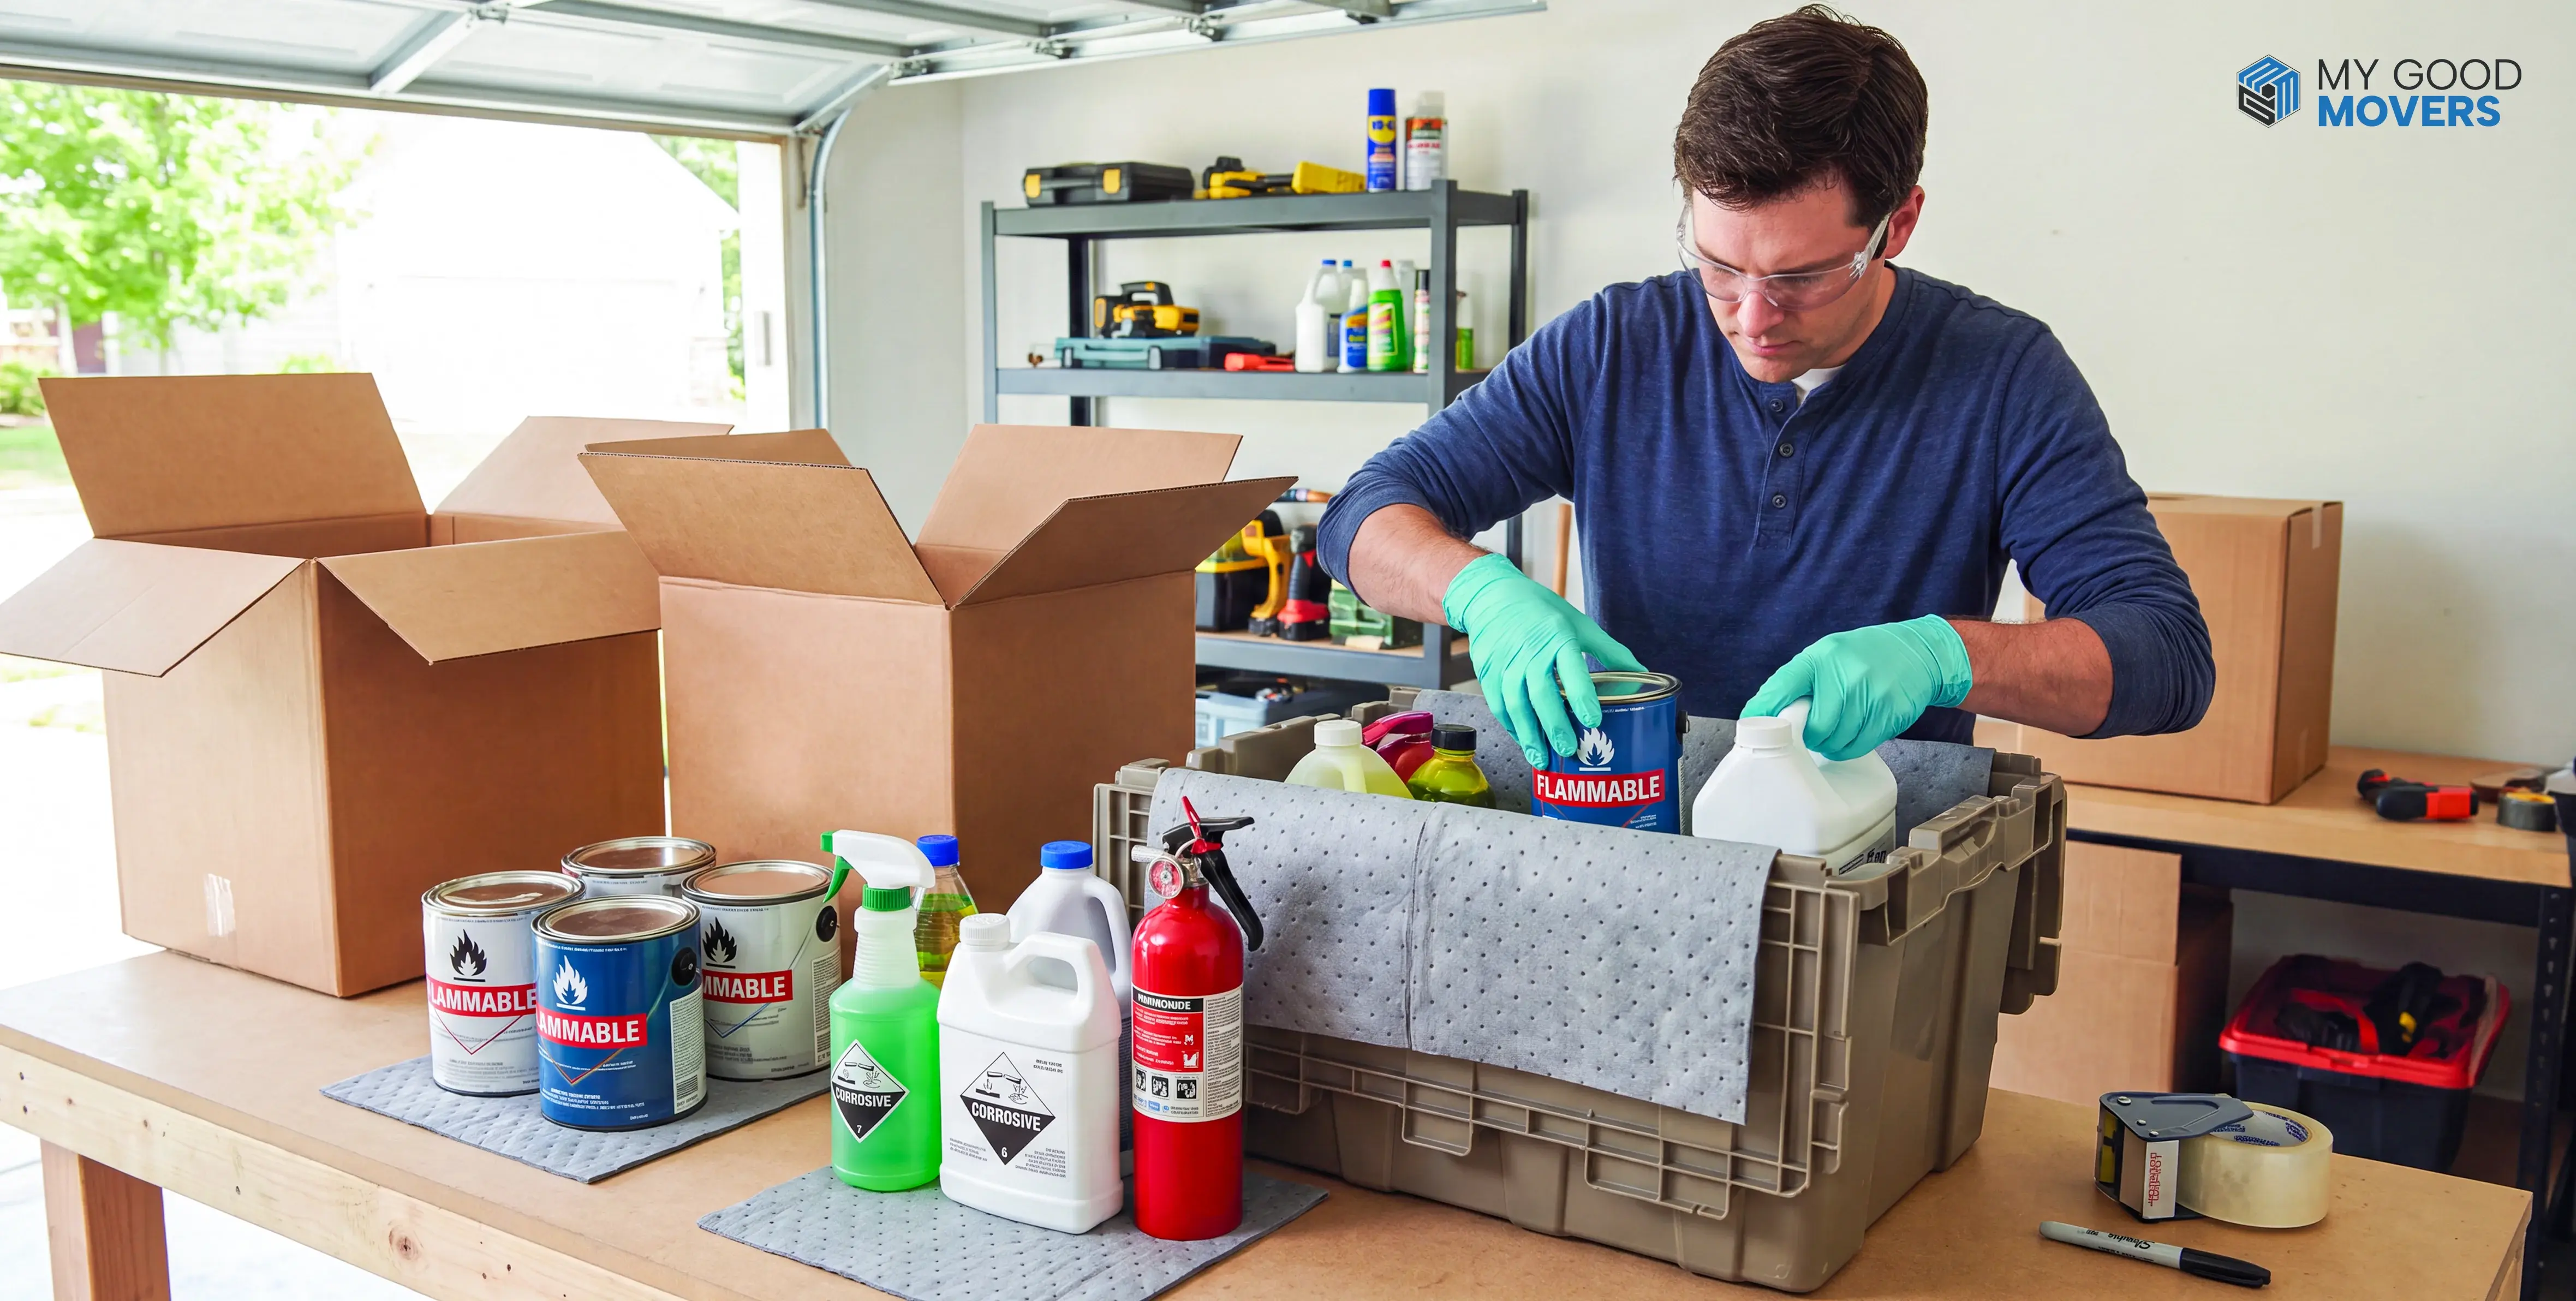
Do not pack fuel, propane, paint thinner, or other restricted materials without checking your mover's rules first.
Moving Box Labelling Dos and Don'ts
A good labelling system doesn't fail because of one big mistake. It usually breaks down because of small habits that create confusion later.
| Dos | Don'ts |
|---|---|
| Label boxes as you pack, not after | Wait until the end to label a stack of boxes |
| Use specific content descriptions | Write vague terms like "Misc." or "Stuff" |
| Label at least two sides of each box | Label only the top of the box |
| Keep a written or digital inventory | Rely purely on memory for what's inside |
| Mark fragile boxes clearly and consistently | Mix fragile items into unmarked boxes |
| Use a consistent numbering system | Restart numbering for every room |
| Set aside open-first boxes separately | Bury essentials boxes under everything else |
| Use generic terms for valuable items | Write "Jewellery" or brand names on the outside |