


Key Takeaways
- Identify the type of artwork or mirror before choosing packing materials.
- Protect glass, corners, and frames separately.
- Keep mirrors and framed artwork upright during transport.
- Never place bubble wrap directly against canvas paintings.
- Use picture boxes or mirror boxes whenever possible.
- Consider professional packing for antiques and high-value artwork.
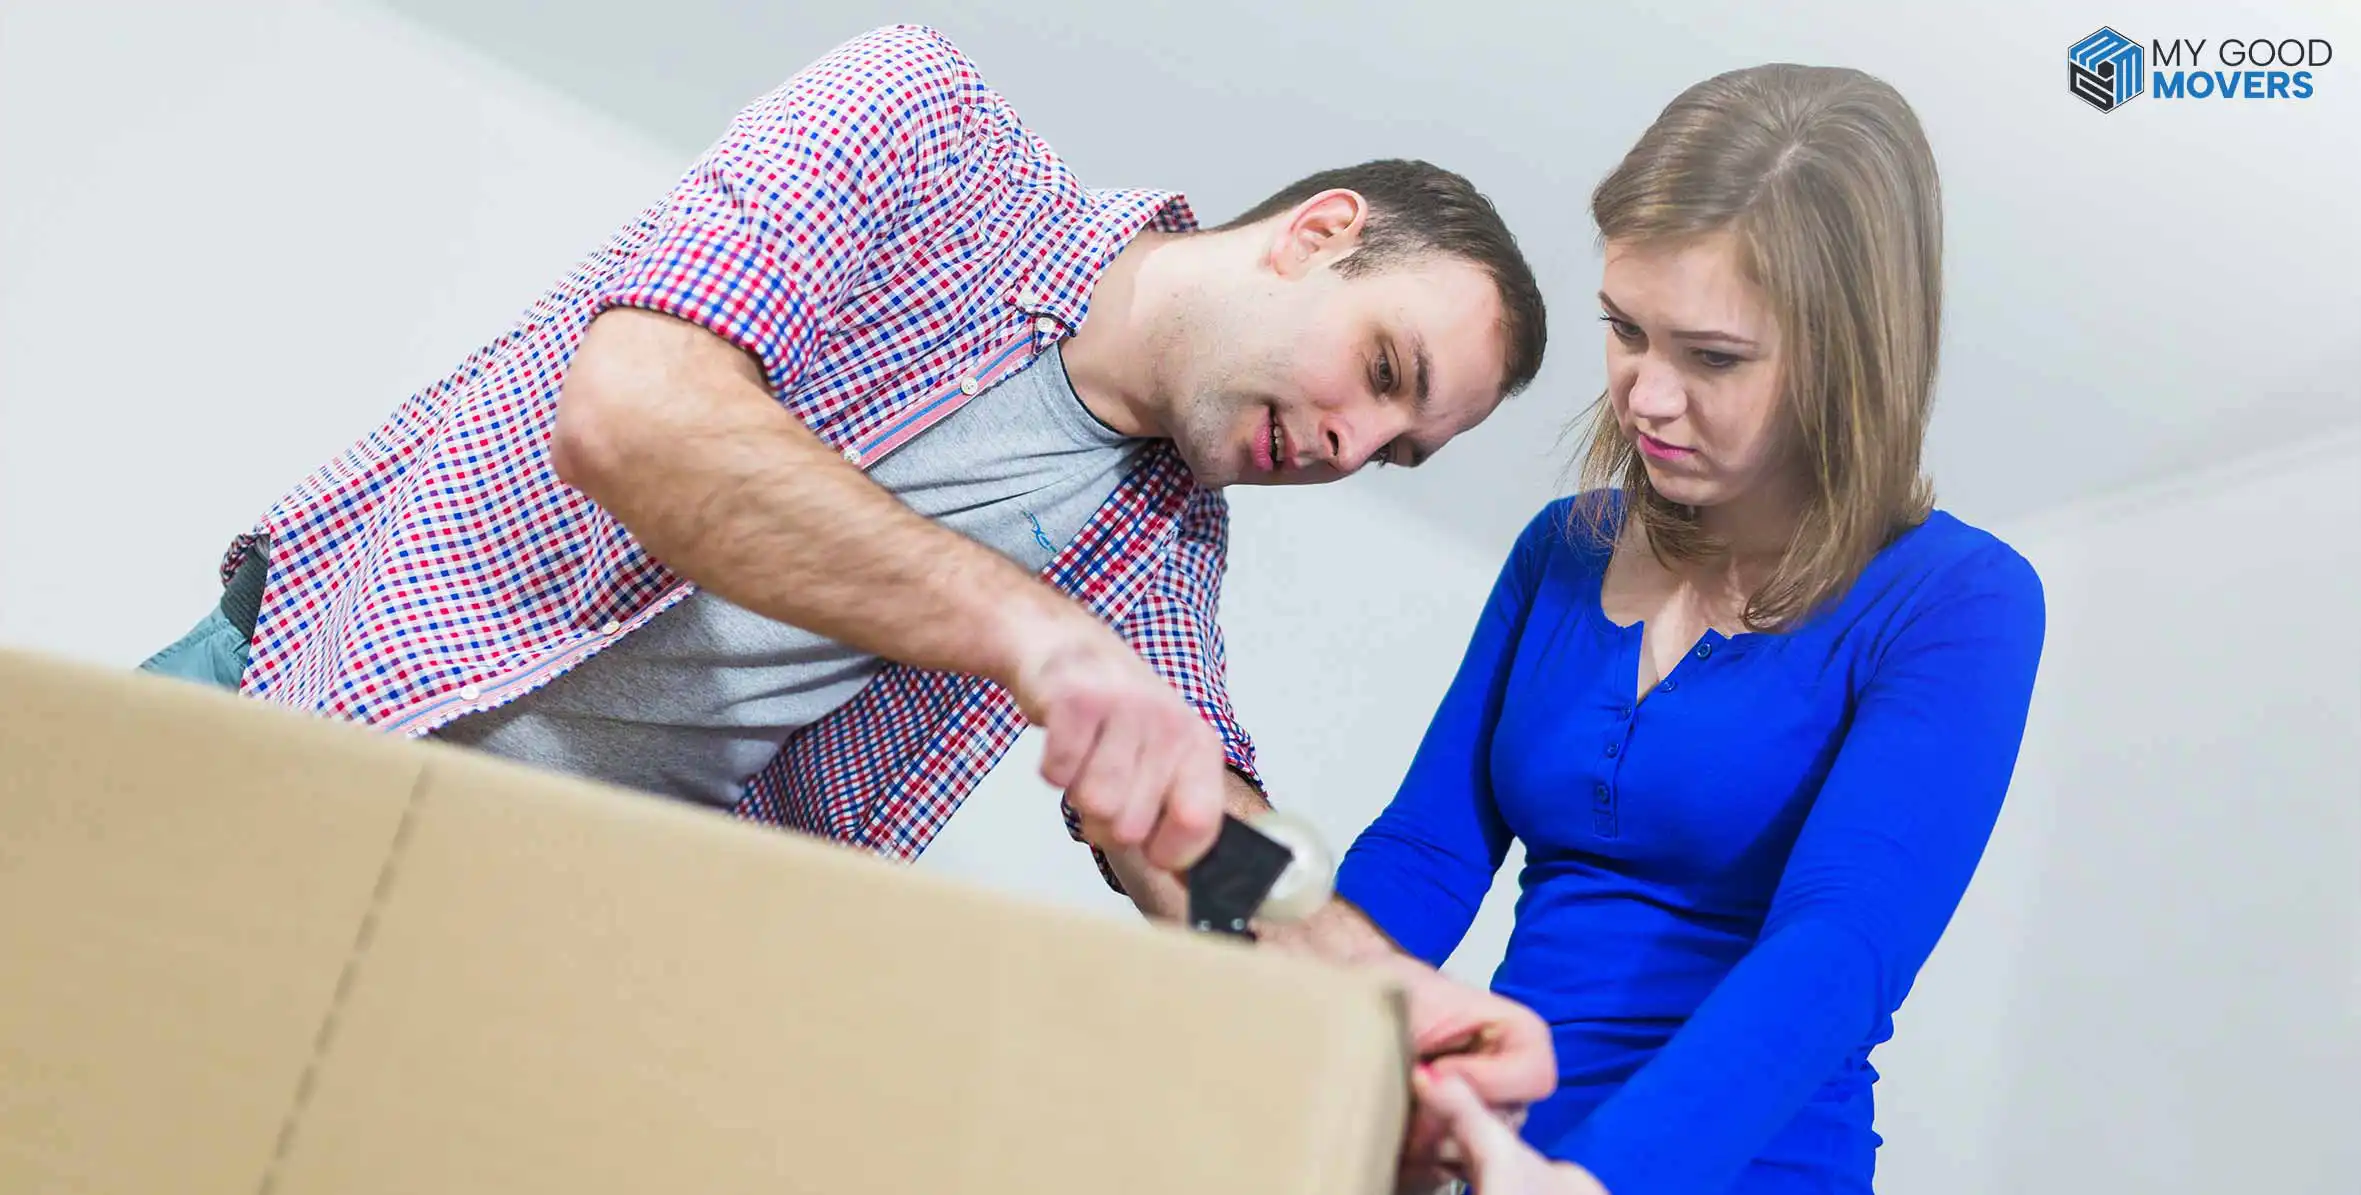
The safest way to pack artwork and mirrors is to protect the surfaces first and place each piece in a properly fitted box that prevents movement during transport.
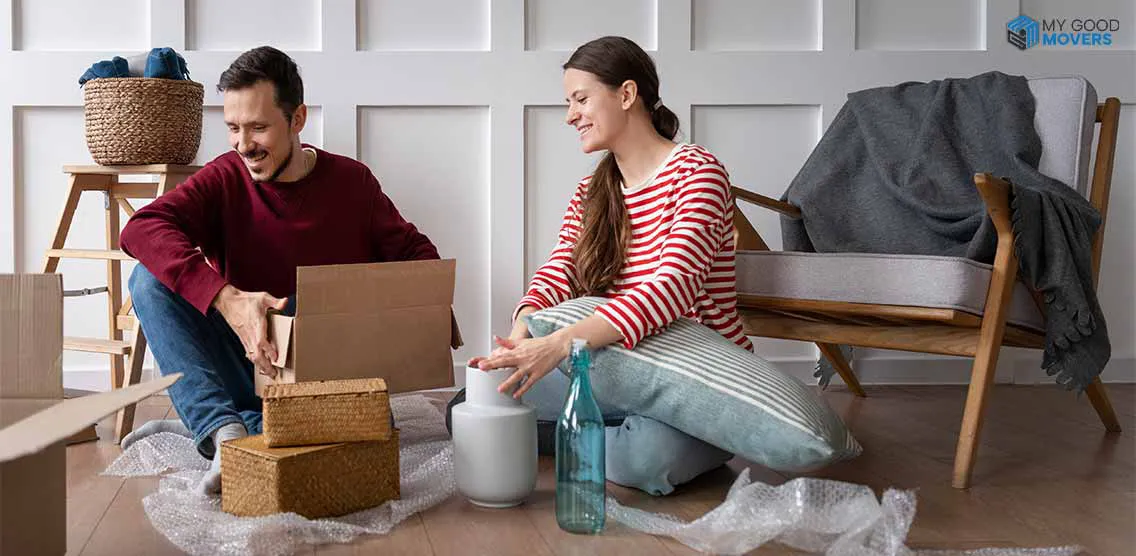
If you've ever unpacked after a move and found a cracked mirror or damaged frame, you already know how frustrating it can be. In many cases, the item wasn't damaged because the movers handled it poorly. The real problem started before the truck was even loaded.
A beautiful piece of artwork can survive hundreds of miles on the road, but a poor packing job can damage it before the journey even begins.
That's why learning how to pack artwork and mirrors properly is worth the extra effort.
Identify What Type of Artwork or Mirror You Have
Before you begin wrapping anything, take a moment to identify the type of artwork or mirror you're moving.
This helps you choose the right packing materials and avoid damage during transport.
- Framed artwork with glass: Needs extra protection around the glass surface, frame edges, and corners.
- Standard or large mirrors: Check for cracks, loose backing, or weak frames before packing. This is especially important if you're moving large mirrors.
- Canvas paintings: Keep pressure and moisture away from the painted surface to prevent damage.
- Acrylic or plexiglass frames: More resistant to breaking than glass but much easier to scratch.
- Valuable or sentimental pieces: Consider additional protection for artwork that is rare, expensive, or difficult to replace.
Quick Tip: Take photos of each piece before packing. It helps document its condition and gives you peace of mind throughout the move.
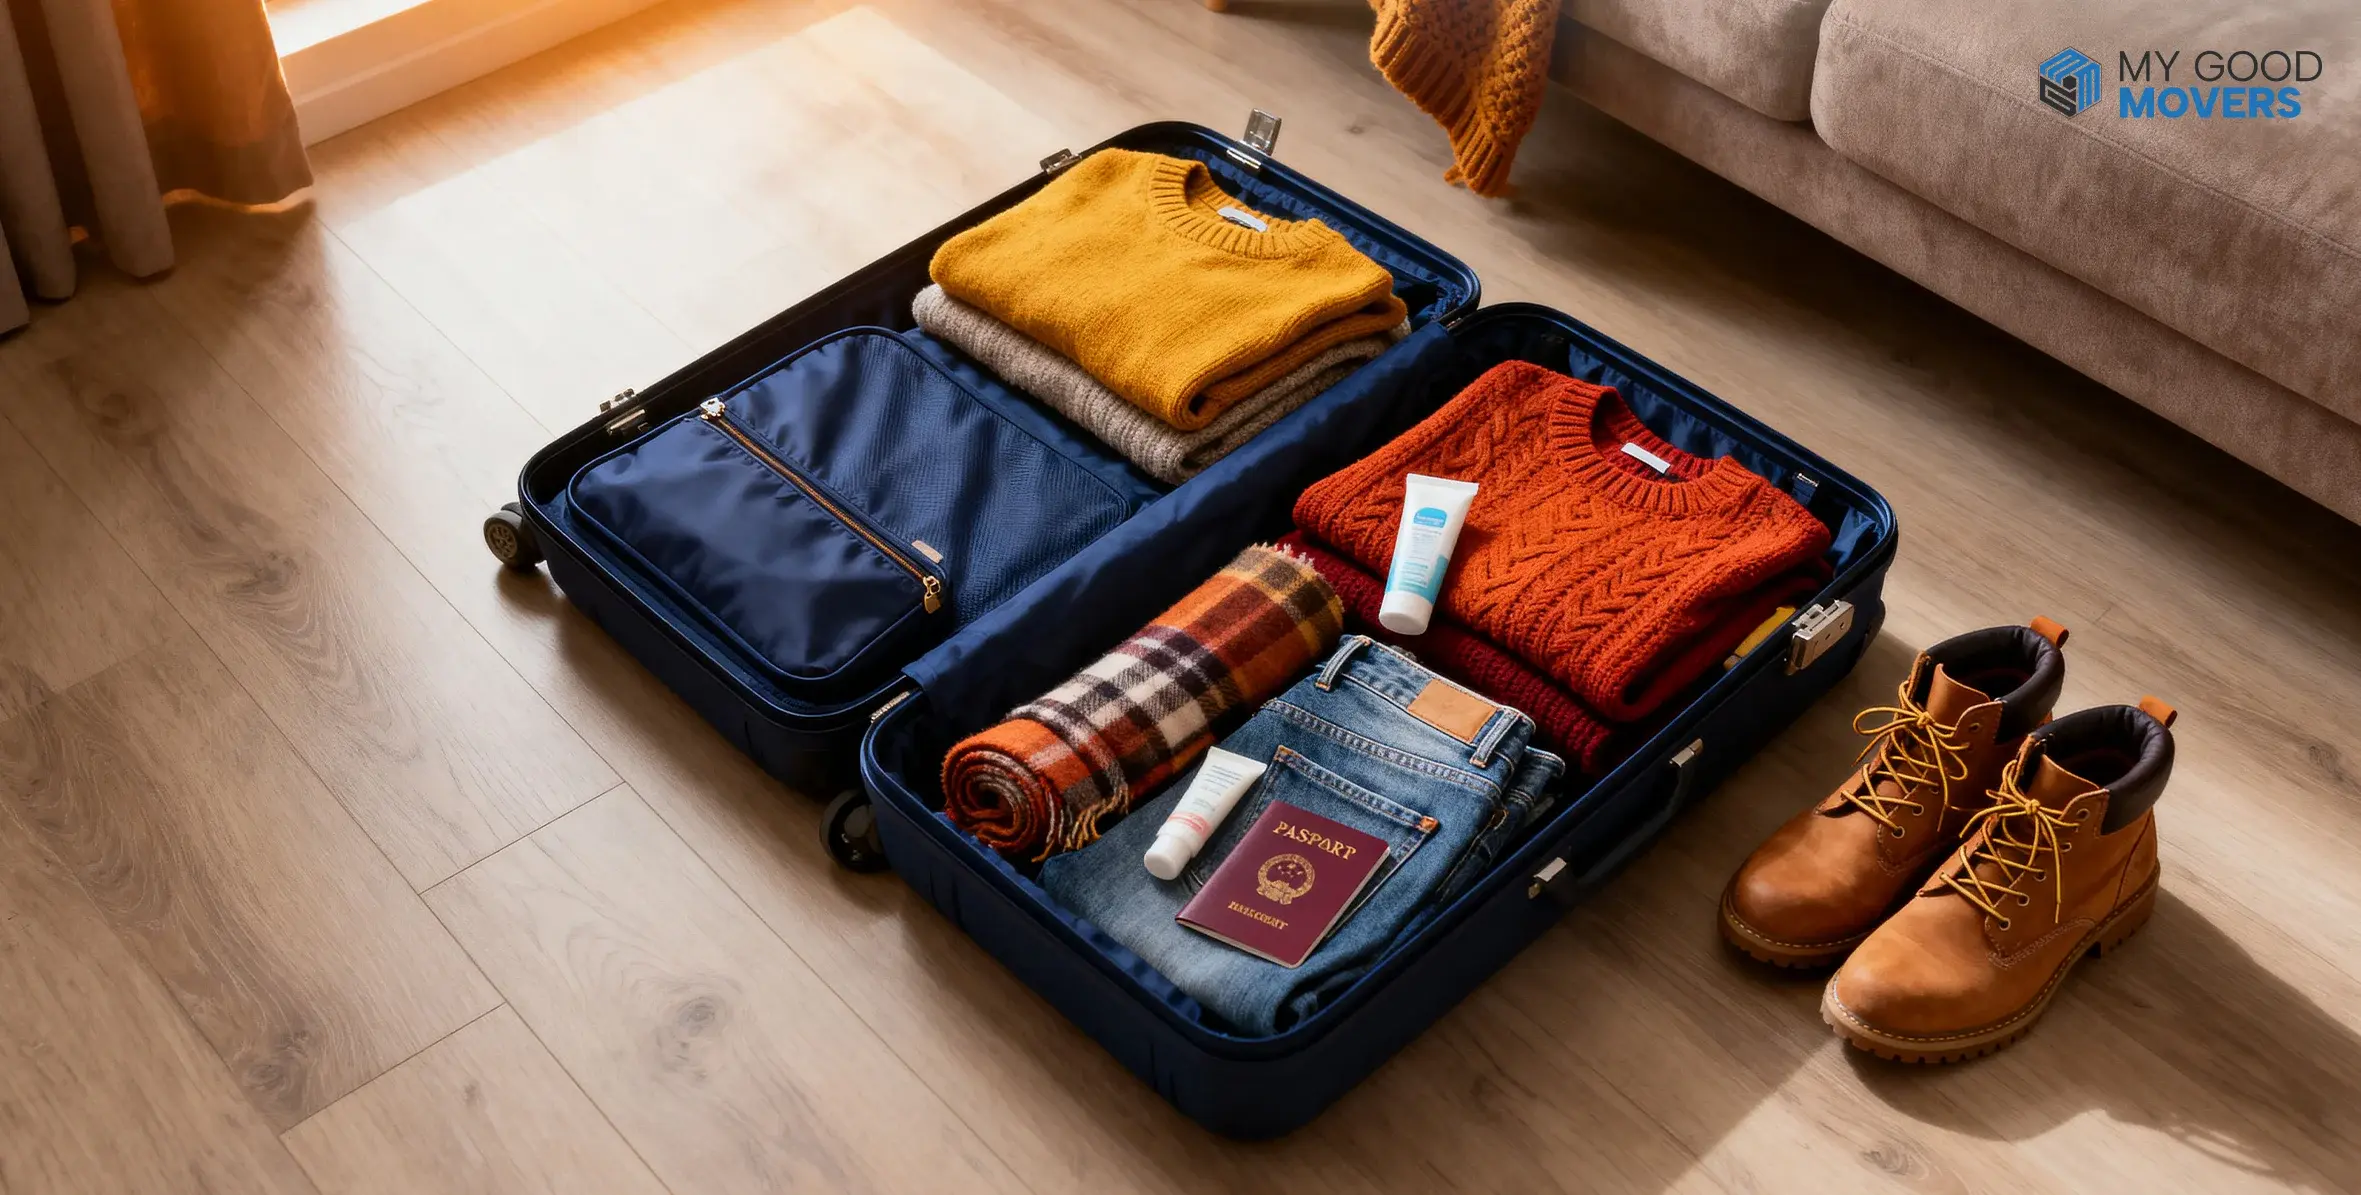
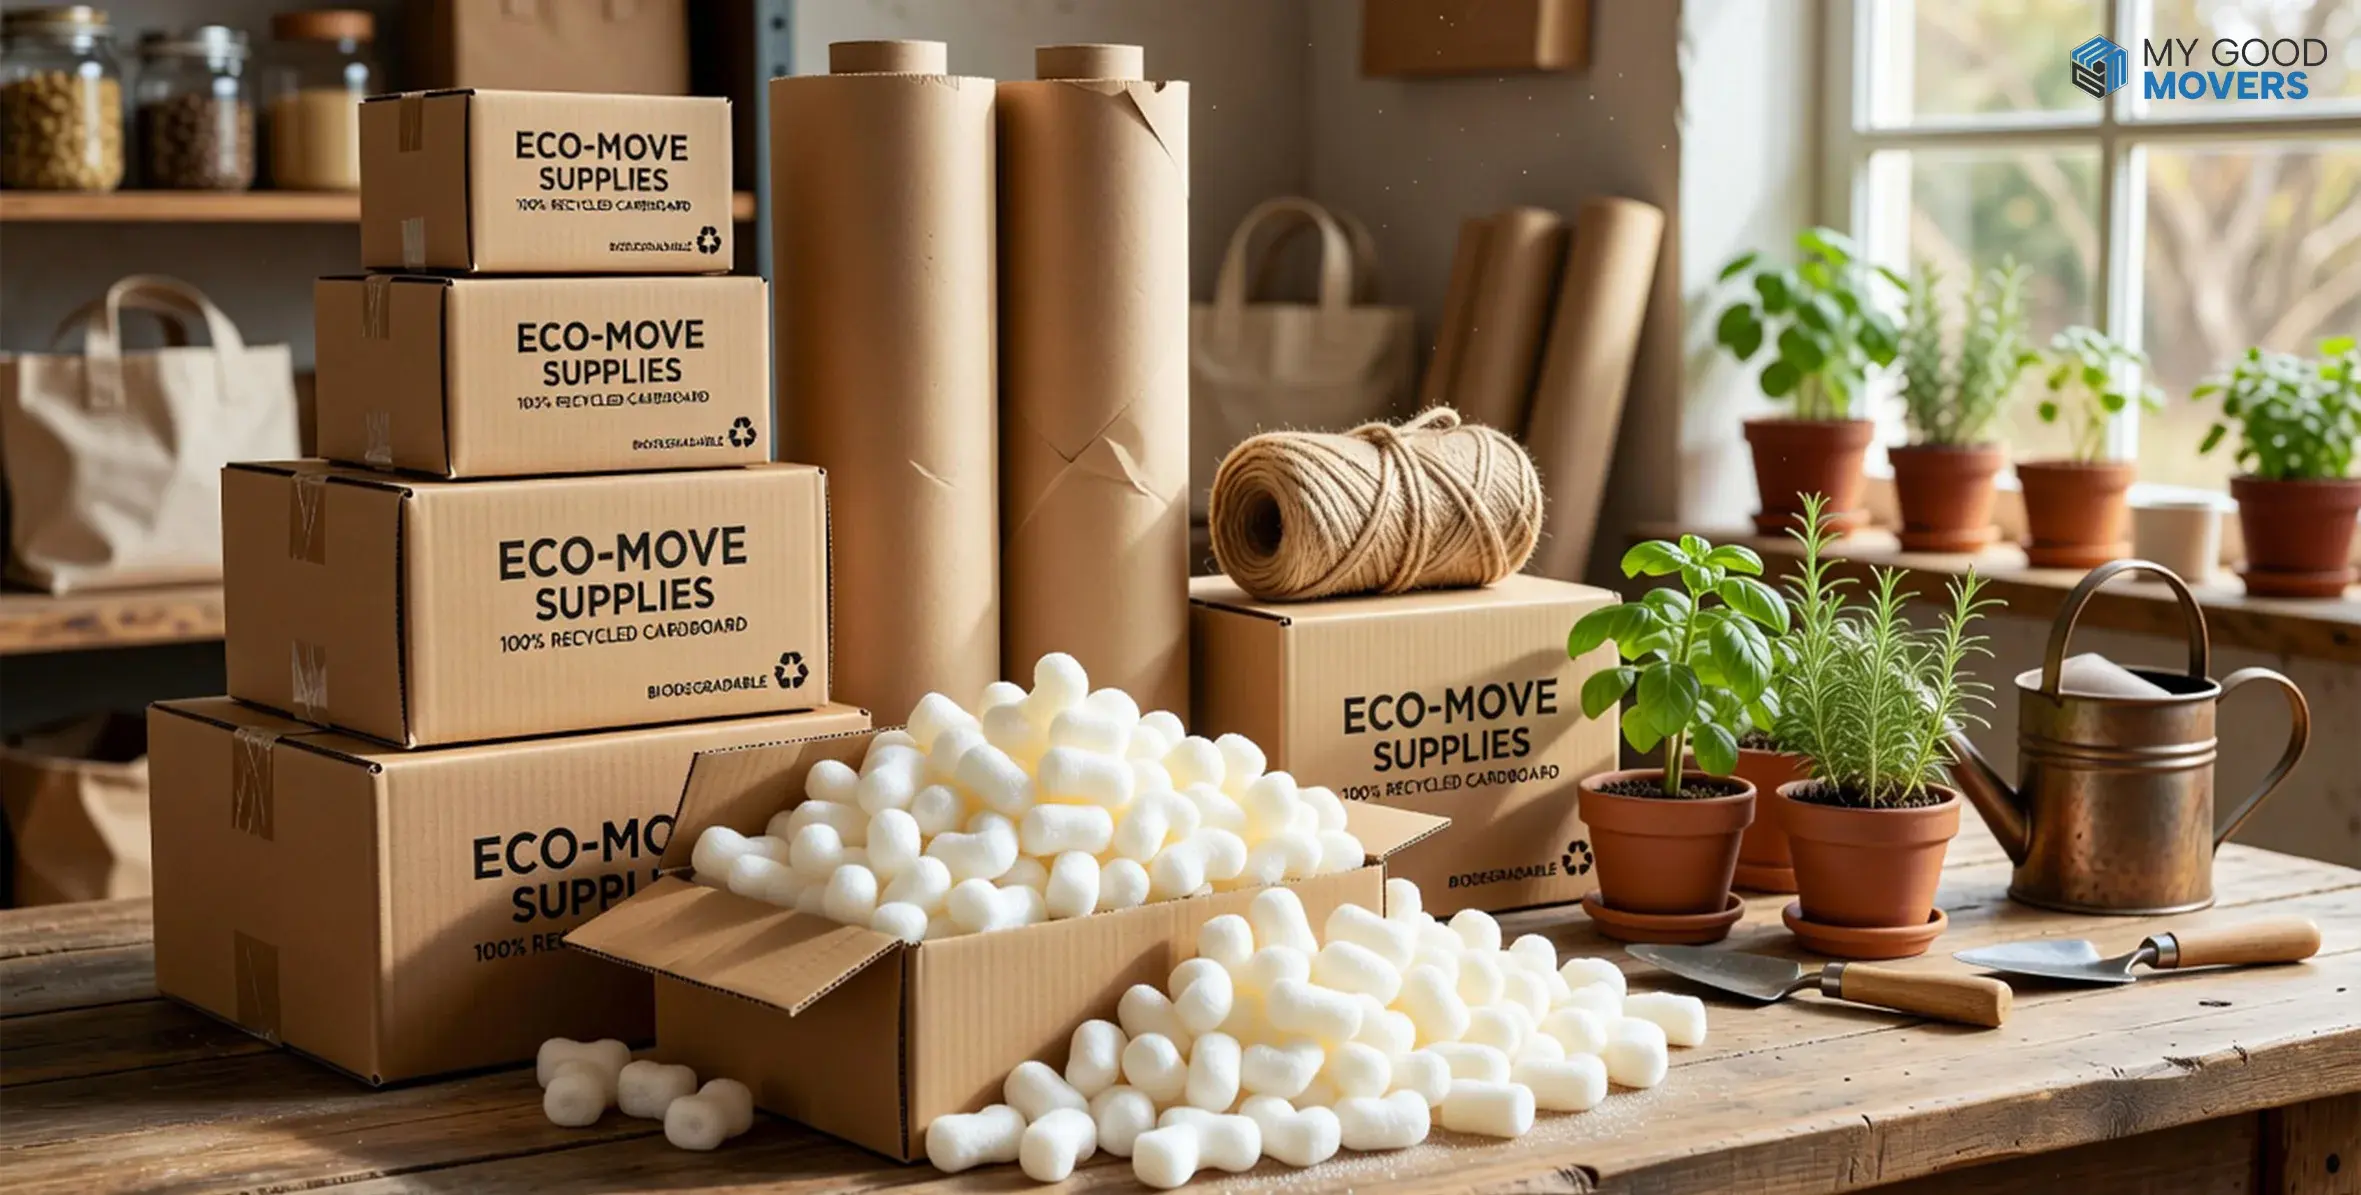
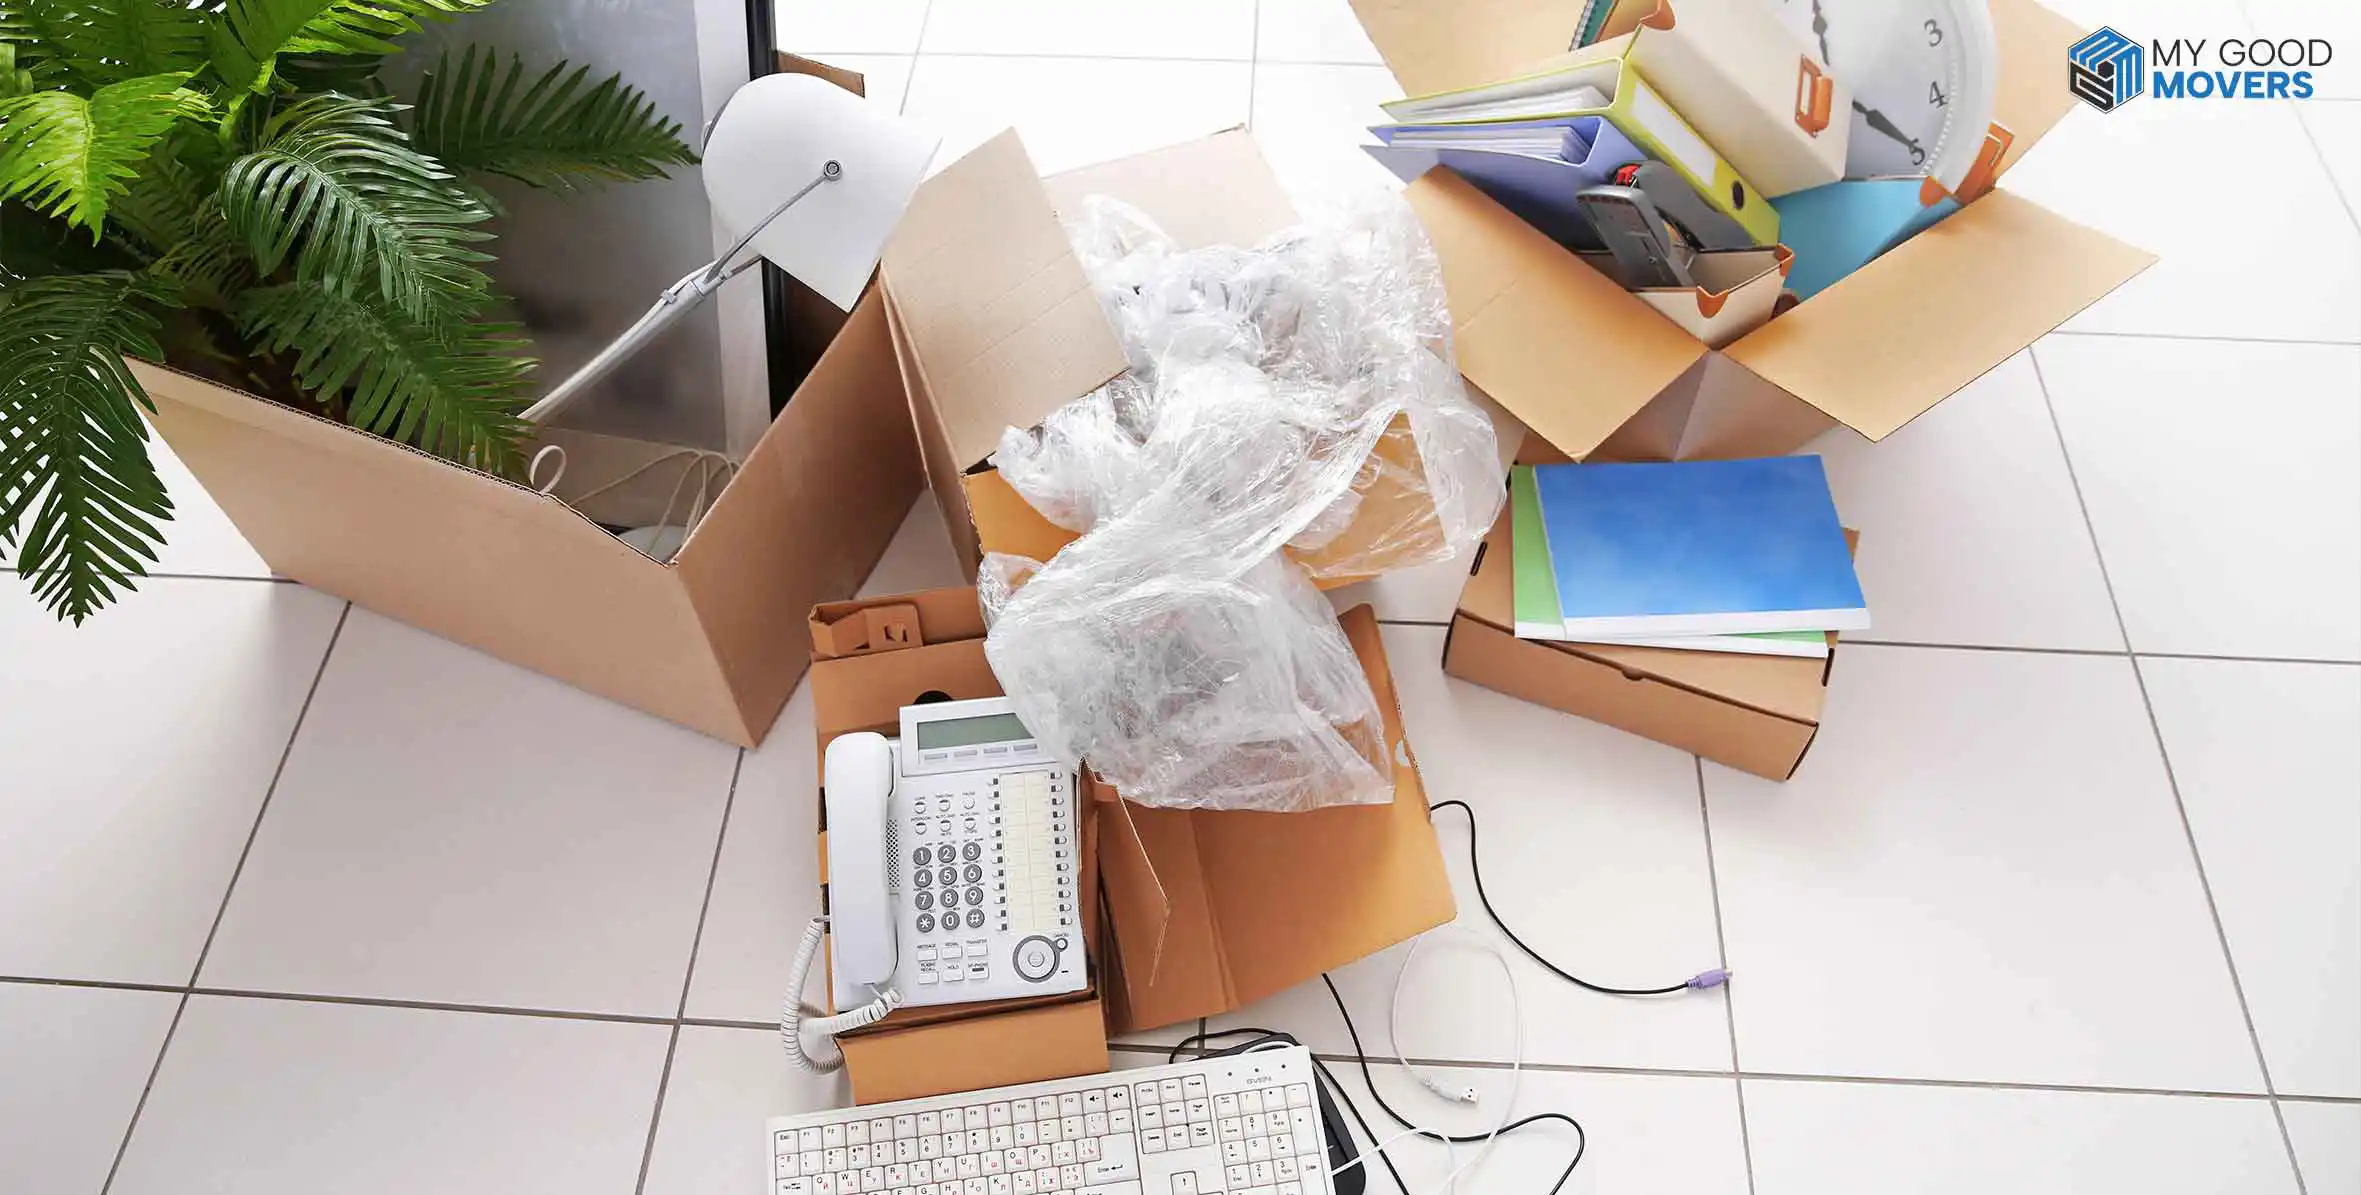
Packing Supplies Needed for Artwork and Mirrors
Using the right supplies is one of the easiest ways to reduce moving damage. A few extra dollars spent on protection can save hundreds in repair or replacement costs later.
Basic Supplies for Most Artwork and Mirrors
For the majority of household artwork and mirrors, these supplies will cover almost everything you need:
- Picture boxes or mirror boxes
- Packing paper
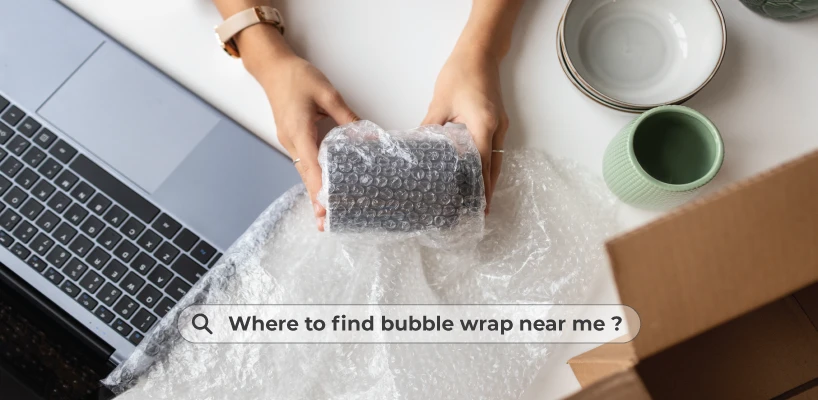
- Bubble wrap
- Foam sheets
- Painter's tape
- Packing tape
- Cardboard sheets
- Corner protectors
- Marker and fragile labels
Extra Supplies for Large or Valuable Pieces
Some items require stronger protection, especially during long-distance moves or temporary storage.
Recommended upgrades include:
- Telescoping boxes
- Foam board
- Moving blankets
- Stretch wrap
- Glassine paper
- Custom crates
- Desiccant packets
Why Proper Preparation is Your First Layer of Protection
Packing materials help absorb impact, but preparation helps prevent mistakes. When you understand what you're packing and how to protect it, every step that follows becomes safer and more effective.
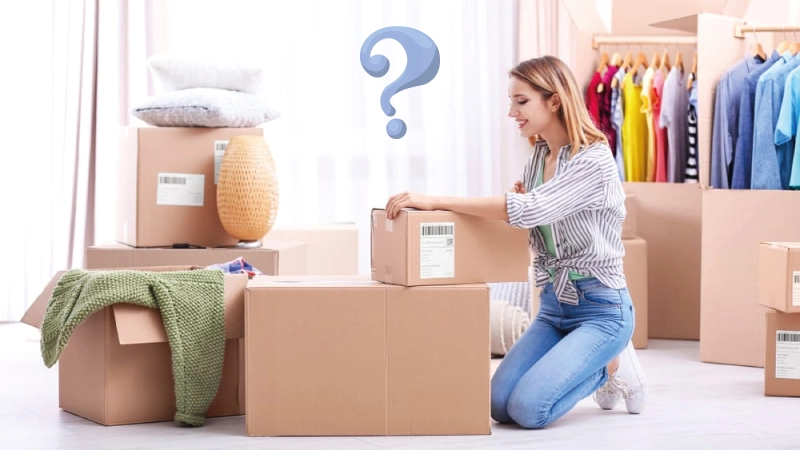
Not Sure How Many Boxes You Need?
Use our moving box calculator to quickly estimate how many boxes you need for your move.
Calculate Your Moving BoxesHow to Pack Artwork and Mirrors Safely (Step-by-Step)
Now that you've identified what you're packing and gathered the right supplies, it's time to properly protect each piece.
If you follow these steps carefully, your artwork and mirrors will be much more likely to arrive in the same condition they left.
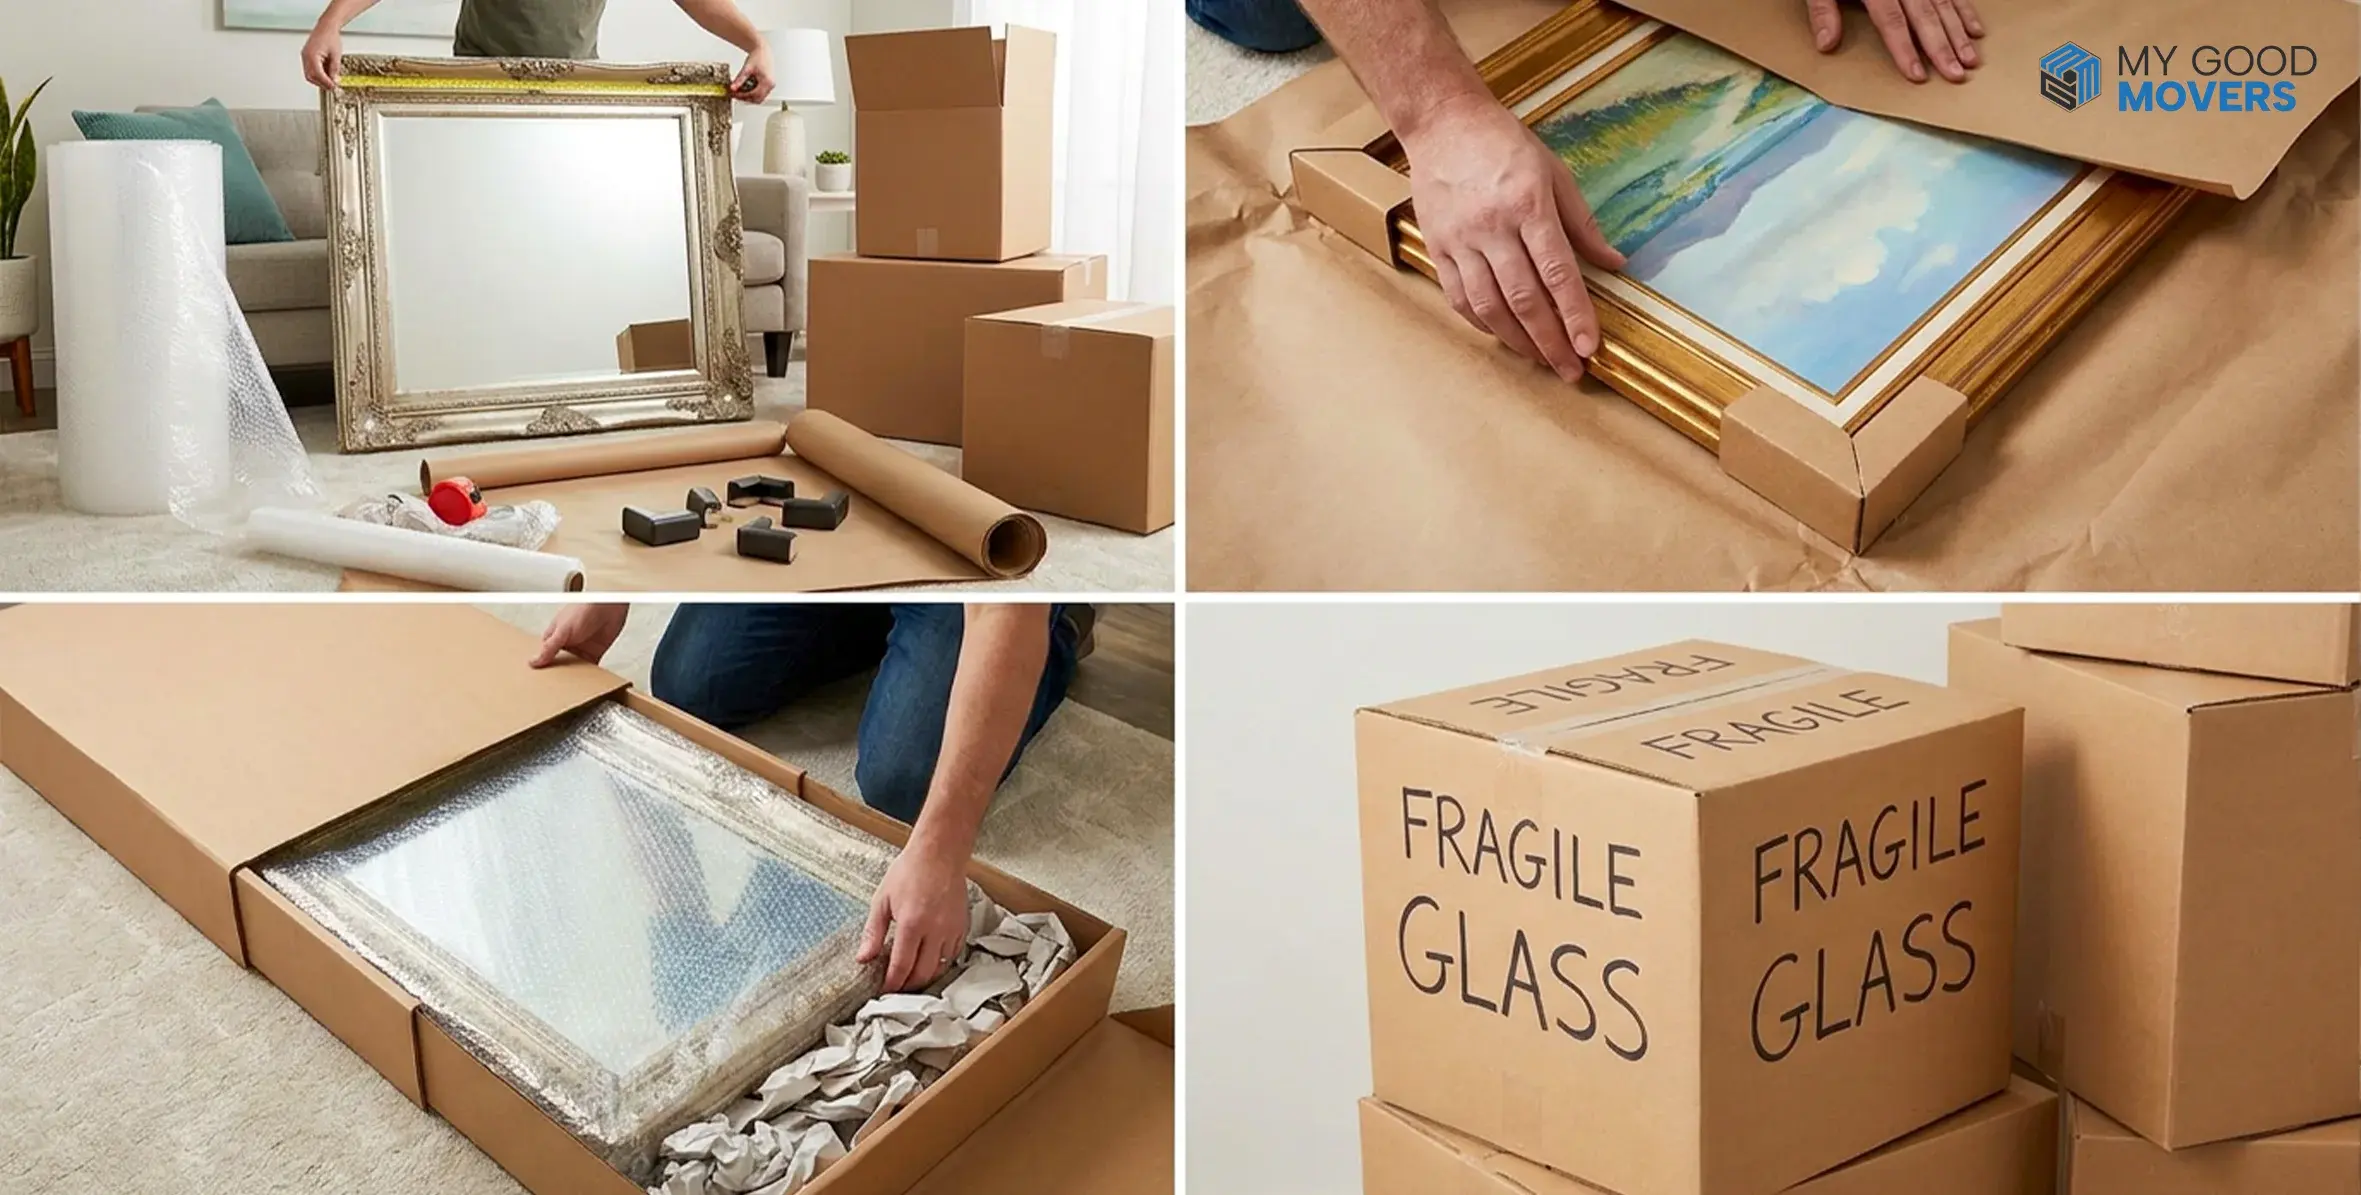
Step 1: Clean, Measure, and Document Each Piece
Before you start wrapping anything, prepare the item itself. This helps you choose the correct box, identify existing damage, and avoid surprises during unpacking.
Clean the Surface Gently
Dust and debris trapped under wrapping materials can create scratches during transport. Use a microfiber cloth for mirrors and glass surfaces. For artwork, especially older or delicate pieces, avoid aggressive cleaning.
Measure Height, Width, and Depth
Accurate measurements help you choose the right box size and avoid unnecessary movement during transport.
| Measurement | Why It Matters |
|---|---|
| Height | Determines box size |
| Width | Prevents shifting |
| Depth | Accounts for frame thickness |
Take Photos Before Packing
A few photos can save a lot of trouble later.
Photograph:
- Front side
- Back side
- Corners
- Existing scratches
- Hanging hardware
Step 2: Protect Glass on Mirrors and Picture Frames
Glass is the most vulnerable part of any mirror or framed artwork. The goal here is to reduce the risk of cracks and minimize damage if an impact occurs during the move.
Should You Tape an X on Mirror Glass?
Many of the best packing and moving companies still use this method. An X pattern made with painter's tape will not stop glass from breaking, but it may help hold pieces together if breakage occurs.
Use painter's tape only. Regular tape can leave residue behind.
Add a Cardboard Shield
After protecting the glass, place a cardboard sheet over the front surface. This creates a rigid barrier that helps distribute pressure and reduce direct impact.
When to Avoid Tape
Skip tape entirely if you're dealing with:
- Antique mirrors
- Specialty coatings
- Delicate artwork
- Decorative finishes
In these situations, layered protection is more effective than adhesives.
Build a Safe Glass Protection Layer
For most mirrors and framed artwork, this simple combination works extremely well:
- Foam sheet
- Cardboard shield
- Corner protectors
- Outer cushioning layer
Step 3: Protect Corners, Edges, and Frames
Even a minor bump against a doorway can chip a frame corner. That's why corner protection deserves its own step.
Use Foam or Cardboard Corner Protectors
Corner protectors absorb impact before it reaches the frame.
Foam protectors are best for:
- Decorative frames
- Antique pieces
- Large mirrors
- Valuable artwork
Add Edge Padding
Frames don't just get damaged on the corners. Edges often scrape against furniture, walls, and boxes during loading.
Use:
- Foam strips
- Packing paper
- Soft cardboard
- Protective foam
Handle Decorative Frames Carefully
Ornate frames need extra attention.
Instead of wrapping tightly right away:
- Cushion delicate details first.
- Add soft padding.
- Finish with outer protection.
This reduces pressure on decorative trim and carvings.
Step 4: Wrap the Item in the Correct Order
Many people use plenty of packing materials, but still end up with damage. The problem usually isn't the amount of protection.
It's the order. Each layer should perform a specific job.
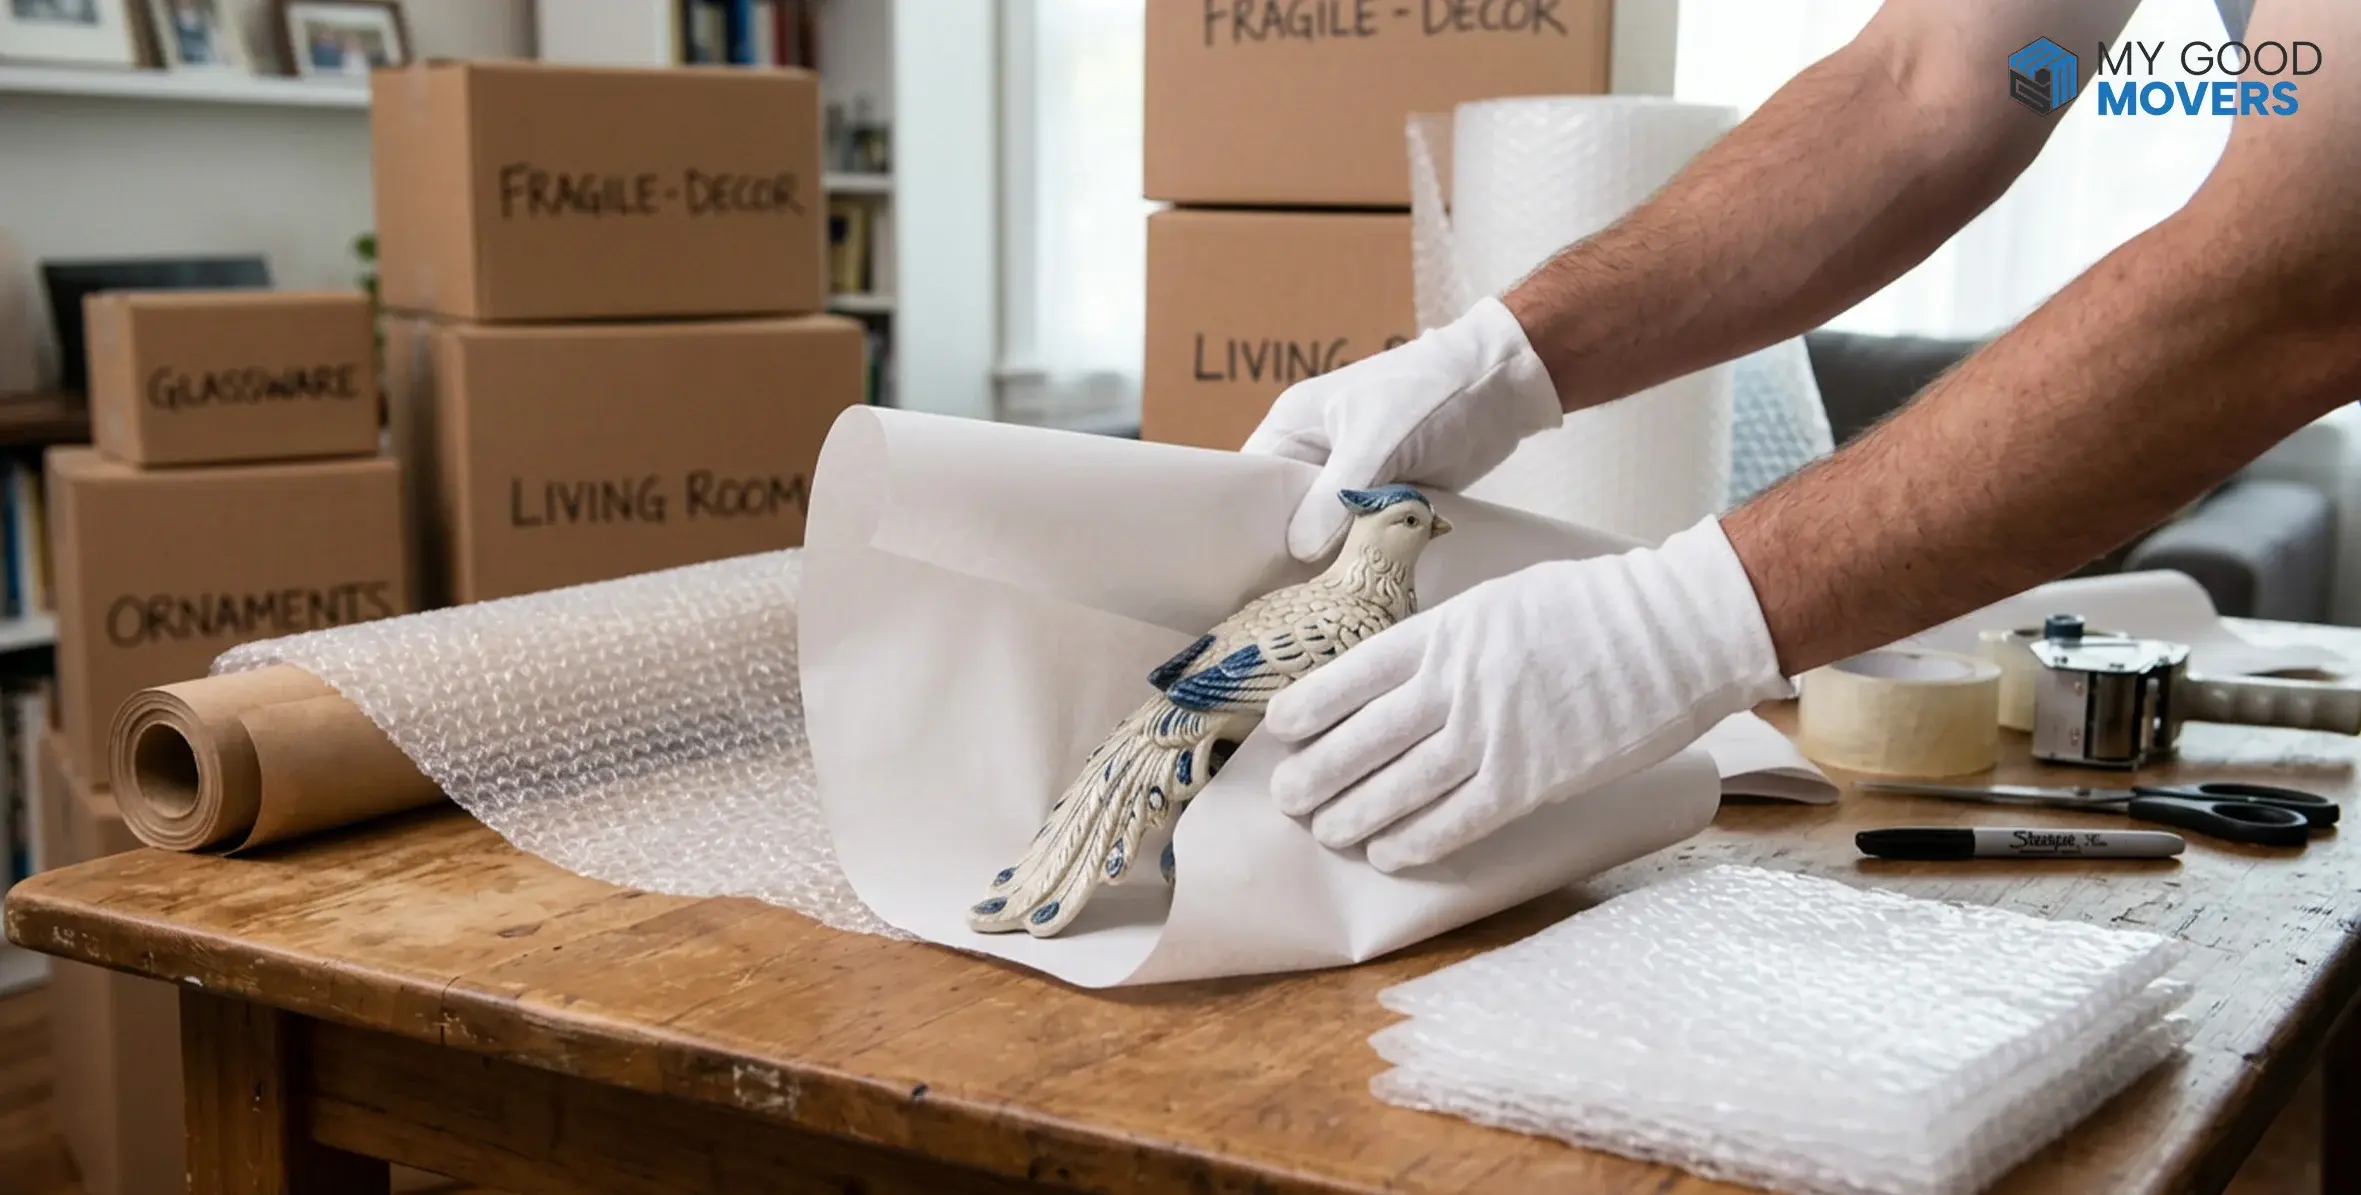
Layer 1: Surface Protection
This layer touches the artwork directly. Choose materials that won't scratch or transfer residue.
Good options include:
- Glassine paper
- Acid-free paper
- Foam sheets
- Clean packing paper
Layer 2: Structural Support
Rigid protection helps prevent bending and pressure damage.
Most movers use:
- Foam board
- Cardboard sheets
- Protective panels
This layer is especially important for large mirrors and framed artwork.
Layer 3: Impact Protection
Now create a shock-absorbing cushion around the item.
Use:
- Bubble wrap
- Moving blankets
- Foam padding
Layer 4: Secure the Wrapping
The final layer keeps everything in place. Tape should only touch the outer wrapping.
Never place tape directly on:
- Artwork
- Canvas
- Decorative frames
- Painted surfaces
Packing multiple framed prints?
Stand them vertically like books on a shelf. Separate each frame using foam board or rigid cardboard before wrapping the bundle. Never allow glass surfaces to touch.
Step 5: Choose the Right Box
Even perfectly wrapped artwork can be damaged if it's placed in the wrong box. The box should support the item without leaving excessive space.
Box Type Comparison
| Box Type | Best For | Protection Level |
|---|---|---|
| Mirror Box | Mirrors and glass frames | High |
| Picture Box | Framed artwork | High |
| Telescoping Box | Oversized mirrors and wall art | Very High |
| Regular Moving Box | Small frames | Medium |
| Custom Crate | Antique or expensive artwork | Maximum |
How tight should the box fit?
The piece should sit snugly with 2 to 3 inches of cushioning on all sides. Too much space lets the piece shift and cause damage to the walls. Too tight compresses the wrapping and pushes force directly onto the frame or glass. Shake the sealed box gently. If you feel movement inside, it is not packed tightly enough.
Step 6: Pack the Box So Nothing Moves
When packing artwork for moving or mirrors for moving, keeping everything stable inside the box is essential. Even well-protected artwork can get damaged if it shifts during transit.
- Add cushioning at the bottom: Place a layer of crumpled packing paper or foam at the base of the box to absorb impact and protect the artwork.
- Keep the piece upright: Whether you're packing framed artwork or a mirror, always place glass items on their long edge, not flat.
- Fill all empty spaces: Use packing paper to fill gaps around the sides so the artwork stays firmly in place. This is one of the best ways to protect artwork during a move.
- Do a quick shake test: Gently shake the box before sealing it. If anything moves, add more padding until the box feels secure and quiet.
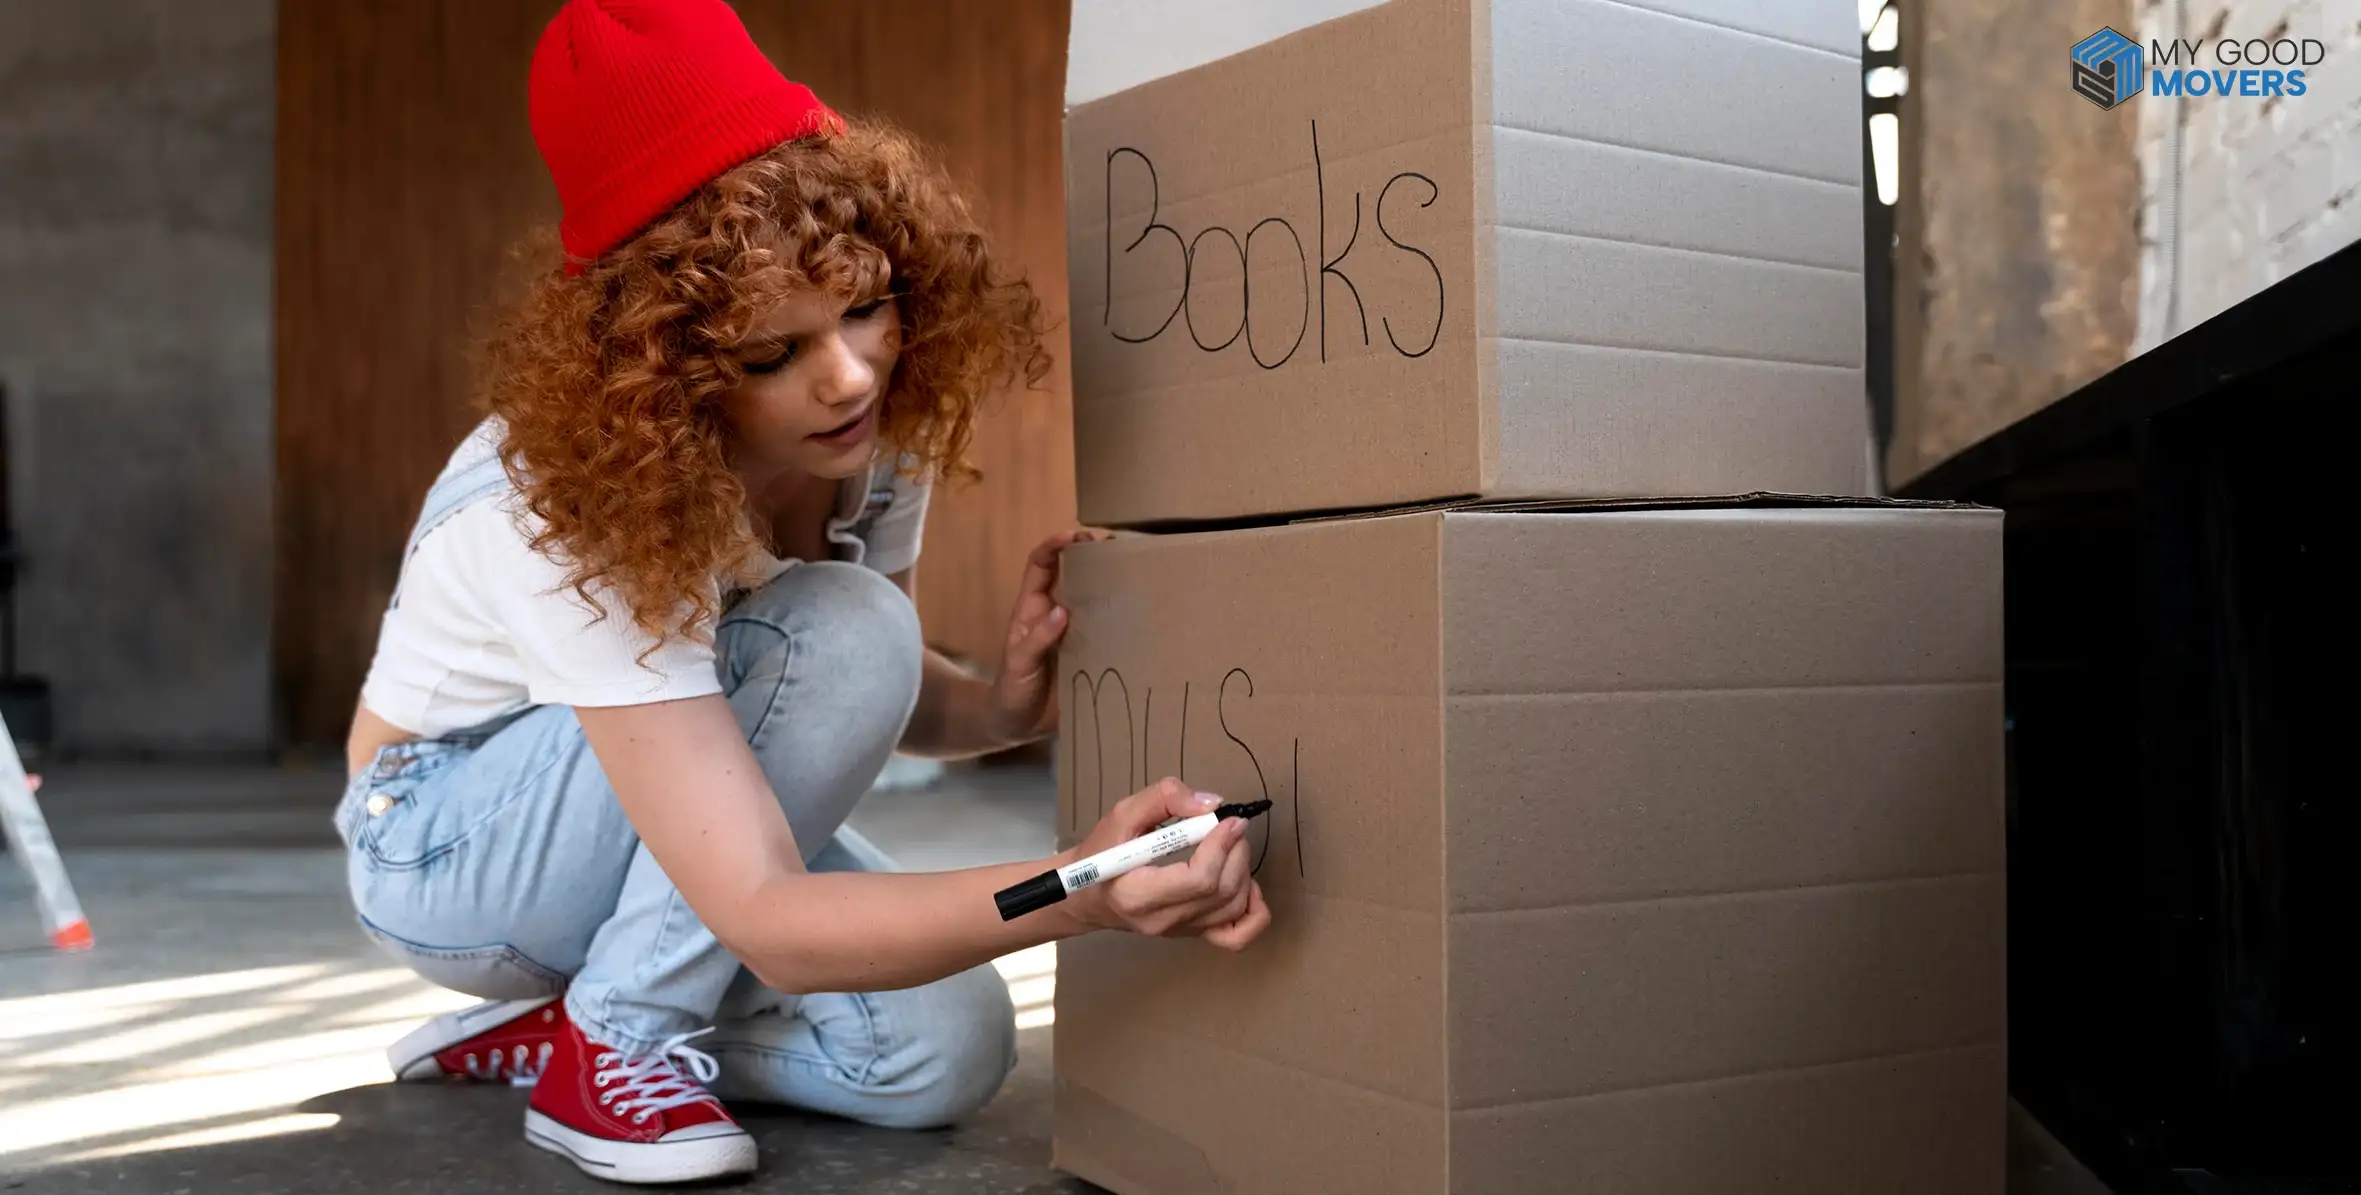
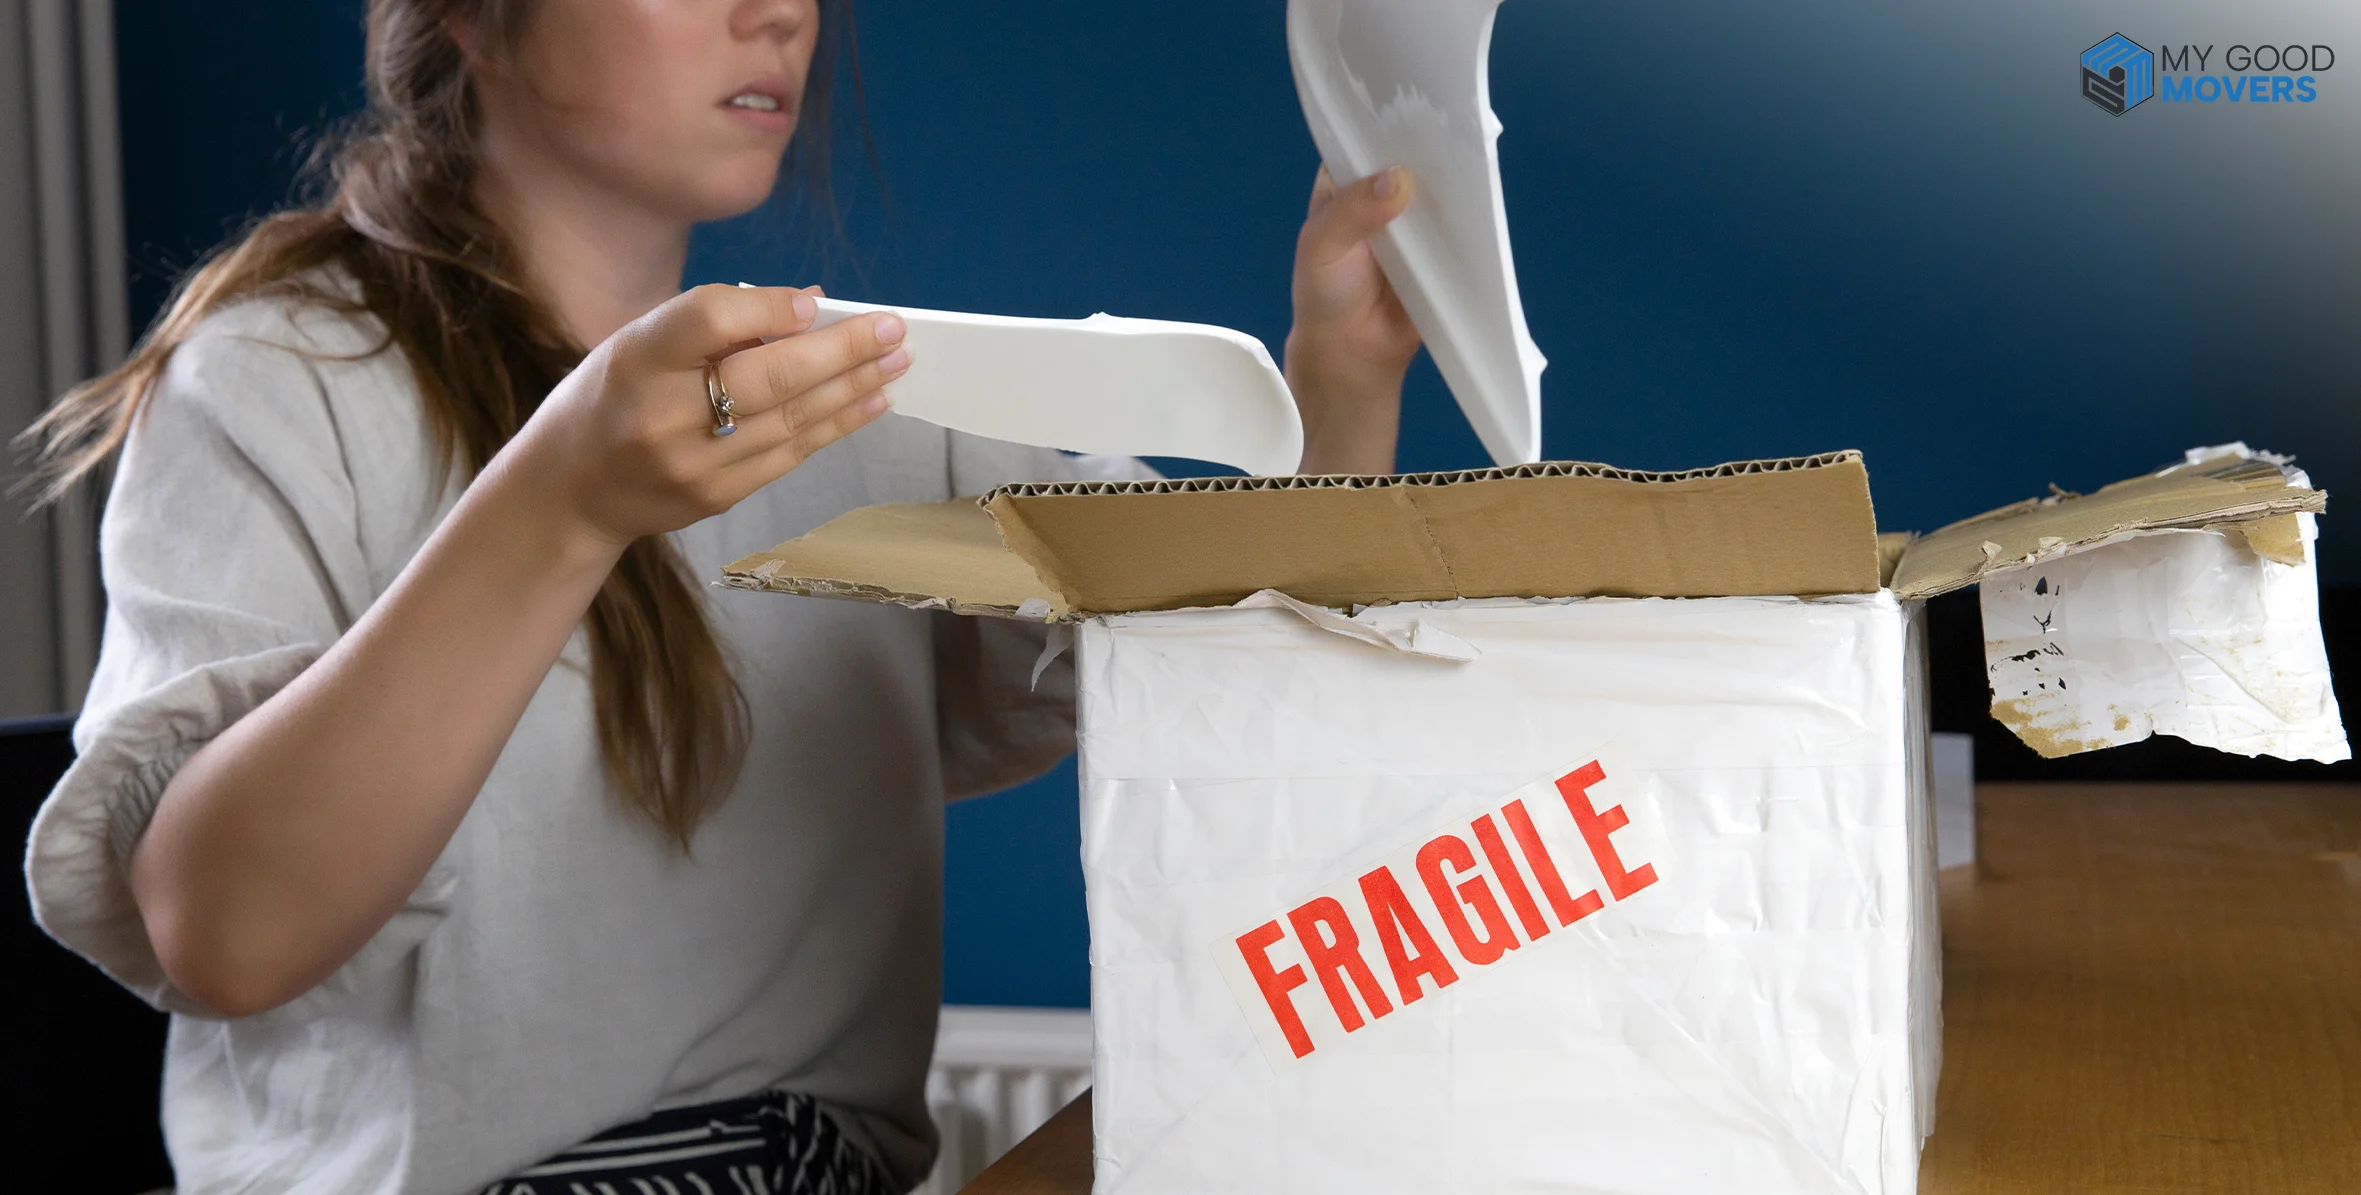
Step 7: Seal and Label the Box Clearly
Good packing only works if everyone handling the box understands what's inside. Clear labels reduce rough handling and improper stacking.
Seal Every Seam
Don’t just tape the middle of the box. Use an H-pattern to secure the center seam and side flaps, especially when packing heavy glass items.
Label Clearly
Write FRAGILE, GLASS, and THIS SIDE UP on the top and at least two sides of the box. This makes the warnings easy to spot, no matter how the package is stacked.
A note on labeling valuable pieces
Avoid writing the contents on the outside of boxes containing expensive artwork. A box labeled 'original oil painting, antique frame' draws attention you do not want during a busy move. Instead, number the box and keep a private inventory that matches numbers to contents.
Step 8: Load Artwork and Mirrors Safely
Once your artwork and mirrors are packed, how you place them in the moving truck matters just as much. To keep them safe during transport:
- Always load art and mirror boxes upright, never flat. Writing "KEEP UPRIGHT" on all sides helps movers handle them correctly.
- Position the boxes against a padded truck wall for support. This reduces movement and lowers the risk of tipping over during the drive.
- Never place other boxes or items on top of artwork or mirror boxes. Even lightweight items can put pressure on the glass and cause cracks from road vibrations.
Moisture and temperature
If the artwork is moving through cold weather, let it acclimate at the destination before fully unwrapping. Going from freezing outdoor air directly into a heated room creates condensation under the wrapping material. Unwrap gradually over a few hours, starting from the outer layers. This is especially important for canvas, paper prints, and any piece with a wood frame.
Want a Complete Packing Plan?
Stop guessing what to pack next. Follow a clear packing plan that helps you move room by room without the usual last-minute chaos.
Read How to Pack for a MoveCommon Mistakes to Avoid When Packing Artwork and Mirrors
Even with good packing materials, a few small mistakes can increase the risk of cracks, scratches, and frame damage. Before sealing the box, make sure you're not making any of these common errors.
| No. | Mistake | Why It's Dangerous & How to Fix |
|---|---|---|
| 1 | Newspaper on Artwork | Ink transfers and permanently stains frames/prints. Fix: Use clean white packing or glassine paper first. |
| 2 | Skipping Corner Protectors | Corners take the first hit, causing splits and chips. Fix: Protect with foam or cardboard corners. |
| 3 | Bubble Wrap on Canvas | Heat/pressure leaves a permanent grid pattern on the paint. Fix: Layer glassine paper before bubble wrap. |
| 4 | Empty Space in Box | Artwork shifts, causing severe structural stress. Fix: Fill all gaps with packing paper to prevent anything from moving. |
| 5 | Laying Mirrors Flat | Increases surface pressure, making the glass highly prone to cracking. Fix: Transport them upright. |
| 6 | Weak or Huge Boxes | Weak boxes collapse; huge boxes let items slide around. Fix: Use sturdy, tight-fitting boxes. |
| 7 | Taping the Artwork | Leaves sticky residue and ruins delicate finishes. Fix: Tape only the outer wrapping, never the art. |
Should You Pack Artwork Yourself or Hire Movers?
At this point, you may be wondering whether packing artwork yourself is actually worth it. The answer depends on the item.
Some pieces are easy to protect at home. Others are valuable enough that professional packing becomes the safer option.
The table below can help you decide.
| Situation | Best Option | Why |
|---|---|---|
| Standard framed prints under 24 inches | DIY packing | Manageable with basic supplies and the right method |
| Large mirrors over 48 inches | Professional mover | Size and weight create real handling and loading risk |
| Canvas paintings without glass | DIY packing | Correct layering technique handles these well |
| Artwork or antiques valued above $500 | Professional crating | Custom crating protects the investment, and insurance is clearer |
| Long-distance or cross-country move | Professional mover | An extended transit increases vibration damage risk |
| Multiple mixed pieces in a time crunch | Professional mover | Rushed packing causes more damage than hiring help |
Questions to Ask Movers Before They Touch Your Artwork
If movers are handling your artwork, ask these questions before they arrive. The answers tell you whether they have actually done this before or whether they are figuring it out on your moving day.
- Do you provide mirror boxes and picture boxes, or should I source my own?
- Do you offer custom wooden crating for oversized or high-value pieces?
- How do you protect glass fronts and ornate frames during loading?
- Is fragile artwork covered under your standard valuation protection?
- Do you have specific experience moving antique or fine art pieces?
- How will the artwork be positioned and secured in the truck?
The question that matters most before signing
Ask whether crating fees are included in the estimate or added separately after assessment. Some movers quote a standard move rate and add specialty crating as a line item on the final invoice. Get this in writing before moving day. Not after.